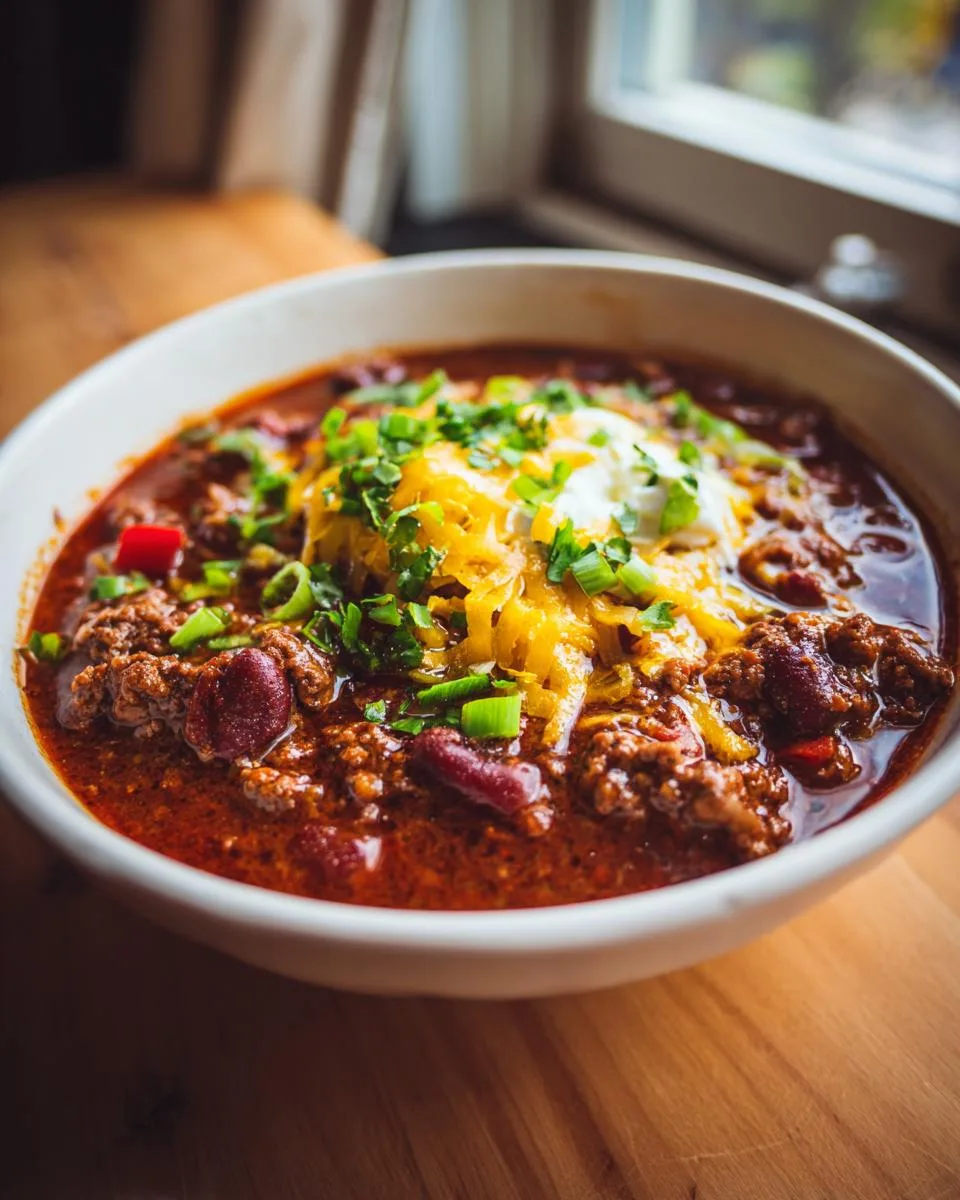
There’s nothing quite like a steaming bowl of chili with beans to warm you up on a chilly evening. This recipe has been my go-to comfort food for years – the kind of dish that makes everyone gather around the kitchen asking “Is it ready yet?” The secret? It’s all about layering flavors slowly. That first whiff of garlic and chili powder hitting the hot pan? That’s when I know magic is about to happen.
I learned this chili with beans recipe from my dad, who swore by two things: using both fresh and canned tomatoes for depth, and never skipping the beer (it makes all the difference, trust me). Over the years, I’ve tweaked his original version – adding a touch of brown sugar to balance the acidity, and letting it simmer until the beans are perfectly tender but still hold their shape. The result is a rich, hearty chili that’s just as good leftover as it is fresh off the stove.
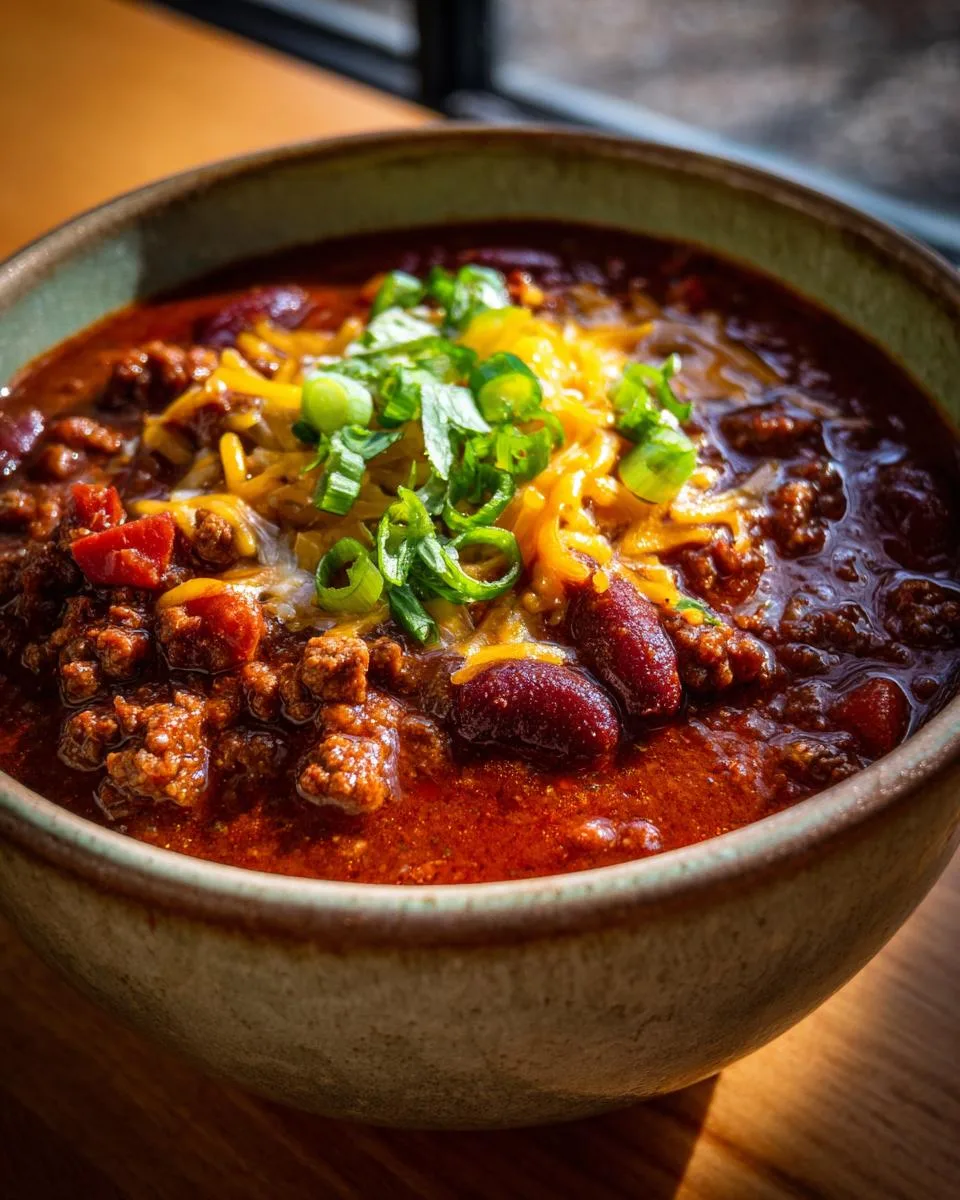
Table of Contents
Table of Contents
Why You’ll Love Chili with Beans Recipe
What I love most about this chili is how forgiving it is. Too spicy? Add a dollop of sour cream. Need more heat? Throw in an extra jalapeño. It’s the kind of recipe that adapts to your mood and pantry, yet always delivers that soul-satisfying comfort we all crave.
Ingredients for Chili with Beans Recipe
Now, let’s talk ingredients – and I mean real ingredients, none of that pre-packaged chili mix nonsense. Every single item in this list plays a crucial role in building those deep, complex flavors we’re after. I’ve made this chili with beans recipe enough times to know exactly what works and what doesn’t, so trust me when I say – don’t skip or substitute these unless absolutely necessary!
- 2 pounds lean ground beef (85/15 works perfectly – enough fat for flavor but not greasy)
- 1 large onion, diced (I prefer yellow for sweetness, but white works too)
- 1 fresh jalapeño, seeded and finely diced (leave seeds if you like heat!)
- 4 cloves garlic, minced (yes, fresh – powdered garlic just won’t cut it here)
- 2 ½ tablespoons chili powder, divided (I use half at the start, half later – more on that in the method)
- 1 teaspoon cumin (toasted whole seeds ground fresh if you’re feeling fancy)
- 1 green bell pepper, seeded and diced (adds sweetness and texture)
- 1 can (14.5 oz) crushed tomatoes (the foundation of our sauce)
- 1 can (19 oz) red kidney beans, drained and rinsed (rinsing removes that tinny taste)
- 1 can (14.5 oz) diced tomatoes with juices (texture variation is key)
- 1 ½ cups beef broth (low sodium so we control the salt)
- 1 cup beer (a lager or ale – nothing too hoppy. Or sub more broth if needed)
- 1 tablespoon tomato paste (that secret umami booster)
- 1 tablespoon brown sugar (optional but really balances the acidity)
- Salt and black pepper (to taste – we’ll adjust at the end)
See that beer in the ingredients? That’s my not-so-secret weapon. The alcohol cooks off, but it leaves behind this incredible depth of flavor that water or extra broth just can’t match. And don’t even get me started on using fresh garlic versus powdered – the difference is night and day in this chili with beans recipe.
One quick note about the beans – I specifically call for canned here because they’re convenient and consistently good, but if you’re using dried beans, you’ll need to soak and cook them first (we’ll cover that in the FAQ section). Now grab these ingredients, and let’s make some magic happen!
How to Make Chili with Beans
Alright, let’s get cooking! This chili with beans recipe comes together in stages – each one building layers of flavor that’ll have your kitchen smelling incredible. I’ve made this dozens of times, and I promise, following these steps exactly will give you that perfect balance of meaty, beany, spicy goodness every single time.
Browning the Meat and Aromatics
First things first – grab your biggest, heaviest pot (I use my trusty Dutch oven) and heat it over medium-high. Here’s where we build our flavor foundation:
- Season the beef: Mix your ground beef with 1 ½ tablespoons of the chili powder right in the bowl. Trust me – seasoning the meat directly makes all the difference.
- Brown it good: Add the beef to the hot pot along with the onion, jalapeño, and garlic. Break up the meat with your spoon as it cooks until it’s nicely browned – about 5-7 minutes. You want those little crispy bits forming on the bottom!
- Drain carefully: Once everything’s beautifully browned, tilt the pot and spoon out any excess grease (leave about a tablespoon for flavor). This step keeps your chili from getting too oily.
See those browned bits stuck to the bottom? That’s pure gold! Don’t scrape them off yet – they’ll release when we add our liquids next.
Simmering the Chili
Now comes the magic – transforming our browned ingredients into rich, thick chili:
- Add everything else: Dump in the remaining ingredients – bell pepper, both cans of tomatoes, beans, broth, beer, tomato paste, brown sugar, and the rest of the chili powder and cumin. Stir well, scraping up those delicious browned bits.
- Bring to a boil: Crank the heat up until it’s bubbling vigorously, then immediately reduce to a gentle simmer. This slow cooking is where flavors marry beautifully.
- Let it work: Simmer uncovered for 45-60 minutes, stirring occasionally. You’ll know it’s ready when the liquid reduces by about a third and coats the back of a spoon thickly.
- Taste and adjust: Turn off the heat and let it sit for 10 minutes (this resting time is crucial!). Then taste – need more salt? More spice? Now’s the time to tweak.
Pro tip: If your chili seems too thin, leave it simmering longer. Too thick? Add a splash of broth or beer. The perfect chili with beans should be hearty but still spoonable – not soup, not paste!
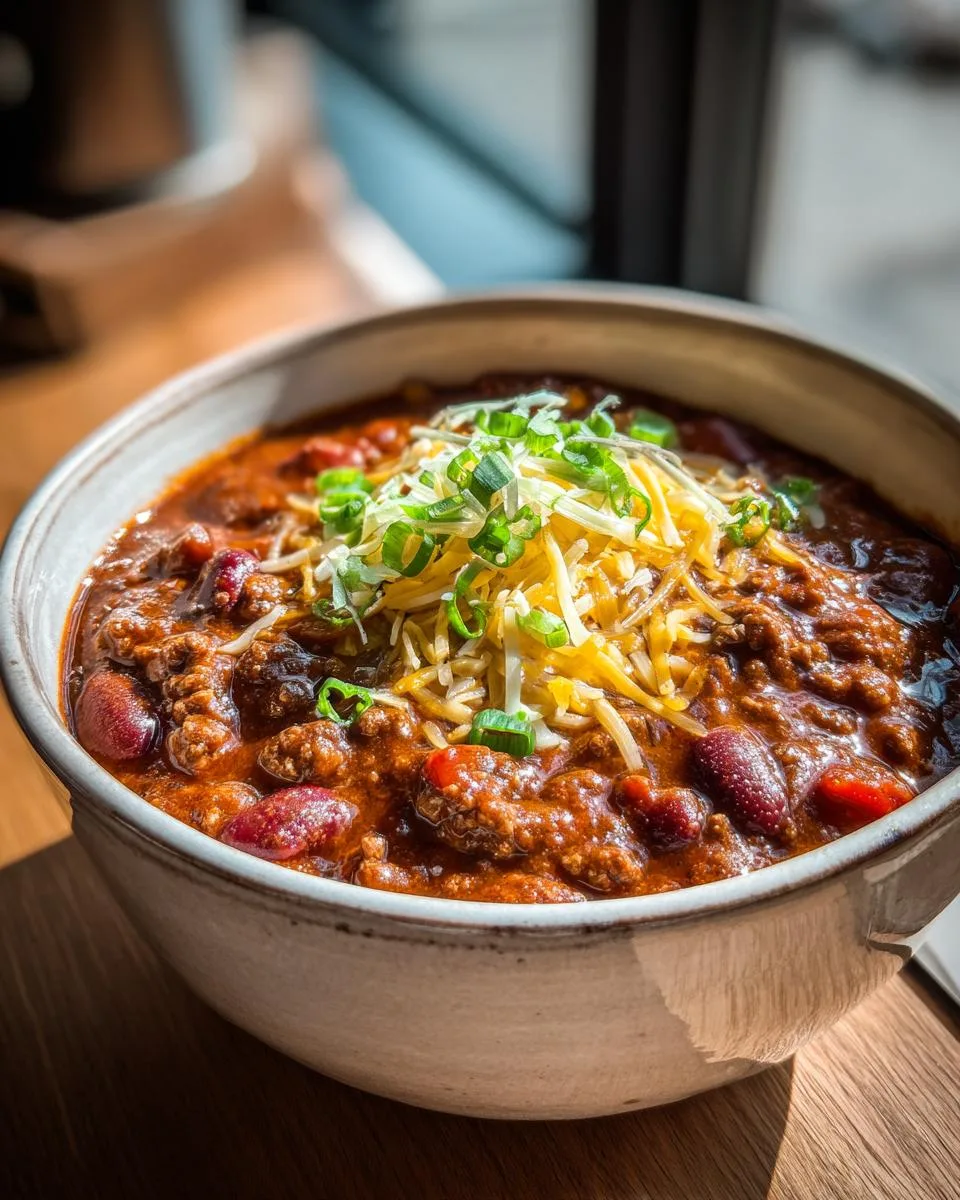
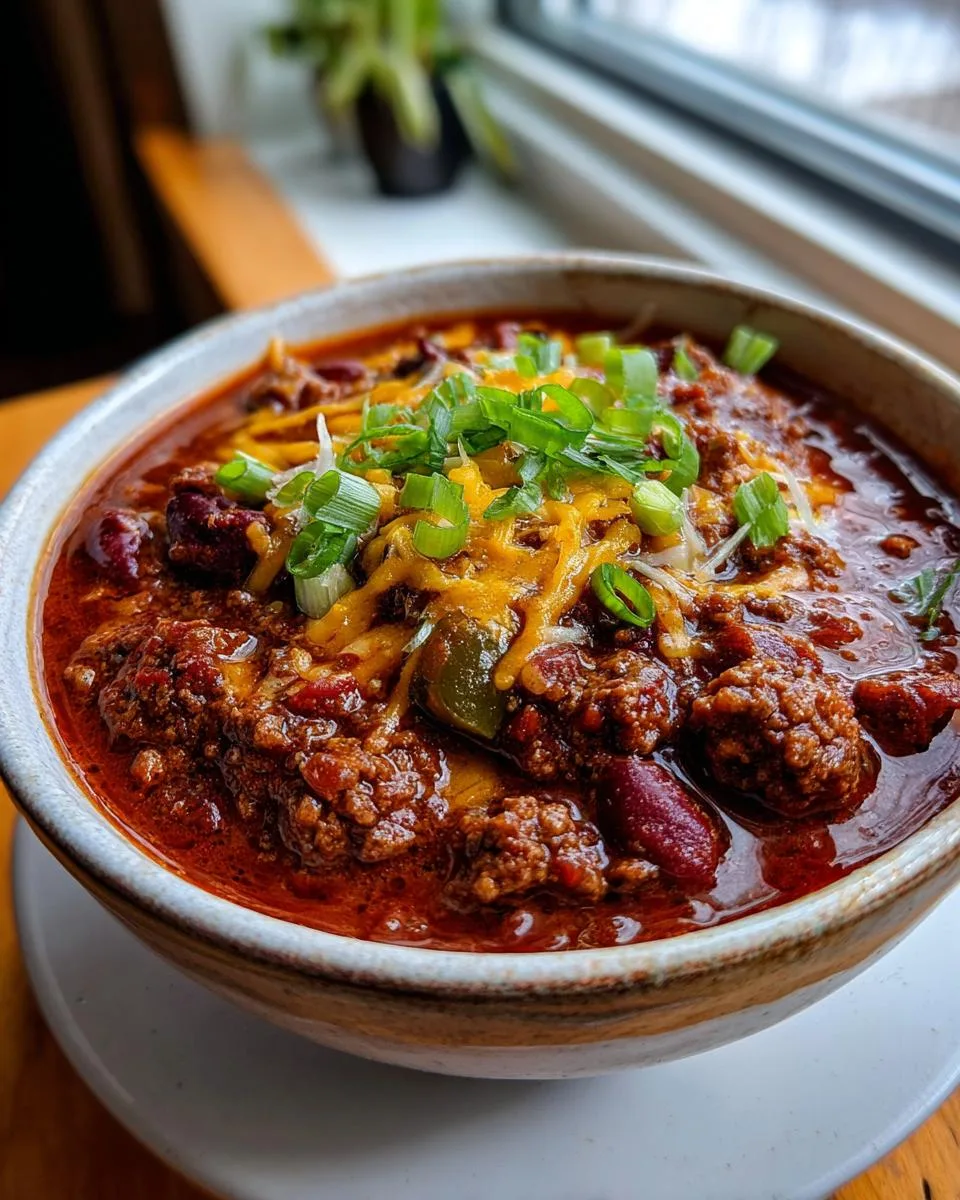
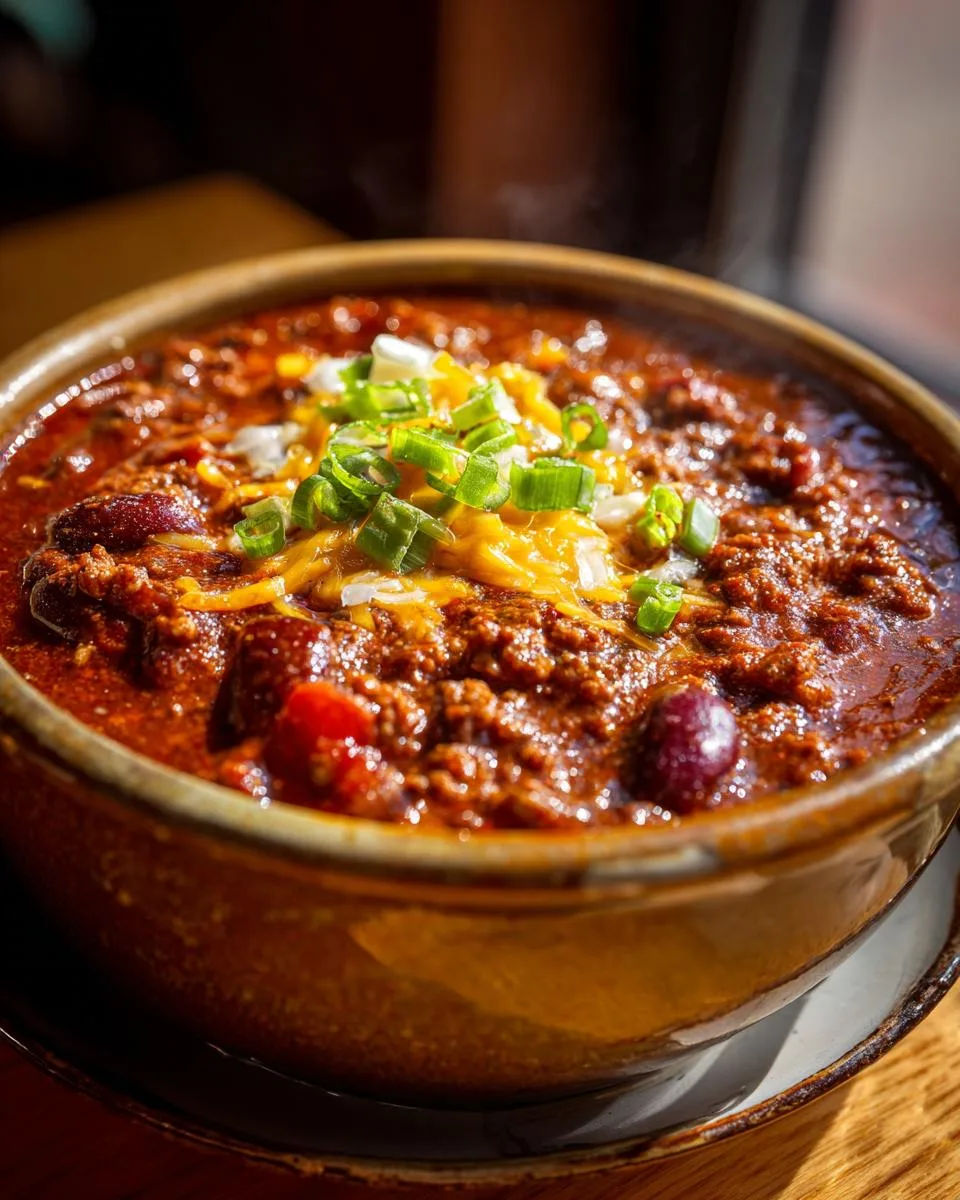
Serving Suggestions
The fun part! Ladle your chili into bowls and let everyone customize:
- Classic toppings: Shredded cheddar, diced onions, sour cream, and cilantro are my must-haves
- For crunch: Crushed tortilla chips or oyster crackers add great texture
- Extra heat: Sliced fresh jalapeños or a dash of hot sauce
- On the side: Cornbread or buttered toast for dipping
My personal favorite? A big dollop of cool sour cream right in the center, letting it melt slowly into the hot chili. Absolute perfection!
Print
Hearty 2-Pound Chili with Beans Recipe for Ultimate Comfort
- Prep Time: 15 minutes
- Cook Time: 60 minutes
- Total Time: 75 minutes
- Yield: 6 servings 1x
- Category: Main Course
- Method: Stovetop
- Cuisine: American
- Diet: Low Lactose
Description
A hearty and flavorful chili with beans recipe, perfect for a comforting meal.
Ingredients
- 2 pounds lean ground beef
- 1 onion, diced
- 1 jalapeño, seeded and finely diced
- 4 cloves garlic, minced
- 2 ½ tablespoons chili powder, divided, or to taste
- 1 teaspoon cumin
- 1 green bell pepper, seeded and diced
- 14.5 ounces crushed tomatoes (1 can)
- 19 ounces canned red kidney beans, drained and rinsed
- 14.5 ounces canned diced tomatoes with juices
- 1 ½ cups beef broth
- 1 cup beer
- 1 tablespoon tomato paste
- 1 tablespoon brown sugar (optional)
- salt and black pepper, to taste
Instructions
- Combine ground beef and 1 ½ tablespoons chili powder.
- In a large pot, brown ground beef, onion, jalapeno, and garlic. Drain any fat.
- Add in remaining ingredients and bring to a boil.
- Reduce heat and simmer uncovered for 45-60 minutes or until chili reaches desired thickness.
- Top with cheddar cheese, green onions, cilantro, or other favorite toppings.
Notes
- For extra heat, leave the seeds in the jalapeño.
- Adjust chili powder to taste for more or less spice.
- Let the chili rest for 10 minutes before serving for better flavor.
Nutrition
- Serving Size: 1 bowl
- Calories: 350
- Sugar: 8g
- Sodium: 600mg
- Fat: 12g
- Saturated Fat: 4g
- Unsaturated Fat: 6g
- Trans Fat: 0g
- Carbohydrates: 30g
- Fiber: 8g
- Protein: 28g
- Cholesterol: 70mg
Tips for the Best Chili with Beans
After making this chili with beans recipe more times than I can count, I’ve picked up some foolproof tricks that take it from good to “can I get your recipe?” great. These are the little things Grandma never wrote down but make all the difference!
Adjusting the Heat Just Right
Chili should warm you up, not burn your taste buds off! Here’s how I control the spice level:
- Start mild, then build: I always use just 1 jalapeño (seeded) at first. You can add more later if needed, but you can’t take heat out!
- The 20-minute test: After simmering 20 minutes, taste and decide – more chili powder? A pinch of cayenne? Spices bloom over time, so go slow.
- Cool it down: If it’s too spicy, stir in a tablespoon of honey or brown sugar. Dairy helps too – that’s why sour cream toppings work so well.
Getting That Perfect Thick Texture
Nothing’s sadder than watery chili. My go-to thickening tricks:
- Simmer uncovered: That steam escaping is liquid leaving – let it go! The last 15 minutes are crucial for thickening.
- Mash some beans: Take ¼ cup of the beans, mash them with a fork, and stir back in. Instant natural thickener!
- Cornstarch slurry: Only if desperate – mix 1 tbsp cornstarch with 2 tbsp cold water, then stir in. But really, just be patient – good chili takes time.
Flavor Boosters That Make a Difference
These tiny additions make people ask “What’s your secret?” every time:
- A splash of vinegar: Just ½ tsp apple cider vinegar at the end brightens all the flavors.
- Cocoa powder: Sounds weird, but 1 tsp unsweetened cocoa adds incredible depth.
- Let it rest: Seriously, don’t skip the 10-minute rest after cooking – flavors meld perfectly during this time.
- Next-day magic: Chili always tastes better the next day. Make extra and reheat – you’ll thank me!
Remember – chili is forgiving! Taste as you go, adjust to your liking, and don’t stress. Some of my best batches came from “oops” moments that turned into happy accidents. Now go make some chili memories!
Common Chili with Beans Mistakes to Avoid
Listen, I’ve made every chili mistake in the book – from bland disasters to mushy bean catastrophes. After years of trial and (mostly) error, here are the pitfalls I’ve learned to dodge when making this chili with beans recipe. Save yourself the heartache!
Overcooking Until It’s Mush
“Just let it cook longer” might be the worst advice for chili. Here’s what happens when you go too far:
- Bean breakdown: Those beautiful kidney beans turn to grainy paste after about 90 minutes. Stick to 45-60 minutes max.
- Meat turns tough: Ground beef gets dry and chewy when overcooked. Brown it just until no pink remains, then let the simmer do its magic.
- Flavor flattening: Spices lose their punch with excessive heat. That’s why we add some chili powder at the end.
My rule? Set a timer when simmering starts. When it dings, taste test – if the beans are tender but still hold their shape, you’re golden.
Under-seasoning (The Silent Chili Killer)
Nothing worse than bland chili! Avoid these seasoning slip-ups:
- Not salting in layers: Season the meat when browning, then adjust at the end. Skipping early salting means flavors never fully develop.
- Using stale spices: That chili powder sitting in your cabinet since last football season? Toss it. Fresh spices make all the difference.
- Forgetting acid: A splash of lime juice or vinegar at the end brightens everything up. Without it, chili can taste flat.
Here’s my seasoning safety net: After simmering, turn off the heat and add ½ tsp salt, stir, wait 2 minutes, then taste. Repeat until flavors pop.
Bean Blunders That Ruin Texture
Beans can make or break your chili. Watch out for:
- Not rinsing canned beans: That thick liquid in the can? It’s full of starch and sodium. Always drain and rinse thoroughly.
- Adding beans too early: If you put them in with everything else, they’ll absorb too much liquid and burst. I add mine after the first 15 minutes of simmering.
- Using the wrong bean: Kidney beans hold their shape best. Black beans turn to mush faster, and garbanzos just don’t belong here (fight me!).
Pro tip: For extra bean insurance, rinse them, then let them drain in a colander while you prep other ingredients. This removes excess water that could thin your chili.
Remember – great chili isn’t about perfection, it’s about avoiding the big mistakes that make you sad. Follow these tips, and you’ll be scooping up compliments (and seconds) in no time!
Ingredient Substitutions and Variations
Look, I get it – sometimes you’re staring into your pantry thinking “I don’t have exactly what this chili with beans recipe calls for.” No panic needed! Over the years, I’ve tested every substitution imaginable (some more successful than others). Here are my tried-and-true swaps that’ll save dinner without sacrificing flavor.
Protein Swaps That Actually Work
Ground beef is classic, but these alternatives shine too:
- Ground turkey or chicken: Use 93% lean for best results. You’ll lose some richness, so add 1 tbsp olive oil when browning.
- Plant-based crumbles: Surprisingly good! Brown them well and add an extra tsp of smoked paprika for depth.
- Half beef, half sausage: My game-day special! Use mild Italian sausage (remove casings) for incredible flavor.
- Vegetarian version: Skip meat entirely, double the beans, and add 8 oz sliced mushrooms for umami.
Bean Alternatives Worth Trying
Kidney beans are traditional, but don’t be afraid to mix it up:
- Pinto beans: Creamier texture but hold shape well. My second favorite after kidneys.
- Black beans: Add a nice earthy note. Use firmer “Cuban-style” if available.
- Three-bean mix: Kidney, pinto, and black beans together make for fun texture variety.
- Emergency swap: No beans? Use 1 cup cooked lentils instead (reduce simmer time by 15 mins).
Spice Cabinet Workarounds
Ran out of chili powder? Here’s how to fake it:
- Per tablespoon chili powder: Use 2 tsp paprika + 1 tsp cumin + ½ tsp garlic powder + ½ tsp oregano.
- No jalapeño? Use ¼ tsp cayenne or 1 tbsp pickled jalapeño juice (reduce salt later).
- Beer alternatives: Swap with equal parts broth plus 1 tbsp Worcestershire or balsamic vinegar.
- Tomato paste hack: Use 2 tbsp ketchup in a pinch (reduce sugar elsewhere).
My golden rule? Whatever substitutions you make, taste as you go. The beauty of chili is its flexibility – some of my favorite versions came from “let’s see what happens” experiments. Just promise me one thing: no matter what, always use fresh garlic. Some lines shouldn’t be crossed!
Storing and Reheating Chili with Beans
Here’s the beautiful truth about this chili with beans recipe – it actually gets better after a night in the fridge! But only if you store it right. I’ve learned (the hard way) that improper storage can turn your masterpiece into a sad, dried-out mess. Let me walk you through my foolproof methods so your leftovers taste just as amazing as day one.
How to Store Chili Like a Pro
First rule of chili club – never leave it sitting out! Here’s my step-by-step:
- Cool it fast: Spread the chili in a shallow container (I use my 9×13 baking dish) to help it cool evenly within 2 hours. No one wants food poisoning!
- Portion smart: Divide into meal-sized containers while still slightly warm. Glass works best – plastic can absorb odors.
- Leave headspace: Fill containers only ¾ full – chili expands when frozen.
- Label everything: Write the date with a marker (chili amnesia is real – you’ll forget when you made it).
In the fridge, your chili stays perfect for 4-5 days. For longer storage, freeze it – my batches keep beautifully for up to 3 months. Pro tip: Freeze some single portions for emergency meals!
Reheating Without Ruining the Magic
Now, the art of revival! Here’s how I bring my chili back to life:
- Stovetop method: My favorite! Pour chili into a pot with a splash of water or broth. Heat on medium-low, stirring often, until steaming (about 10 mins).
- Microwave hack: For single servings, cover with a damp paper towel and heat at 50% power in 1-minute bursts, stirring between.
- Slow cooker magic: From frozen, dump the block into your crockpot on low for 3-4 hours. Stir occasionally as it thaws.
Warning: Never thaw chili at room temperature! Either thaw overnight in the fridge or reheat directly from frozen. And here’s my secret – always add a tiny bit of liquid (water, broth, even beer) when reheating. The moisture brings everything back together beautifully.
Creative Ways to Use Leftover Chili
When you’re chili-d out (it happens!), try these fun transformations:
- Chili mac: Mix with cooked elbow pasta and extra cheese – kid favorite!
- Loaded nachos: Heat chili and pour over chips with all the toppings.
- Stuffed peppers: Fill halved bell peppers with chili, top with cheese, and bake.
- Breakfast hash: Heat chili in a skillet, make wells, crack eggs into them, and cover until eggs set.
My personal favorite? Chili grilled cheese – spread cold chili between bread with extra sharp cheddar, then grill until crispy. Absolute heaven!
Remember – good chili is like fine wine, it gets better with age (within reason). Follow these storage tips, and you’ll never waste a single delicious spoonful. Now go forth and meal prep like the chili champion you are!
Nutritional Information
Now, I’m no nutritionist, but after making this chili with beans recipe so many times, I’ve gotten pretty good at estimating what’s in each comforting bowl. Here’s the breakdown per serving (about 1 ½ cups) – but remember, these numbers can wiggle a bit depending on your exact ingredients and toppings!
- Calories: Around 350 (perfect for a hearty meal without feeling weighed down)
- Protein: 28g (thanks to that lean beef and protein-packed beans)
- Carbs: 30g (with 8g fiber from all those veggies and beans)
- Fat: 12g (only 4g saturated – we drained that excess grease, remember?)
- Sodium: About 600mg (using low-sodium broth helps keep this in check)
- Sugar: 8g (mostly from the tomatoes and that optional brown sugar)
A few important notes about these numbers:
- These estimates assume you’ve drained the beef well and used low-sodium broth
- Toppings like cheese or sour cream will add extra calories and fat
- Using different beans or ground turkey will change the protein/fiber amounts
- If you skip the beer, the carb count drops slightly
What I love about this chili is how nutrient-dense it is – you’re getting protein, fiber, vitamins from the veggies, and even some iron from the beef and beans. It’s comfort food you can feel good about! Just watch your portion sizes if you’re counting calories – it’s so delicious that second helpings can sneak up on you (trust me, I speak from experience).
One last thing – if you have specific dietary needs, definitely run the exact ingredients you use through a nutrition calculator. My numbers are ballpark estimates from years of making this recipe, but your mileage may vary depending on brands and modifications. Now go enjoy your chili guilt-free!
Frequently Asked Questions
Over the years, I’ve gotten so many questions about this chili with beans recipe – usually while friends are hovering over the pot, spoon in hand! Here are the most common ones, with all the answers I’ve discovered through trial and (many) delicious errors.
Should you cook beans first when making chili?
This one had me confused for years! Here’s the deal:
- Canned beans: No pre-cooking needed! Just drain and rinse them well – that thick liquid in the can can make your chili gloopy.
- Dried beans: You’ll need to soak them overnight first, then simmer until tender (about 1-2 hours) before adding to your chili. Otherwise, they’ll stay hard no matter how long you cook them!
My shortcut? I almost always use canned kidney beans – they’re perfectly cooked already and so convenient. Just don’t skip that rinsing step!
How can I adjust the spice level after cooking?
Oops, made it too spicy? Or maybe not spicy enough? Here’s how I fix it:
- Too mild: Stir in ¼ tsp cayenne or a few dashes of hot sauce. Let it simmer 5 more minutes to blend.
- Too hot: Add a tablespoon of honey or brown sugar, or stir in a dollop of sour cream right into the pot. Dairy neutralizes heat!
- For next time: Remember – you can always add more spice, but you can’t take it out. Start with less and build up.
Can I make this chili in a slow cooker?
Absolutely! Here’s how I adapt the recipe:
- Brown the meat and veggies on the stove first (this step is crucial for flavor!)
- Transfer everything to your slow cooker and add the remaining ingredients
- Cook on LOW for 6-8 hours or HIGH for 3-4 hours
- Remove the lid for the last 30 minutes to thicken (slow cookers trap moisture)
Pro tip: If using dried beans in the slow cooker, they must be pre-soaked and partially cooked first – raw dried beans can stay hard and even cause digestive issues!
Why does my chili taste better the next day?
Isn’t that the magic of chili? Here’s the science behind it:
- Flavor marriage: Overnight, all the spices and ingredients continue to blend and mellow
- Bean absorption: The beans soak up more of the delicious flavors while resting
- Fat redistribution: Those flavorful fats evenly disperse throughout the chili as it cools
This is why I almost always make a double batch – day two chili is absolute perfection! Just store it properly (see my storage section for tips).
Can I freeze this chili with beans?
You bet! In fact, it freezes beautifully. My best tips:
- Cool completely before freezing to prevent ice crystals
- Leave headspace – chili expands when frozen
- Use within 3 months for best quality (it’s safe longer but texture changes)
- Thaw overnight in the fridge before reheating
I like to freeze single portions in mason jars – perfect for quick lunches when I’m craving that chili comfort!
Got more questions? Drop them in the comments below – I’m always happy to help troubleshoot your chili adventures. After all, the only bad chili is the kind that never gets made!
Your Turn to Make This Chili with Beans Recipe!
Alright, friend, now it’s your turn to get that pot bubbling! I’ve shared all my secrets, mistakes, and happy accidents so you can make this chili with beans recipe with confidence. Trust me, once you taste that first spoonful of your own homemade chili, you’ll understand why this dish has been my comfort food obsession for years.
I’d love to hear how your chili adventure goes! Did you add an extra jalapeño? Try the cocoa powder trick? Maybe you discovered your own brilliant twist? Drop a comment below or tag me on social – nothing makes me happier than seeing your version of this recipe. Food always tastes better when it’s shared, even if it’s just swapping stories about that perfect pot of chili that brought everyone to the table. You can also follow along for more great recipes over at my Facebook page.
One last tip before you go – make a double batch. Trust me on this. Because when that chili craving hits at midnight (and it will), or when a friend stops by unexpectedly, or when you just don’t feel like cooking tomorrow, you’ll thank your past self for that ready-to-go container of beany, meaty goodness waiting in your fridge. Happy cooking, and may your chili always be spicy enough to warm your soul but never burn your tongue!