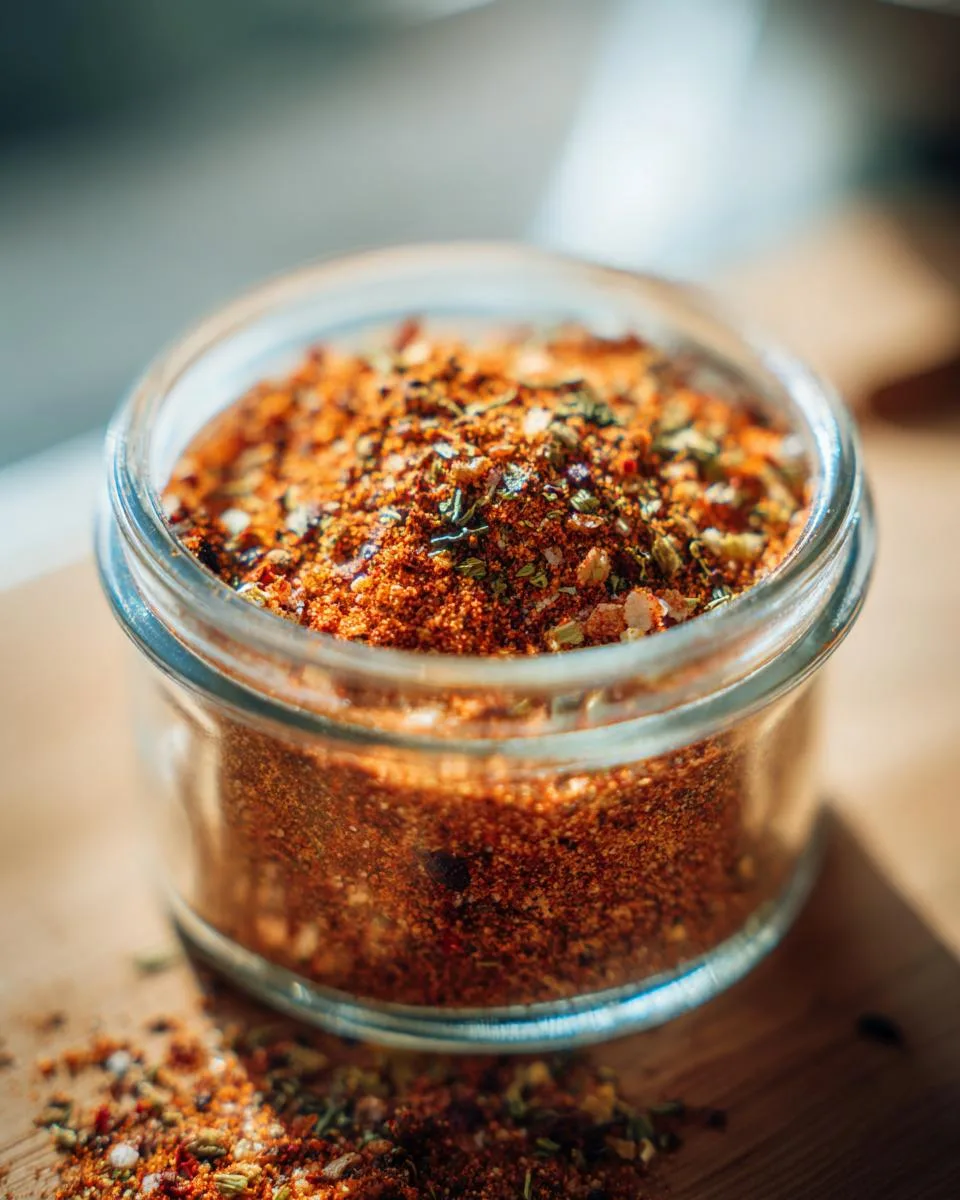
You know that moment when you’re halfway through making chili and realize you’re out of seasoning? I’ve been there too many times to count! That’s why I always keep a jar of my homemade chili seasoning ready to go. Trust me, once you try this mix, you’ll never go back to those store-bought packets. The flavor is richer, you control the salt level, and – bonus – no weird preservatives. My secret? A perfect blend of chili powder, cumin, and just enough crushed red pepper to give it a nice kick without setting your mouth on fire. Plus, it takes less than 5 minutes to whip up – I usually make a double batch while my coffee brews in the morning!
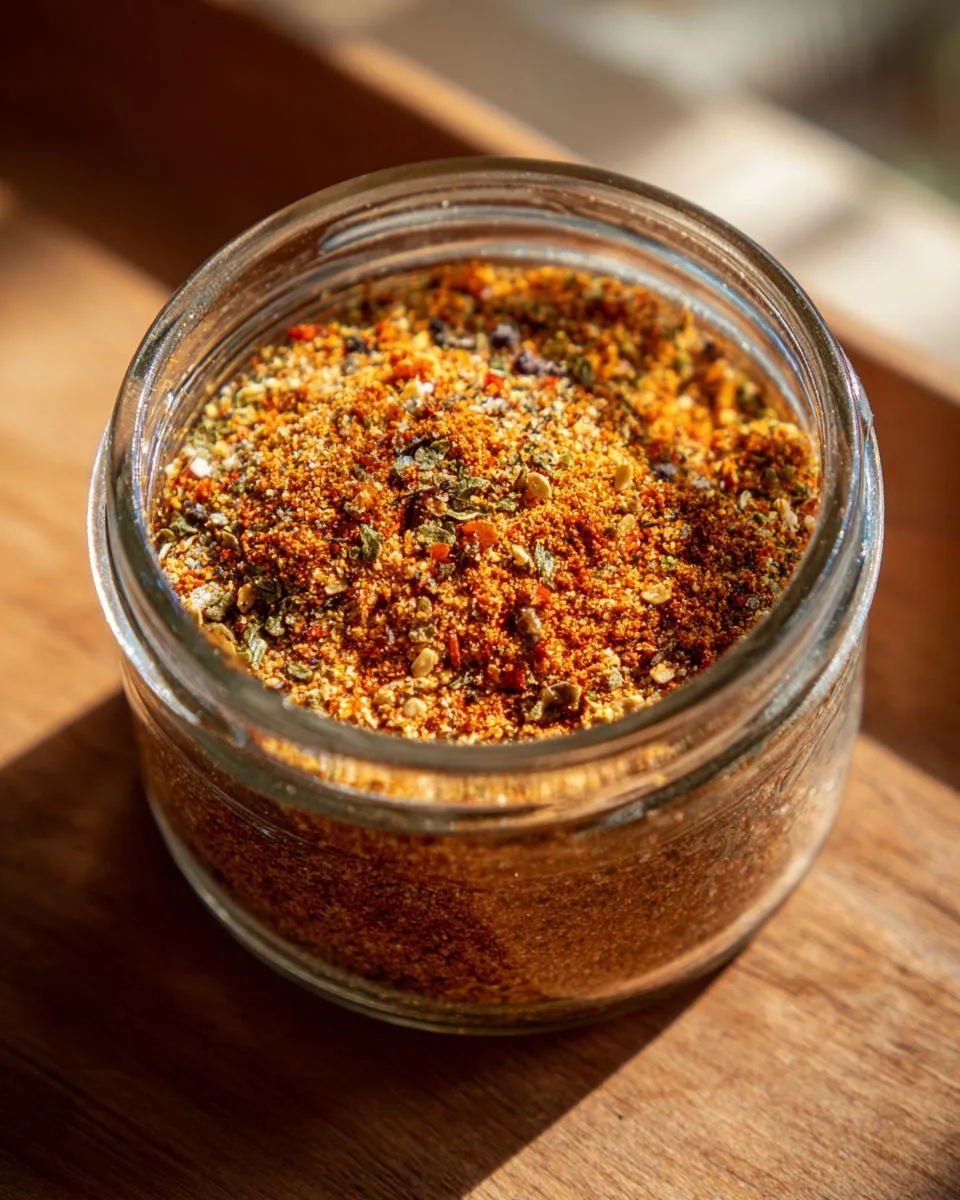
Table of Contents
Table of Contents
Why You’ll Love This Homemade Chili Seasoning
Let me tell you why this little jar of spices will become your new kitchen best friend:
- Faster than takeout – Mix it up in 5 minutes flat (I timed it!)
- Your rules, your flavor – Love it spicy? Add more red pepper. Not a fan of heat? Tone it down
- No mystery ingredients – Just real spices you can actually pronounce
- Kind to your wallet – One batch costs less than those tiny store packets
- Always ready – Stays fresh for months, so you’re never caught without seasoning again
Seriously, once you taste the difference homemade makes, you’ll wonder why you ever bought the pre-made stuff!
Ingredients for Homemade Chili Seasoning
Okay, let’s gather our flavor army! Here’s what you’ll need for the absolute best homemade chili seasoning (and yes, I’m picky about these – it makes all the difference):
- ¼ cup all-purpose flour – Our secret thickener that makes chili perfectly hearty
- 4 teaspoons chili powder – Not the spicy kind, just that rich, earthy base flavor
- 1 tablespoon crushed red pepper – This is where you control the heat (I use heaping tablespoons because I’m wild like that)
- 1 tablespoon dried minced onion – The lazy cook’s best friend (no tears!)
- 1 tablespoon dried minced garlic – Because everything’s better with garlic
- 2 teaspoons white sugar – Just enough to balance the heat without making it sweet
- 2 teaspoons ground cumin – The smoky soul of any good chili
- 2 teaspoons dried parsley – For that fresh herby note
- 2 teaspoons salt – I use kosher, but table salt works too
- 1 teaspoon dried basil – My grandma’s secret weapon
- ¼ teaspoon ground black pepper – Freshly ground if you’re feeling fancy
Quick tip: Measure your flour by spooning it into the cup – don’t scoop directly from the bag or you’ll pack in too much. Trust me, I learned this the hard way with a very thick chili once!
How to Make Homemade Chili Seasoning
Alright, let’s turn these beautiful spices into magic! Making homemade chili seasoning is easier than remembering your WiFi password – and way more rewarding. Here’s exactly how I do it every time:
Step 1: Combine Dry Ingredients
Grab your biggest mixing bowl – trust me, you’ll want the extra space. Dump in all your spices exactly as listed (I lay mine out in order so I don’t forget anything). Now here’s the important part: use a whisk to mix everything together for a full minute. I know it seems like overkill, but this ensures every teaspoon of your chili seasoning has the perfect balance of flavors. No one wants a bite that’s all salt or all heat!
Step 2: Store Properly
Don’t let your hard work go to waste! Immediately transfer your homemade chili seasoning into an airtight container. I’m obsessed with mason jars because they’re cute and functional, but any tight-lidded container works. Store it in your pantry – not near the stove where heat and moisture can ruin your spices. Pro tip: write the date on the lid with a marker so you know when you made it (though mine never lasts more than a month before I use it all up!).
Quick answers to questions I always get: Yes, you can skip the sugar if you prefer (but you’ll miss that subtle balance). And no, you don’t need to refrigerate it – room temperature keeps the flavors vibrant!
Print
5-Minute Homemade Chili Seasoning That Beats Store-Bought
- Prep Time: 5 minutes
- Cook Time: 0 minutes
- Total Time: 5 minutes
- Yield: about ½ cup 1x
- Category: Seasoning
- Method: No Cook
- Cuisine: American
- Diet: Vegetarian
Description
A simple homemade chili seasoning mix that adds rich flavor to your chili dishes.
Ingredients
- ¼ cup all-purpose flour
- 4 teaspoons chili powder
- 1 tablespoon crushed red pepper
- 1 tablespoon dried minced onion
- 1 tablespoon dried, minced garlic
- 2 teaspoons white sugar
- 2 teaspoons ground cumin
- 2 teaspoons dried parsley
- 2 teaspoons salt
- 1 teaspoon dried basil
- ¼ teaspoon ground black pepper
Instructions
- Gather all ingredients.
- Stir together flour, chili powder, red pepper, onion, garlic, sugar, cumin, parsley, salt, basil, and black pepper in a bowl.
- Store mixture in an airtight container.
Notes
- Use this mix to season your chili while cooking.
- Store in a cool, dry place for up to 6 months.
- Adjust the amount of red pepper for desired spiciness.
Nutrition
- Serving Size: 1 teaspoon
- Calories: 10
- Sugar: 0.5g
- Sodium: 200mg
- Fat: 0g
- Saturated Fat: 0g
- Unsaturated Fat: 0g
- Trans Fat: 0g
- Carbohydrates: 2g
- Fiber: 0.5g
- Protein: 0g
- Cholesterol: 0mg
Tips for the Best Homemade Chili Seasoning
Want to take your homemade chili seasoning from good to “Oh wow, what IS that flavor?” Here are my hard-earned kitchen secrets:
- Toast your spices first – Just 30 seconds in a dry pan wakes up their oils and adds incredible depth (careful – they burn fast!)
- Fight the clumps – Add a few grains of rice to your storage jar to absorb moisture and keep things flowing
- Taste as you go – Mix a pinch with water to test the flavor balance before committing to a whole batch
- Grind your own – Whole cumin seeds freshly ground make ALL the difference
Remember: this seasoning gets better after a few days as the flavors marry – if you can wait that long!
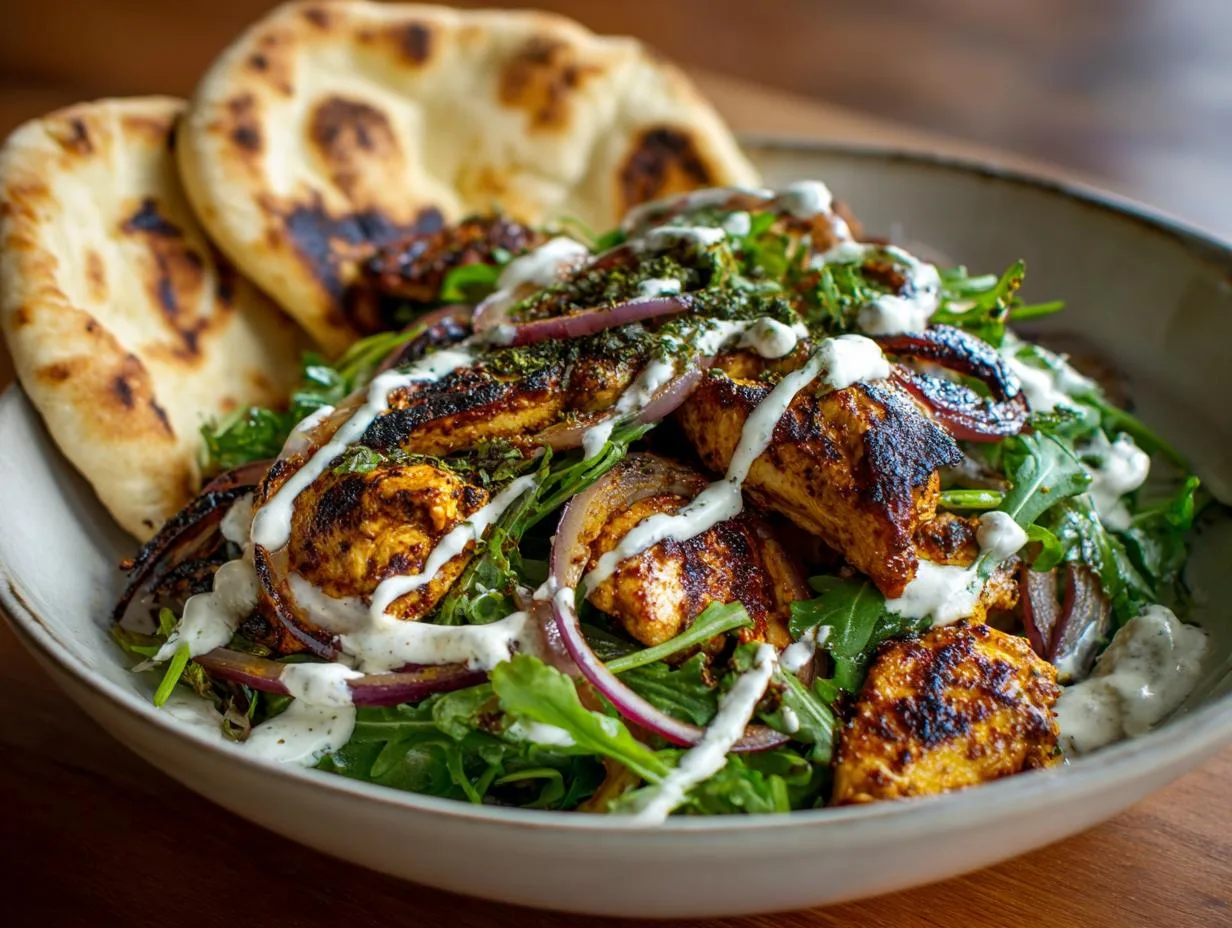
How to Use Your Homemade Chili Seasoning
Now for the fun part – let’s put this flavor bomb to work! For a standard pot of chili (about 2 pounds of meat), I use 2-3 tablespoons of seasoning – start with 2, then taste and adjust. But don’t stop there! This mix is magic on roasted veggies, in taco meat, or even as a dry rub for chicken (just add a little oil to make it stick). My favorite trick? Stir a teaspoon into sour cream for an instant flavor boost on baked potatoes. The possibilities are endless once you’ve got this versatile mix in your pantry!
Homemade Chili Seasoning Variations
Listen, rules are made to be broken – especially in the kitchen! Here’s how I play around with my homemade chili seasoning when I’m feeling adventurous:
- Smoky twist – Swap half the chili powder for smoked paprika (my husband goes crazy for this version)
- Extra heat – Replace crushed red pepper with cayenne for serious firepower
- Herb lover’s dream – Double the basil and add a teaspoon of oregano
- Texas-style – Skip the flour and add an extra tablespoon of chili powder
The beauty of homemade? You’re the boss! Just keep the total volume about the same and you can’t go wrong.
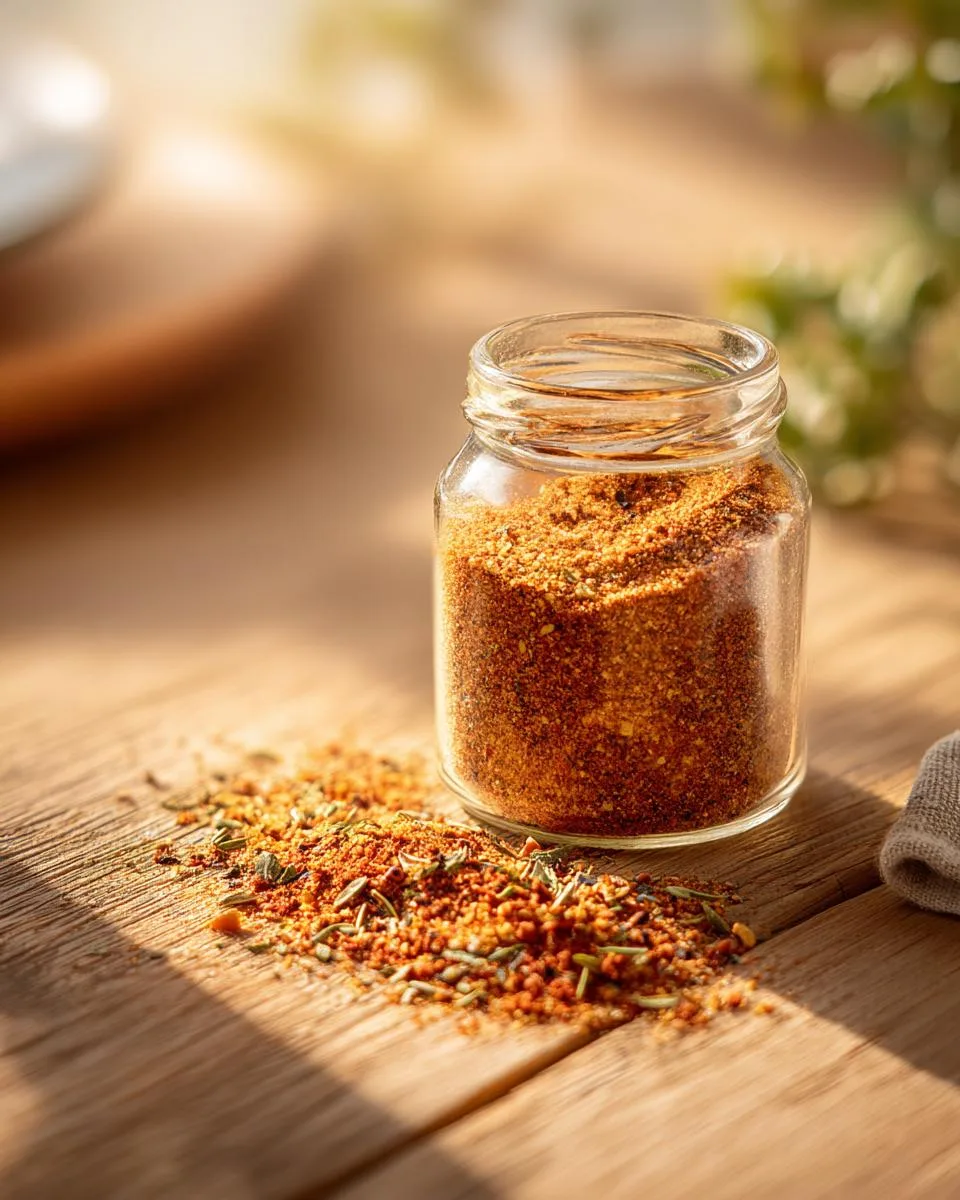
Storing Homemade Chili Seasoning
Here’s the scoop on keeping your homemade chili seasoning fresh and flavorful: store it in an airtight container (I’m partial to mason jars) in a cool, dark pantry. It’ll stay potent for about 6 months – though mine never lasts that long! If it starts smelling musty or looking clumpy, it’s time to make a fresh batch. Quick tip: those little silica packets from vitamin bottles? Toss one in your jar to prevent moisture clumps!
Homemade Chili Seasoning FAQs
Q1. Can I leave out the sugar in this chili seasoning mix?
Absolutely! The sugar just balances the heat – skip it if you prefer. I’ve made it both ways, and while I like that hint of sweetness, my keto friends swear by the sugar-free version. Just taste as you go when seasoning your chili.
Q2. How much seasoning should I use per pound of meat?
For ground beef or turkey, start with 1 tablespoon per pound – that’s my golden ratio. Remember, you can always add more but you can’t take it out! I usually toss it in when browning the meat so every bite gets coated with flavor.
Q3. What’s the best way to prevent clumping in my seasoning mix?
Two tricks I swear by: 1) Make sure all your spices are completely dry before mixing, and 2) drop in a few raw rice grains to absorb any moisture. That little tip from my grandma keeps my seasoning flowing freely for months!
Q4. Can I use fresh garlic and onion instead of dried?
You can, but the texture will be different. Fresh ingredients might make your seasoning clump faster. If you do try it, I’d recommend storing it in the fridge and using it within a couple weeks. Personally? I stick with dried for convenience and shelf life.
Nutritional Information
Heads up – these numbers are just estimates since brands vary (especially for things like chili powder and salt). Per teaspoon, you’re looking at about 10 calories, 2g carbs, and 200mg sodium. But let’s be real – you’re not eating this by the spoonful (though I won’t judge if you do)! The values will change based on how much you use in your actual chili.
Rate This Recipe
Give this homemade chili seasoning a whirl and let me know what you think! Drop a comment below with your favorite way to use it – I read every single one (and might steal your brilliant ideas!)! You can also follow along with more great recipes over at Grandma and Me Cooking on Facebook.