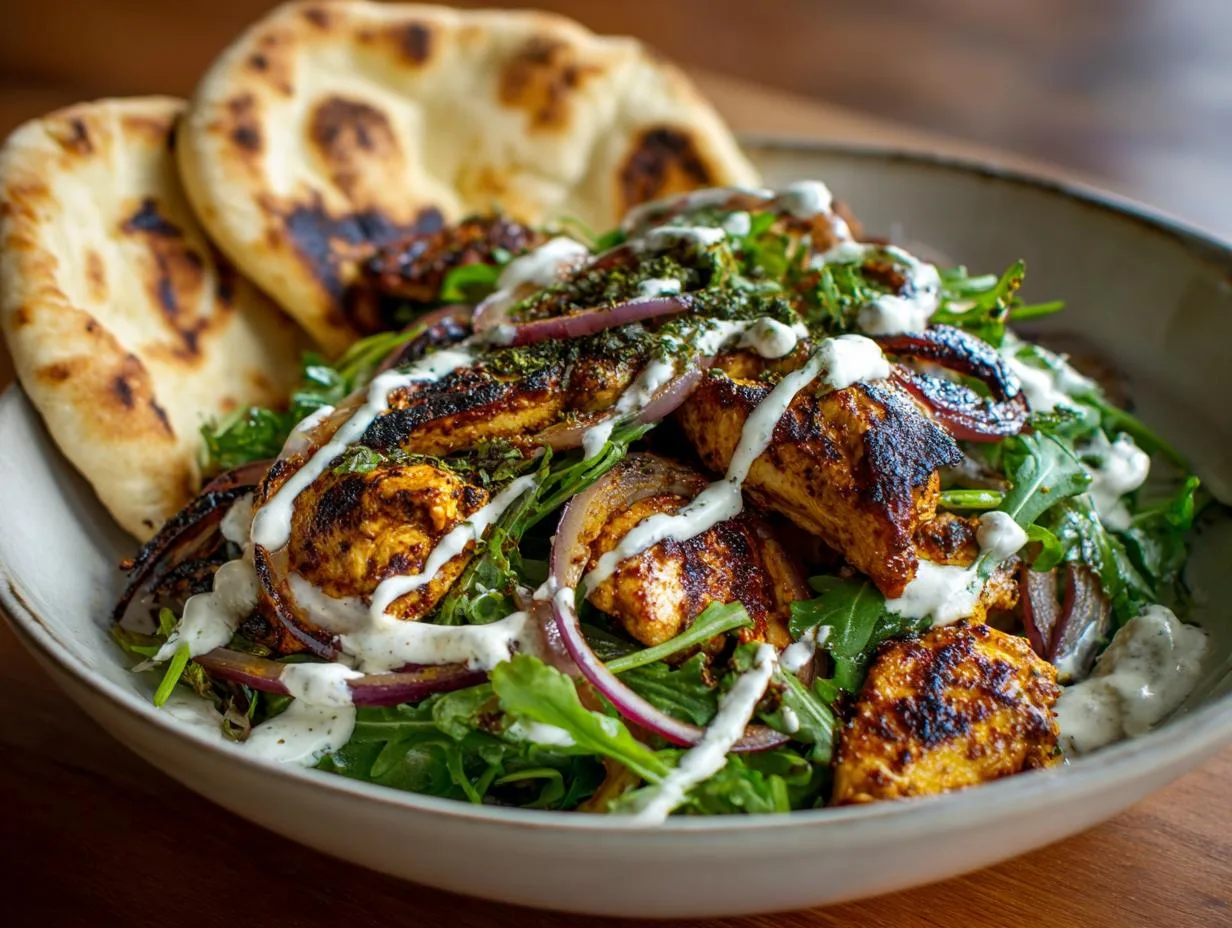
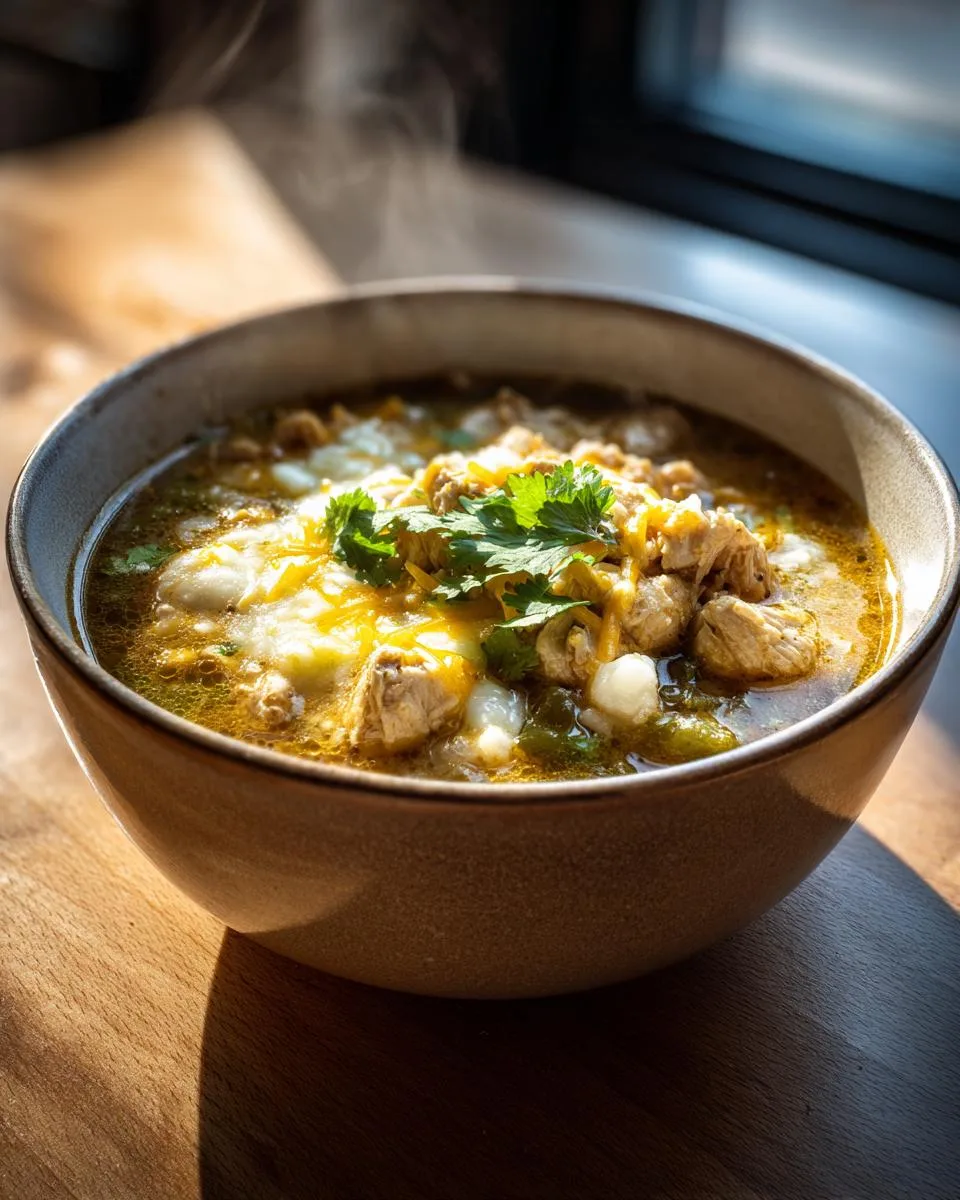
Oh my gosh, you have to try this Chili Blanco! The first time I made it, I couldn’t believe how something so creamy and comforting could feel so light. It’s like traditional chili’s sophisticated cousin – all the warmth and flavor without weighing you down. I remember serving it at a football party years ago, and my friend Mark (who claims to hate “white food”) went back for thirds!
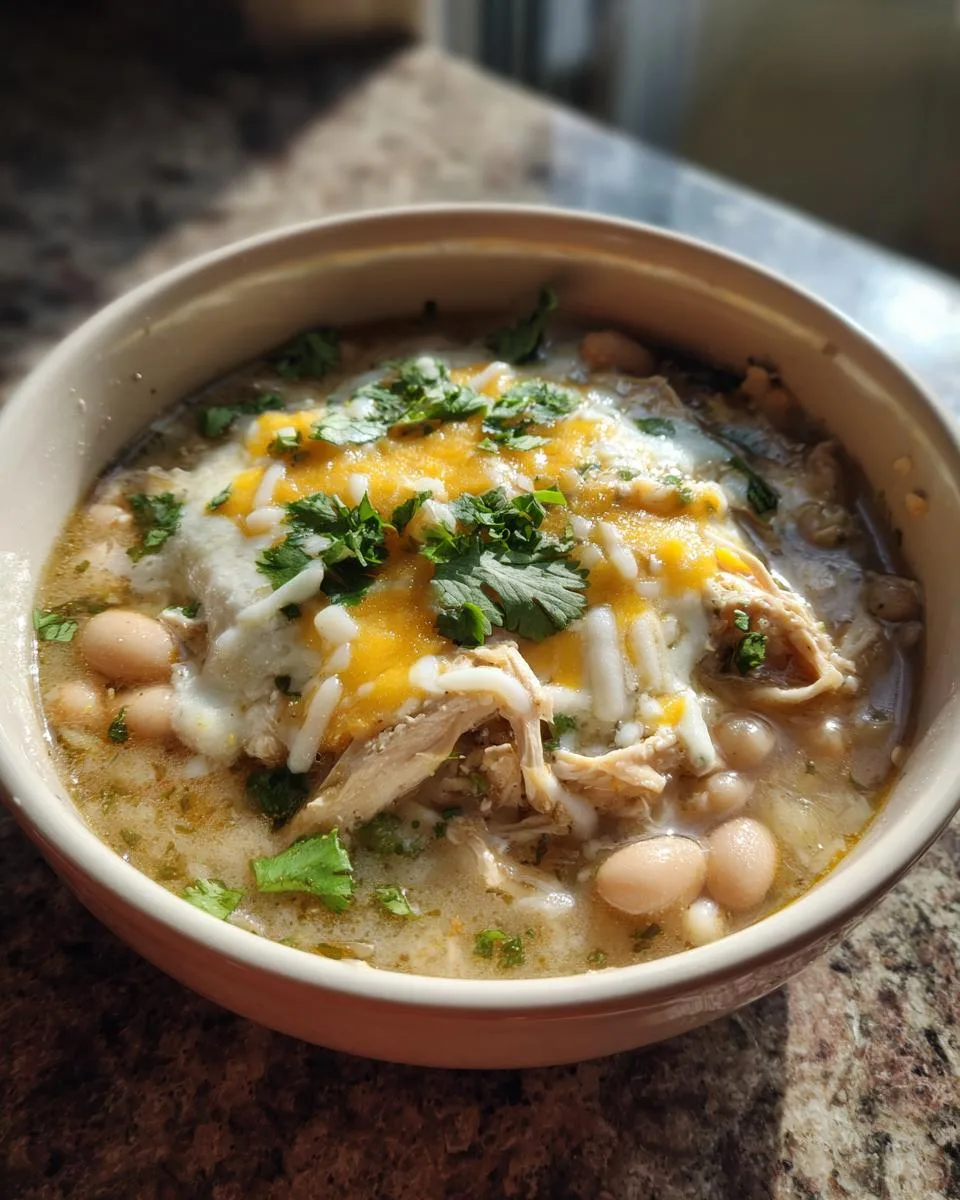
Table of Contents
Table of Contents
Why You’ll Love This Chili Blanco Recipe
What makes this white chili special is how the tender chicken, creamy beans, and just enough green chiles come together in this silky broth. And that melty Monterey Jack cheese stirred in at the end? Absolute perfection. It’s become my go-to when I want something hearty but not heavy – perfect for chilly nights or when you’re craving comfort food that won’t leave you stuffed.
Trust me, this isn’t just another chili recipe – it’s the kind of dish that makes people ask for seconds (and the recipe!). Here’s why it’s special:
- Creamy without cream: The magic happens when you stir in that Monterey Jack cheese at the end, creating this luxurious texture that coats every bite.
- Weeknight easy: From chopping to serving in under an hour – perfect when you’re starving but don’t want to spend all evening cooking.
- Flavor bomb: That combo of cumin, green chiles, and garlic? Absolute perfection. It’s got just enough kick to keep things interesting.
- Leftover gold: Somehow tastes even better the next day – if it lasts that long!
Seriously, this is the white chili that converted my “beans-only-in-red-chili” husband. One bite and you’ll be hooked!
Ingredients for Chili Blanco
Here’s everything you’ll need to make this dreamy white chili – I promise it’s all simple stuff you can find at any grocery store. The key is prepping everything before you start cooking (my grandma called this “mise en place” – fancy term for “get your act together!”).
- 1 tablespoon olive or vegetable oil – I use whatever’s handy, but olive oil adds nice flavor
- 2 medium onions, coarsely chopped (1 cup) – About the size of dice pieces – we want texture!
- 4 cloves garlic, finely chopped – No lazy garlic presses here – fresh is best
- 3 teaspoons ground cumin – The spice backbone of this dish
- 1/2 to 1 teaspoon salt – Start with less, you can always add more
- 1/8 teaspoon ground red pepper (cayenne) – Just enough for warmth, not fire
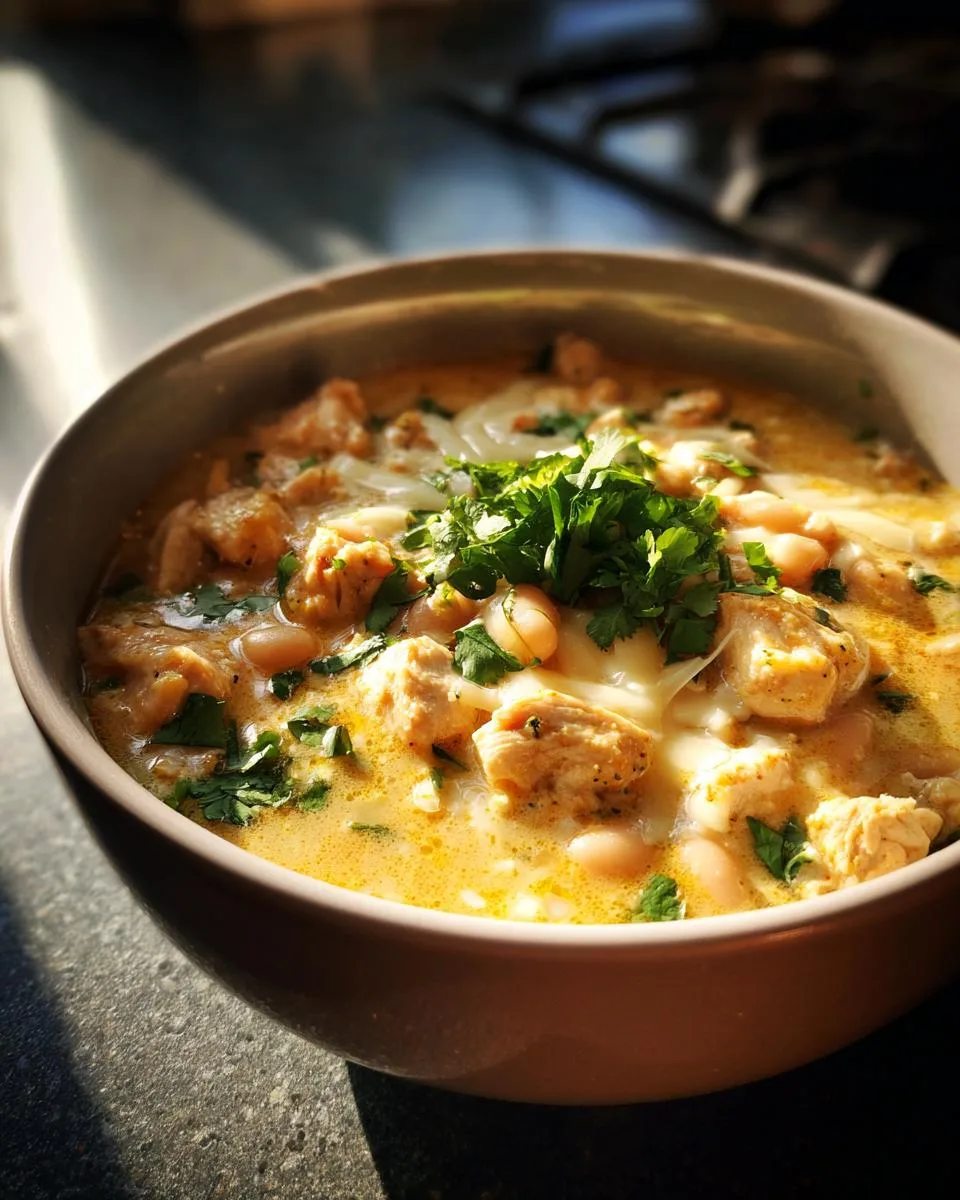
- 2 lb boneless skinless chicken thighs or breasts – Thighs stay juicier, but breasts work too
- 1 can (15 to 16 oz) great northern beans, drained, rinsed – That quick rinse removes excess starch
- 1 can (15 oz) Progresso™ cannellini beans – Different beans add nice texture contrast
- 2 cans (4 oz) Old El Paso™ Chopped Green Chiles – Mild or hot – your call!
- 2 cups Progresso™ chicken broth – Low-sodium lets you control the salt
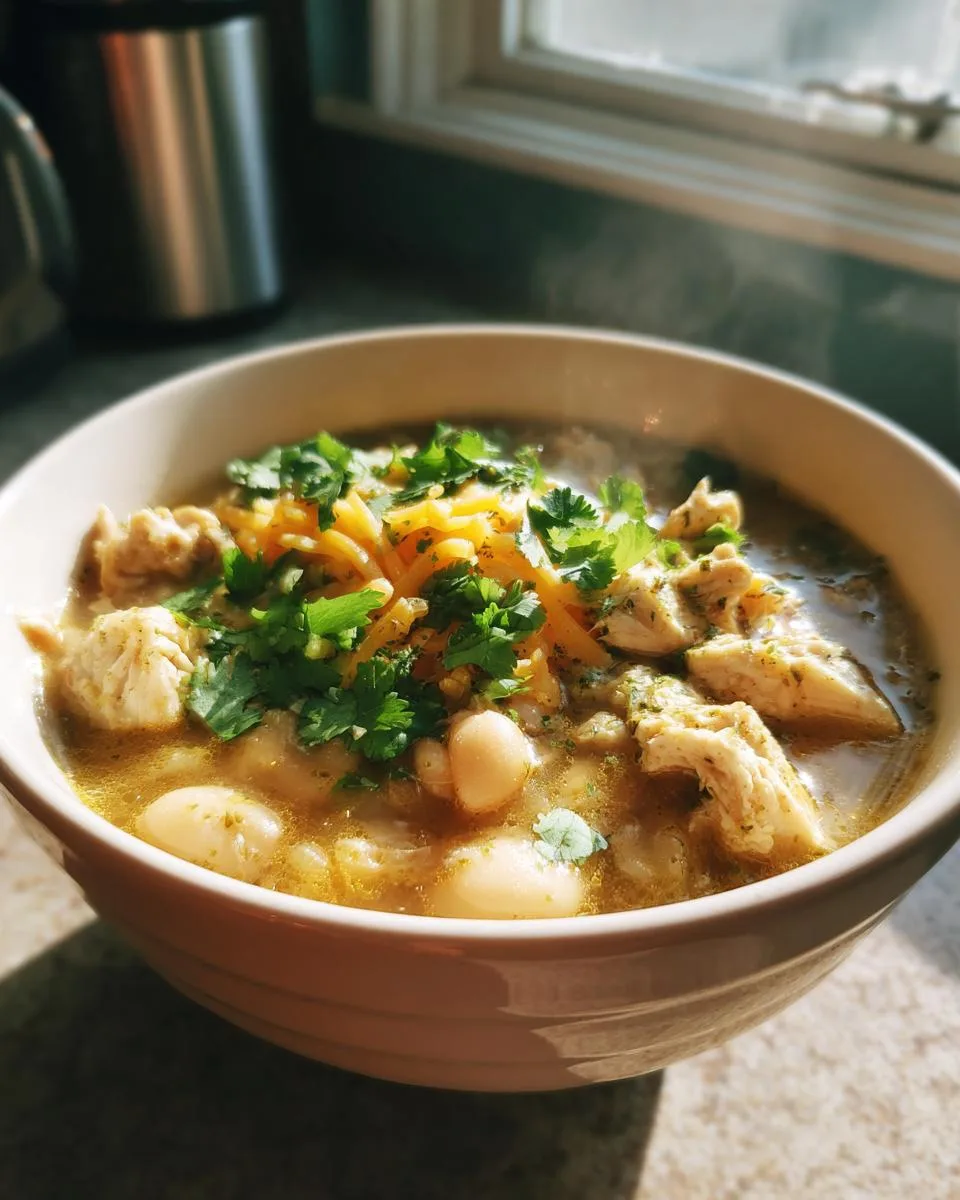
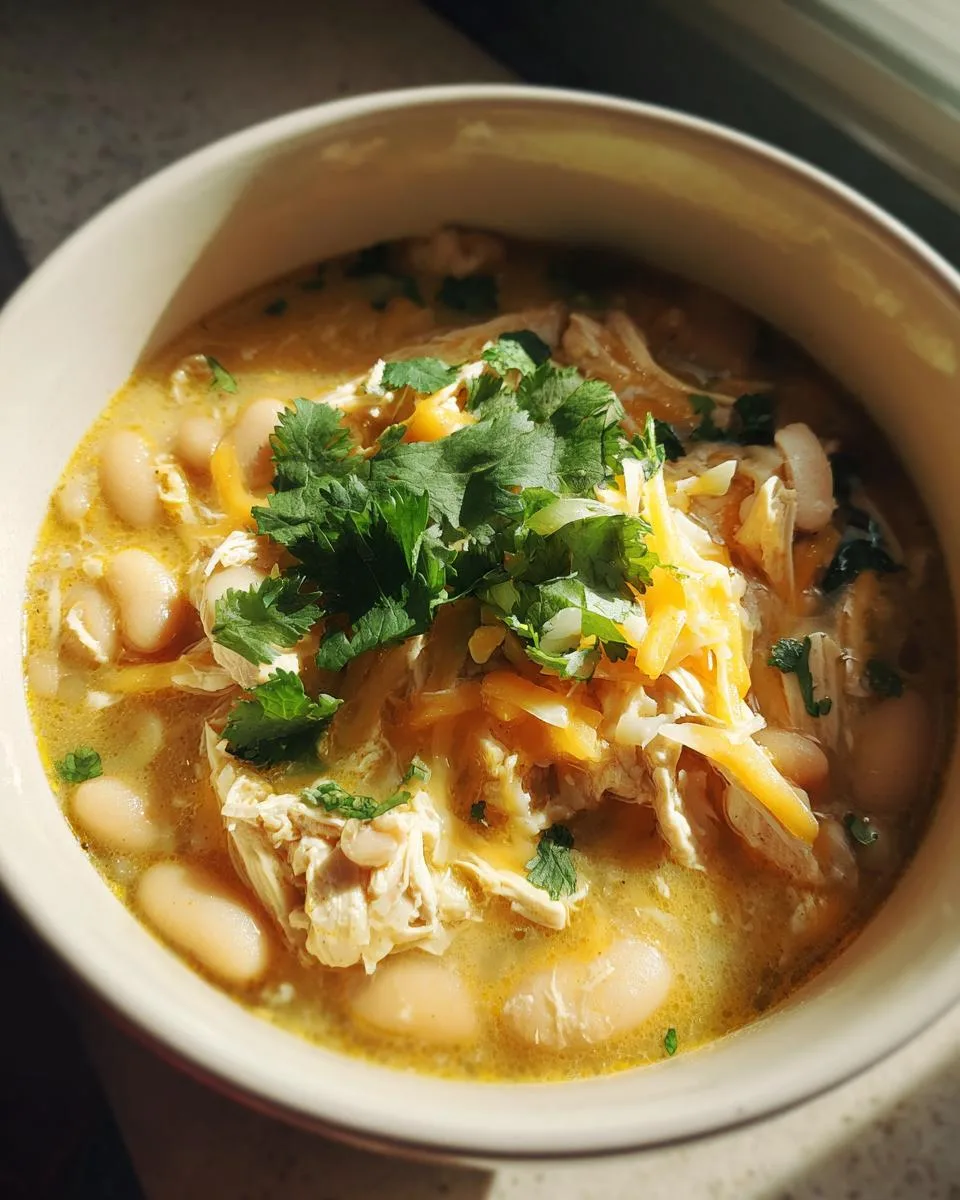
- 1 cup shredded Monterey Jack cheese (4 oz) – Buy blocks and shred yourself – it melts better
- 2 tablespoons chopped fresh cilantro – Skip if you’re a cilantro hater (no judgment!)
Quick swaps: No great northern beans? Any white bean works – navy, butter beans, even chickpeas in a pinch. And if you can’t find Monterey Jack, mild cheddar or pepper jack make great stand-ins.
How to Make Chili Blanco
Okay, here’s where the magic happens! Don’t let the simple steps fool you – each one builds layers of flavor that’ll make your taste buds sing. Grab your favorite Dutch oven or heavy pot, and let’s get cooking!
Step 1: Sauté Aromatics
First, heat that oil over medium-high heat until it shimmers – you should see little ripples when you tilt the pan. Toss in your onions and garlic (stand back – it’ll sizzle!). Now here’s my trick: stir them constantly for the first minute, then let them sit for 30 seconds between stirs. This gives them that perfect golden edge without burning. After about 4-5 minutes, your kitchen should smell amazing, and the onions will be soft and translucent. That’s your cue to move on!
Step 2: Brown Chicken
Here’s where patience pays off! Add your chicken pieces in a single layer if possible – overcrowding steams instead of browns. Let them sit undisturbed for a good 2 minutes before stirring – that golden crust equals flavor! After about 6-7 minutes total, when most pieces have lost their pink color, sprinkle in all those gorgeous spices (cumin, salt, cayenne). Stir like crazy for 30 seconds – this “blooms” the spices, releasing their oils and fragrance. Your nose will tell you when it’s ready!
Step 3: Simmer Chili Blanco
Now the fun part! Dump in your beans, green chiles, and chicken broth – it’ll look soupy at first, but trust the process. Bring it to a gentle boil, then immediately reduce to a happy simmer (medium-low heat). Cover with the lid slightly ajar and let it bubble away for 20-25 minutes. Stir occasionally – you’ll notice the broth thickening beautifully. The final touch? Off heat, stir in your cheese until it melts into creamy perfection, then fold in that fresh cilantro. Resist eating straight from the pot… if you can!
Pro tip: Don’t skip the cheese-melting step! Adding it at the end prevents separation and gives that velvety texture we all love. And whatever you do, let it sit for 5 minutes before serving – the flavors marry perfectly during this short rest.
Print
35-Minute Chili Blanco Recipe – Creamy Comfort in Every Bite
- Prep Time: 15 minutes
- Cook Time: 35 minutes
- Total Time: 50 minutes
- Yield: 6 servings 1x
- Category: Soup
- Method: Stovetop
- Cuisine: American
- Diet: Low Lactose
Description
White chili is a creamy, savory dish made with chicken, white beans, and green chiles. It’s a lighter alternative to traditional chili with a rich, comforting flavor.
Ingredients
- 1 tablespoon olive or vegetable oil
- 2 medium onions, coarsely chopped (1 cup)
- 4 cloves garlic, finely chopped
- 3 teaspoons ground cumin
- 1/2 to 1 teaspoon salt
- 1/8 teaspoon ground red pepper (cayenne)
- 2 lb boneless skinless chicken thighs or breasts, cut into 1/2-inch pieces
- 1 can (15 to 16 oz) great northern beans, drained, rinsed
- 1 can (15 oz) Progresso™ cannellini beans, drained, rinsed
- 2 cans (4 oz) Old El Paso™ Chopped Green Chiles
- 2 cups Progresso™ chicken broth (from 32-oz carton)
- 1 cup shredded Monterey Jack cheese (4 oz)
- 2 tablespoons chopped fresh cilantro
Instructions
- In 4- to 5-quart Dutch oven, heat oil over medium-high heat. Cook onions and garlic in oil 4 to 5 minutes, stirring frequently, until onions are softened.
- Stir in cumin, salt, red pepper and chicken. Cook 6 to 7 minutes, stirring occasionally, until chicken is lightly browned.
- Stir in beans, chiles and broth. Heat to boiling; reduce heat to medium-low. Cover; cook 20 to 25 minutes, stirring occasionally, until chicken is no longer pink in center. Add cheese; stir until melted. Stir in cilantro.
Notes
- You can use any white beans if great northern or cannellini beans are unavailable.
- Adjust the amount of cayenne pepper to control the spiciness.
- For a thicker consistency, simmer uncovered for an additional 5-10 minutes.
Nutrition
- Serving Size: 1 cup
- Calories: 320
- Sugar: 3g
- Sodium: 680mg
- Fat: 12g
- Saturated Fat: 4g
- Unsaturated Fat: 6g
- Trans Fat: 0g
- Carbohydrates: 22g
- Fiber: 6g
- Protein: 28g
- Cholesterol: 80mg
Tips for Perfect Chili Blanco
After making this chili more times than I can count, here are my foolproof tips for absolute perfection every single time:
- Heat control is key: That 1/8 teaspoon of cayenne is just a starting point! I always taste halfway through cooking and add a pinch more if I want extra warmth – especially great for cold winter nights.
- Thicken it your way: If your chili looks too thin after simmering, just remove the lid and let it bubble away for 5-10 more minutes. The extra evaporation makes it wonderfully hearty.
- Fresh cilantro makes all the difference: I know some folks hate it (that soapy gene thing!), but if you’re a fan, don’t skimp. That bright, herbal pop takes the flavors to another level.
- Chicken prep matters: Cut your chicken into even 1/2-inch pieces – too big and they won’t cook evenly, too small and they’ll disappear in the chili.
- Cheese hack: If your cheese isn’t melting smoothly, take the pot off heat and let it cool slightly before stirring in the cheese. Too hot and it can get stringy!
Remember – this chili is super forgiving, so don’t stress. Even my “oops” batches have turned out delicious!
Ingredient Substitutions & Notes
Listen, I know we don’t always have exactly what a recipe calls for – that’s why I’ve tested all kinds of swaps for this Chili Blanco! First, those beans: if you can’t find great northern or cannellini, pinto beans work shockingly well (they’ll make it a tad darker, but still delicious). And yes, always drain and rinse canned beans – that starchy liquid can make your chili gloppy.
No Monterey Jack? No problem! Pepper jack adds a nice kick, mild cheddar keeps it mellow, or even queso fresco for a crumbly texture. Vegetarian? Swap the chicken broth for veggie broth and use meatless chicken strips (they absorb flavors beautifully). Oh, and if you’re like my sister who forgets to buy fresh cilantro, a teaspoon of dried works in a pinch – just add it with the other spices.
One last note: canned green chiles vary in heat – I always keep a few extra cans of the mild ones for when my spice-sensitive niece visits!
Serving Suggestions for Chili Blanco
Now for the best part – loading up your bowl with all the good stuff! My absolute favorite way to serve this Chili Blanco is with a big hunk of warm cornbread on the side – that sweet crunch is perfect for scooping up every last creamy bite. But don’t stop there! Try topping with:
- Creamy avocado slices – They add this luxurious coolness against the warm spices
- Lime wedges – A quick squeeze brightens all the flavors
- Extra cilantro – Because you can never have too much green confetti
- Tortilla chips – For that satisfying salty crunch
Pro tip: Set up a toppings bar and let everyone customize their bowl – it makes dinner feel like a party!
Storing and Reheating Chili Blanco
Here’s the beautiful thing about this Chili Blanco – it gets even better as leftovers! Just let it cool completely before storing in airtight containers. In the fridge, it’ll stay dreamy for 3-4 days. Want to freeze it? Portion it out and it’ll keep beautifully for up to 3 months – perfect for those “I don’t feel like cooking” nights.
When reheating, go low and slow on the stovetop with a splash of chicken broth to bring back that creamy texture. Microwave works in a pinch, but stir every minute to prevent hotspots. Pro tip: The cheese might separate a bit after freezing – just whisk vigorously as it reheats!
Chili Blanco Nutritional Information
Okay, let’s talk numbers – but remember, these can vary based on your exact ingredients (especially if you go wild with toppings!). For one generous 1-cup serving of this Chili Blanco, you’re looking at about 320 calories, with a powerhouse 28g of protein from all that chicken and beans. The 22g carbs come mostly from those creamy white beans, and you get a solid 6g of fiber too!
Pro tip: Want to lighten it up? Use low-fat cheese or reduce the oil slightly – but honestly, I think the full-fat version is totally worth it for that velvety texture!
FAQ About Chili Blanco
I get asked about this Chili Blanco recipe all the time – here are the most common questions that pop up (and my tested answers!):
“Can I use chicken breasts instead of thighs?” Absolutely! Thighs stay juicier, but breasts work just fine. Just don’t overcook them – check for doneness a few minutes early since breasts dry out faster. My trick? Cut them slightly larger than thigh pieces to compensate.
“Is this chili gluten-free?” Yes! All the ingredients are naturally gluten-free, but always double-check your chicken broth and canned goods if you’re super sensitive. Some brands add sneaky thickeners.
“How can I make it spicier?” Easy fixes: Use hot green chiles instead of mild, bump up the cayenne, or stir in diced jalapeños when sautéing the onions. For serious heat lovers, I sometimes add a minced serrano pepper – just warn your guests!
“Can I make this in a slow cooker?” You bet! Sauté the aromatics first (this step matters!), then dump everything except the cheese and cilantro into the crock. Cook on low 4-6 hours, then stir in the cheese at the end.
“Why do my beans get mushy?” Over-stirring is usually the culprit! Gently fold them in and resist constant stirring during the simmer. Canned beans are already tender – they just need to heat through and absorb flavors.
Share Your Chili Blanco Experience
Did you make this Chili Blanco? I’d love to hear how it turned out! Leave a comment below or snap a photo of your steaming bowl (cheese pull shots get bonus points!). Your feedback helps other home cooks discover this cozy recipe too. I share more cooking adventures over on my Facebook page!