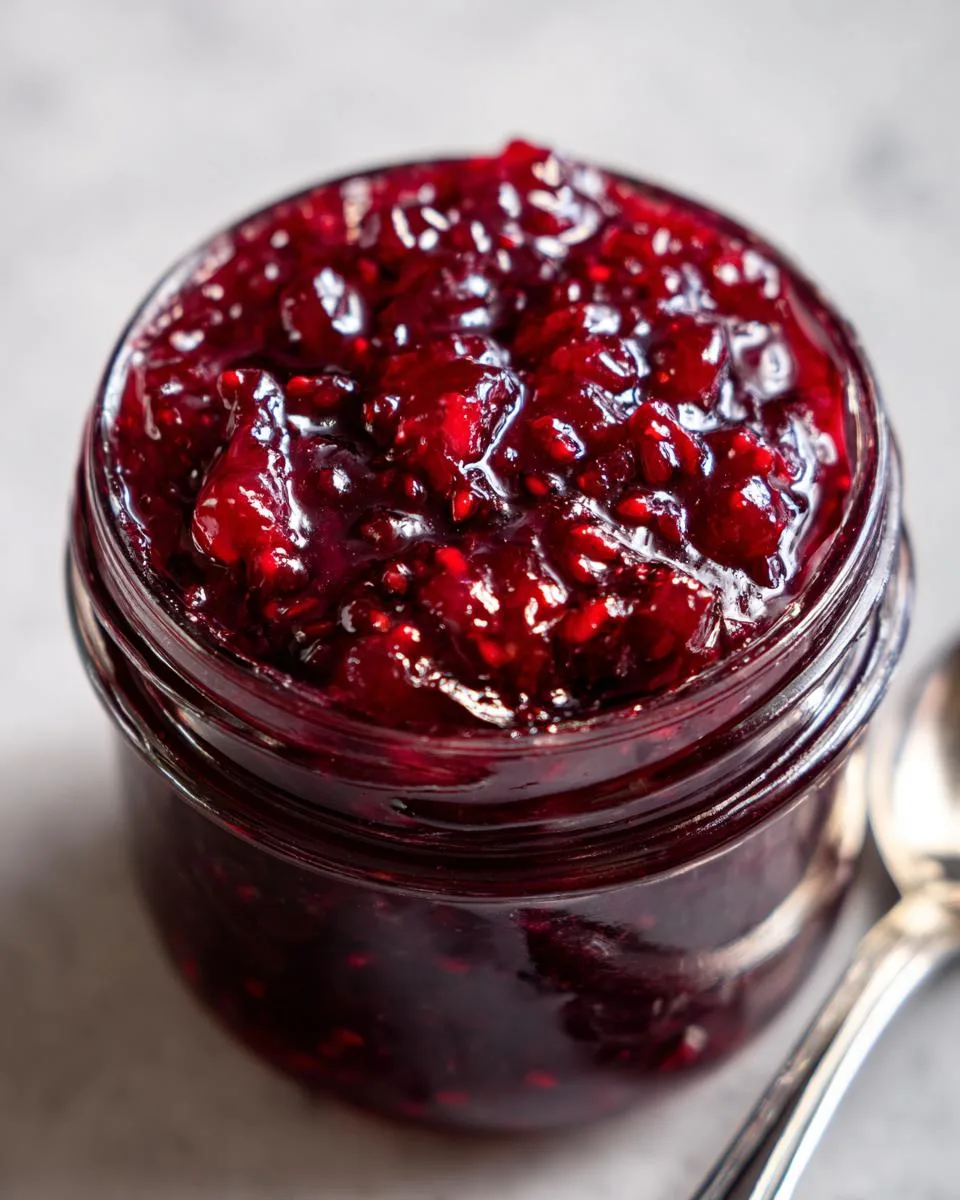
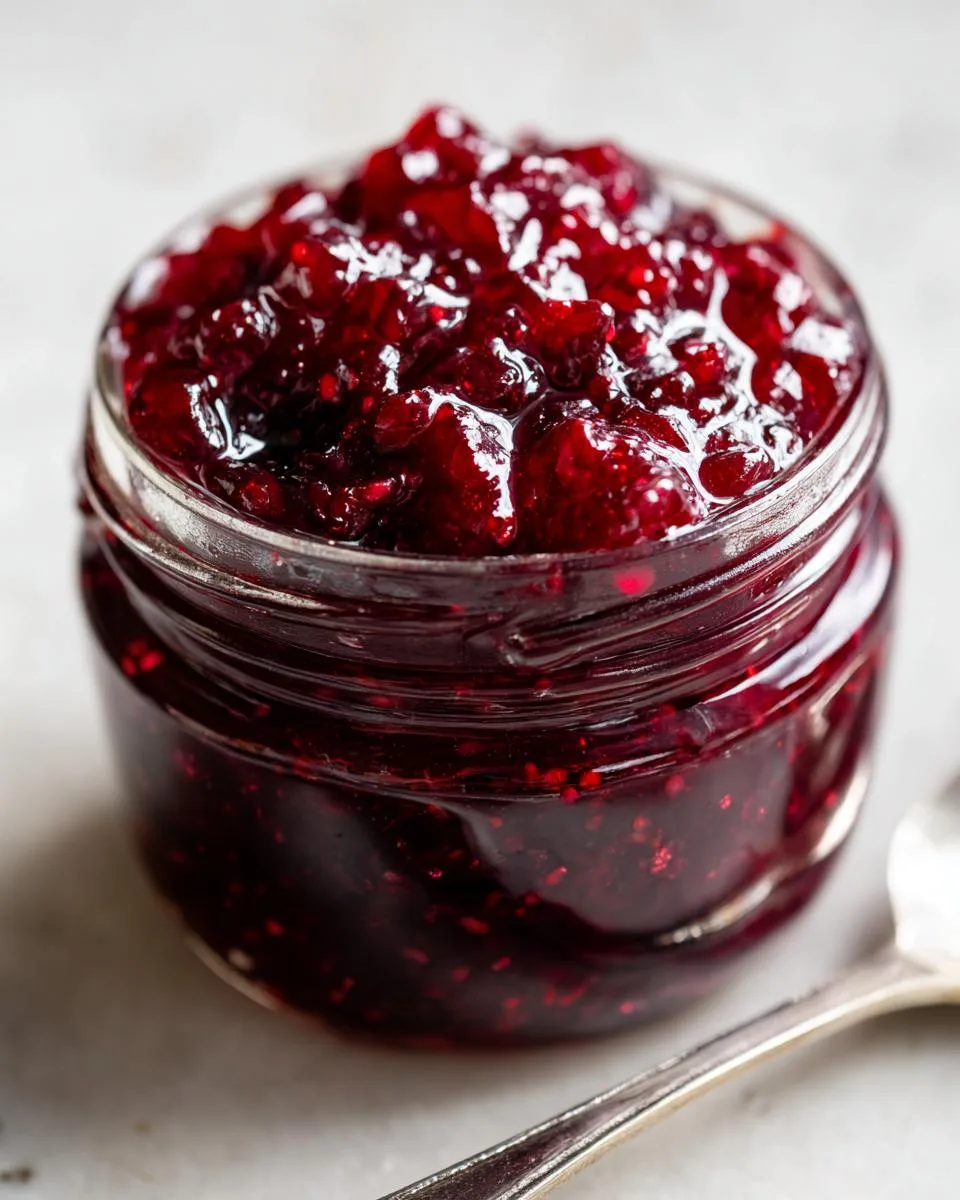
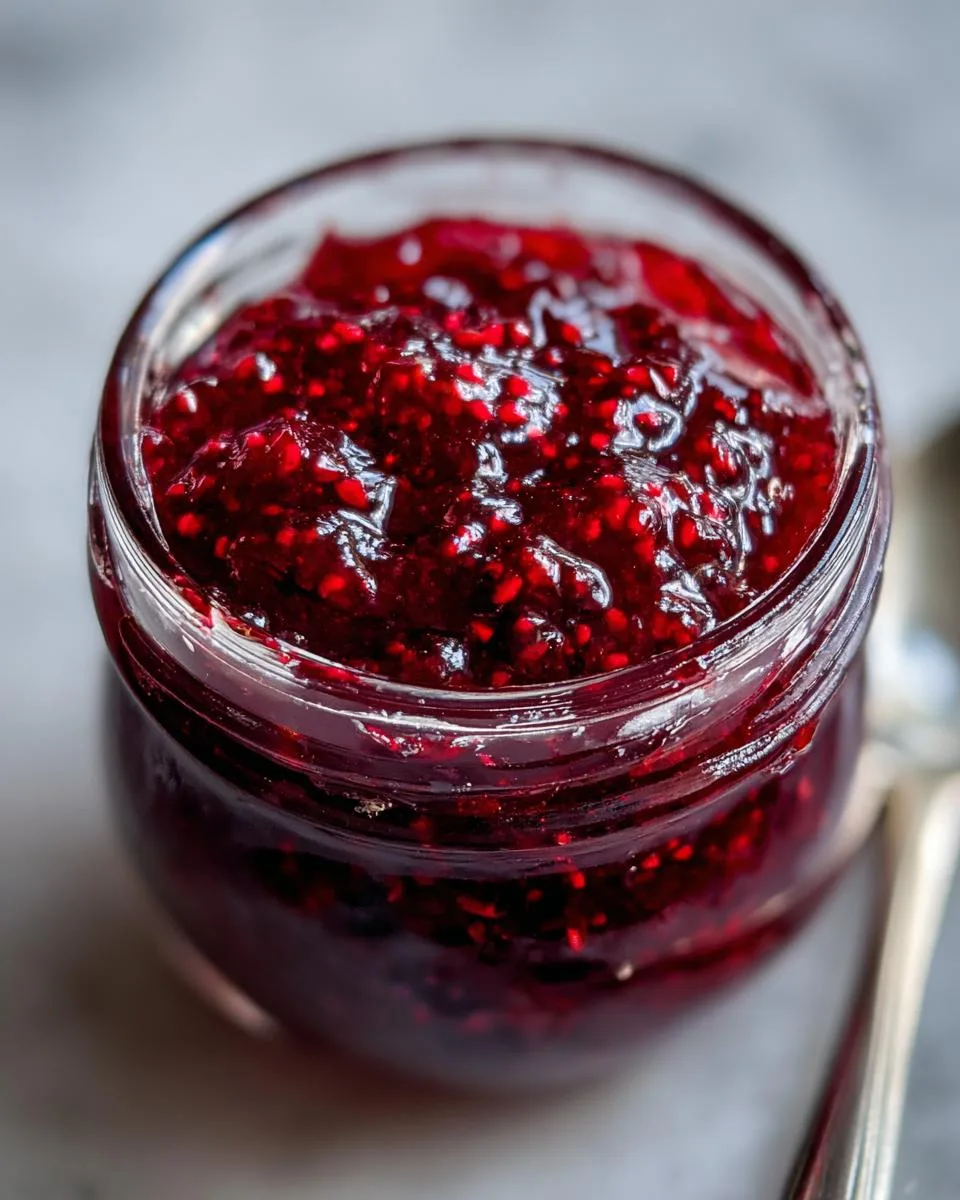
Oh, let me tell you about my obsession with small batch cherry jam! There’s something magical about capturing summer’s juiciest cherries in a jar without spending hours over a hot stove. I discovered this method years ago when my neighbor’s cherry tree went wild – I had buckets of fruit and zero patience for complicated preserving. This recipe became my go-to because it’s fast, foolproof, and tastes like sunshine in a spoon.
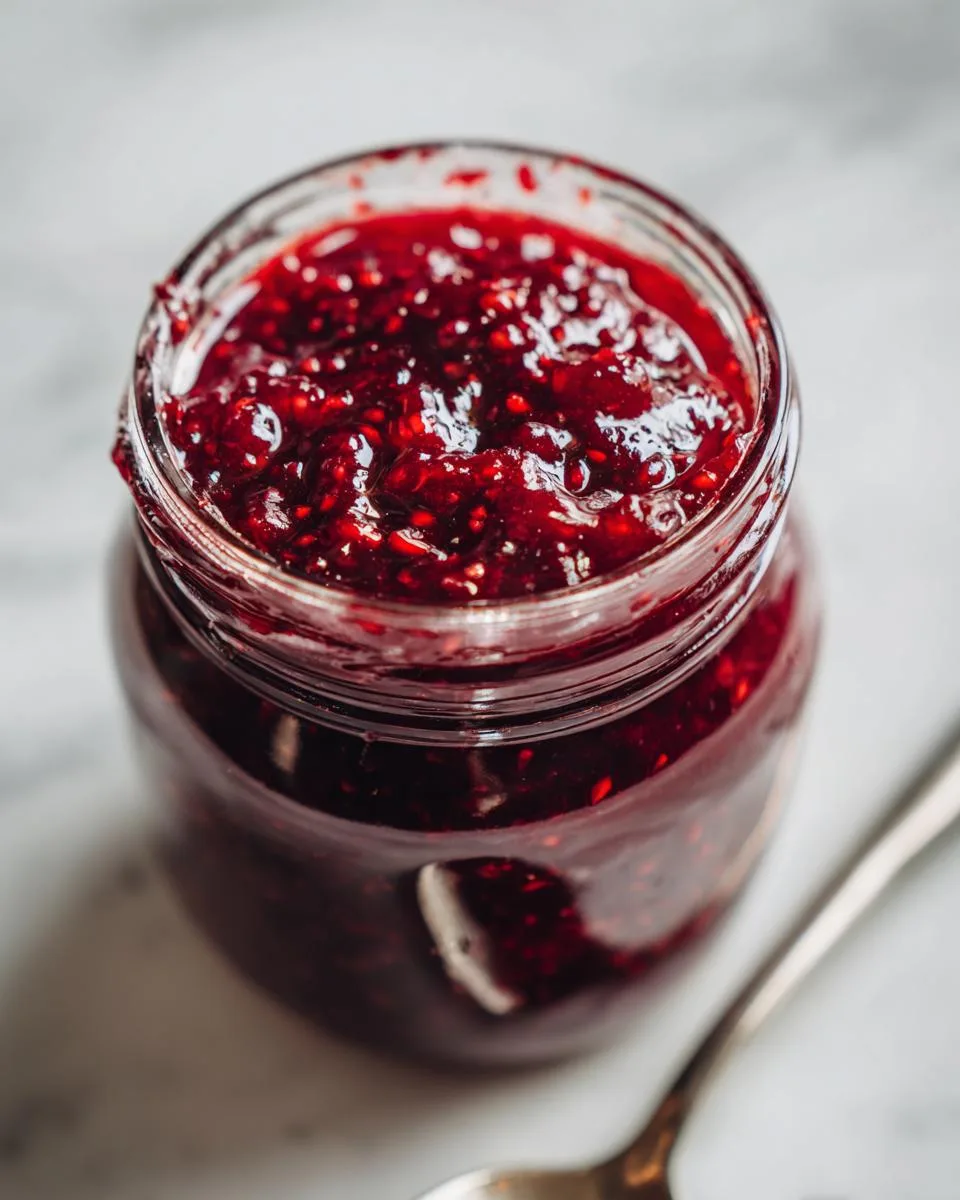
Table of Contents
Table of Contents
Why You’ll Love This Small Batch Cherry Jam
What I love most? You don’t need fancy equipment or pectin – just good cherries, a saucepan, and about 30 minutes. The jam turns out perfectly sweet-tart with those gorgeous ruby chunks of fruit. It’s the kind of recipe you’ll make on a lazy Sunday morning while still in your pajamas, and by breakfast time, you’re spreading homemade goodness on toast. Trust me, once you taste fresh cherry jam made this way, you’ll never go back to store-bought!
This jam is my kitchen superhero – it swoops in to save the day when you need something special fast. Here’s why it’s become my summer staple:
- Quick magic: Done in 30 minutes flat – no all-day canning sessions!
- Pectin-free perfection: The natural fruit pectin in cherries thickens it beautifully.
- Bursting with flavor: Tastes like fresh-picked cherries, not that overly sweet store stuff.
- Small batch bliss: Makes just enough to enjoy now (no wasting half a pantry shelf).
- Foolproof: Even my disaster-prone cousin nailed this on her first try.
Seriously, your morning toast will never be the same again.
Ingredients for Small Batch Cherry Jam
Here’s the beautiful simplicity of this recipe – just five ingredients (and one’s optional!) to make magic happen:
- 2 cups cherries – pitted and chopped (fresh tastes brightest, but frozen works in a pinch)
- 1/2 cup sugar – granulated lets the cherry flavor shine
- 1 tablespoon lemon juice – the acid that makes the flavors pop
- 1 teaspoon lemon zest – that little citrus kick is everything
- 1/4 teaspoon vanilla extract – optional, but adds such a lovely depth
See? No weird additives – just real ingredients that let those gorgeous cherries be the star.
Equipment You’ll Need
Don’t stress – you probably have everything already! Here’s what I grab from my kitchen:
- A medium saucepan – nothing fancy, just something sturdy
- Wooden spoon – for stirring (metal can react with the acid)
- Clean jars – I reuse small jam jars or even cute little mason jars
That’s it! No special canning gear required for this small batch magic.
How to Make Small Batch Cherry Jam
Okay, let’s get to the fun part – turning those gorgeous cherries into jam! This process is so simple you’ll wonder why you ever bought jam at the store. Just follow these easy steps and you’ll be spreading homemade goodness in no time.
Step 1: Combine Ingredients
First, grab your saucepan and dump in those beautiful chopped cherries (juices and all!), sugar, lemon juice, and zest. Give it all a good stir – I like to let it sit for about 5 minutes before turning on the heat. This helps the sugar start drawing out the cherry juices. Then, set your burner to medium heat – not too hot! We want gentle bubbling, not volcanic eruptions.
Step 2: Cook Until Thickened
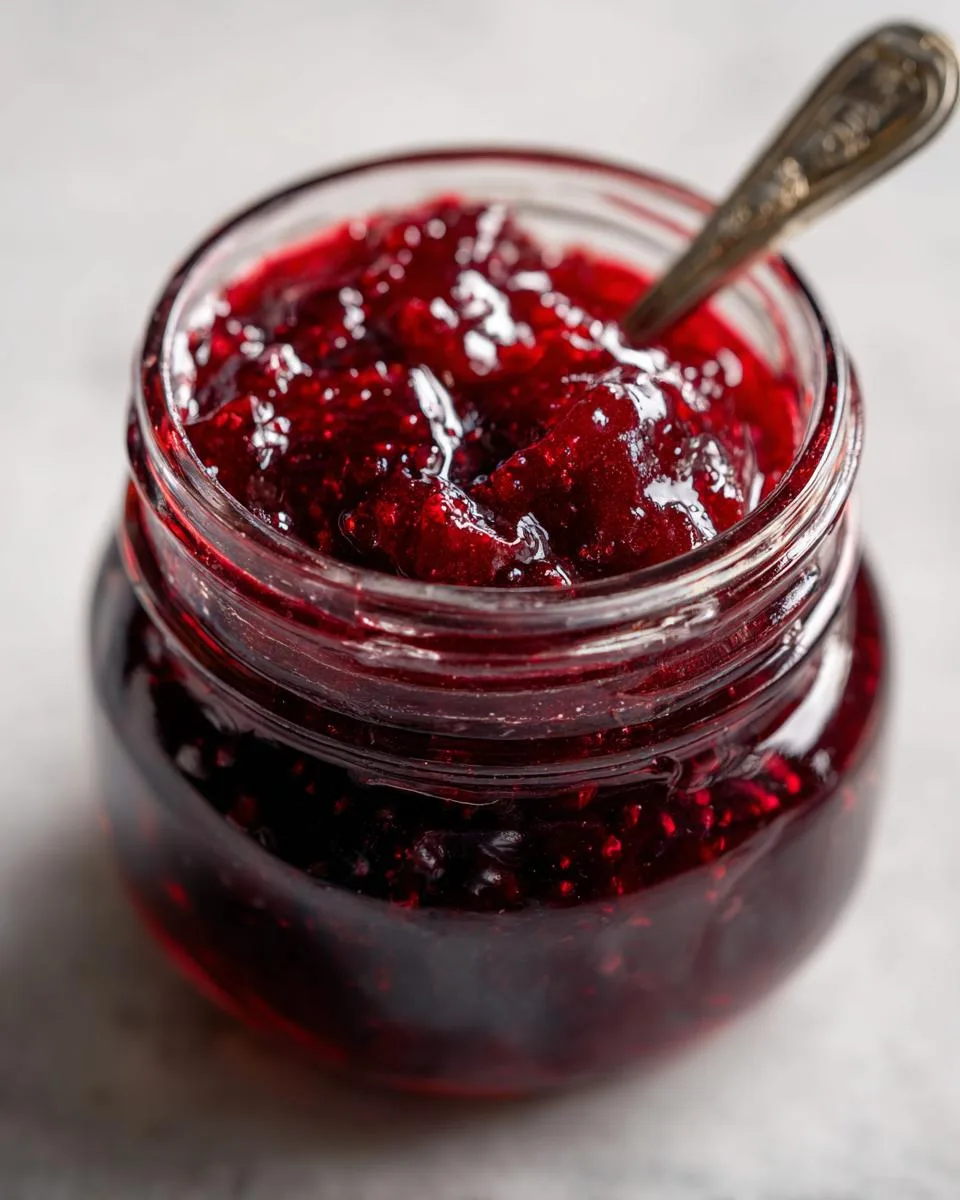
Now comes the magic! Stir occasionally at first, then more frequently as it thickens. After about 15 minutes, you’ll notice the bubbles changing – they’ll get slower and thicker. Here’s my favorite test: dip a cold spoon in and let the jam drip off. When it coats the back of the spoon and the drips slow way down (like honey), you’re golden! This usually takes 15-20 minutes total.
Step 3: Cool and Store
Turn off the heat and stir in that vanilla if you’re using it – wow, what a smell! Let the jam cool slightly (about 10 minutes) before pouring into clean jars. It’ll thicken more as it cools. For fridge storage, just pop the lid on once it’s room temperature – good for 2 weeks! For freezer storage, leave about 1/2 inch space at the top – it’ll keep beautifully for 3 months.
Print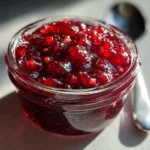
30-Minute Small Batch Cherry Jam Recipe – Irresistible & Easy
- Prep Time: 10 minutes
- Cook Time: 20 minutes
- Total Time: 30 minutes
- Yield: 1 cup 1x
- Category: Preserves
- Method: Stovetop
- Cuisine: American
- Diet: Vegan
Description
A simple recipe for small batch cherry jam, perfect for preserving summer flavors.
Ingredients
- 2 cups fresh or frozen cherries, pitted and chopped
- 1/2 cup granulated sugar
- 1 tablespoon lemon juice
- 1 teaspoon lemon zest
- 1/4 teaspoon vanilla extract (optional)
Instructions
- Combine cherries, sugar, lemon juice, and lemon zest in a saucepan.
- Cook over medium heat, stirring occasionally, until the mixture thickens (about 15-20 minutes).
- Remove from heat and stir in vanilla extract if using.
- Let cool slightly, then transfer to clean jars or containers.
- Store in the refrigerator for up to 2 weeks or freeze for longer storage.
Notes
- Use fresh cherries for the best flavor, but frozen cherries work too.
- Adjust sugar to taste if cherries are very tart or sweet.
- For a smoother jam, blend briefly with an immersion blender.
Nutrition
- Serving Size: 1 tablespoon
- Calories: 50
- Sugar: 12g
- Sodium: 0mg
- Fat: 0g
- Saturated Fat: 0g
- Unsaturated Fat: 0g
- Trans Fat: 0g
- Carbohydrates: 13g
- Fiber: 0.5g
- Protein: 0.2g
- Cholesterol: 0mg
Tips for Perfect Small Batch Cherry Jam
After making dozens of batches (okay, maybe hundreds), I’ve picked up some tricks to guarantee jam success every time:
- Taste as you go: Cherries vary in sweetness – adjust sugar after 10 minutes of cooking if needed.
- Want it smoother? Hit it with an immersion blender for just 2-3 pulses – keeps some texture but spreads easier.
- Watch the foam: Skim off any bubbles with a spoon for prettier jam (but honestly, I usually just stir them in).
- Pit smarter: Use a chopstick to push pits out through the stem end – way faster than a knife!
Remember – jam thickens more as it cools, so don’t overcook it!
Variations and Substitutions
One of my favorite things about this recipe is how easily you can play with it! Here are some delicious twists I’ve tried:
- Citrus swap: Orange zest instead of lemon gives a sweeter, sunnier vibe
- Honey magic: Replace half the sugar with honey for deeper flavor (reduce lemon juice slightly)
- Spice it up: A pinch of cinnamon or cardamom adds cozy warmth
- Berry buddies: Mix in a handful of raspberries for a gorgeous flavor combo
The best part? Even my “experiments” turn out delicious – this recipe is wonderfully forgiving! If you enjoy experimenting with homemade preserves, check out more of my recipes for inspiration.
Serving Suggestions
Oh, the possibilities! This cherry jam shines brightest when it’s:
- Slathered on warm, crusty bread (my Saturday morning ritual)
- Swirled into Greek yogurt with granola
- Paired with creamy brie on crackers (trust me, it’s magical)
- Dolloped on pancakes instead of syrup
Honestly? I’ve been known to eat it straight from the jar with a spoon – no judgment! You can see some of my other favorite ways to use fresh ingredients over on my Facebook page.
Storing and Freezing Small Batch Cherry Jam
Here’s the best part – this jam keeps beautifully! For fridge storage, just pop it into clean jars (I save old jam jars for this) and it’ll stay fresh for 2 weeks – if it lasts that long! For longer keeping, freeze it in small containers (leave 1/2 inch space for expansion) and it’s good for 3 months. Pro tip: freeze in ice cube trays first, then transfer to bags – perfect single-serving portions for yogurt or oatmeal!
Small Batch Cherry Jam FAQs
I get asked these questions all the time – here’s everything you need to know about making perfect cherry jam:
Do I need to add pectin?
Nope! Cherries have enough natural pectin to thicken beautifully on their own. The lemon juice helps activate it – just be patient while it cooks down.
Can I really use frozen cherries?
Absolutely! I keep bags of pitted cherries in my freezer year-round for emergency jam cravings. Just thaw them first and drain any excess liquid.
How long does it last in the fridge?
About 2 weeks – if you can resist eating it all sooner! The sugar acts as a preservative, but with no formal canning, we keep it refrigerated.
How do I keep nice fruit chunks?
Don’t stir too vigorously while cooking! I give gentle folds every few minutes. For extra chunk insurance, add some whole cherries halfway through cooking.
See? Nothing to stress about – this jam practically makes itself!
Nutritional Information
Here’s the scoop per tablespoon (because let’s be real – who stops at one?): about 50 calories, mostly from the natural fruit sugars. Exact numbers vary slightly depending on your cherries’ sweetness and sugar adjustments. Remember – homemade means no weird additives, just honest ingredients!
Rate This Recipe
Did you make this cherry jam? I’d love to hear how it turned out! Drop a quick note below – your feedback makes my day.