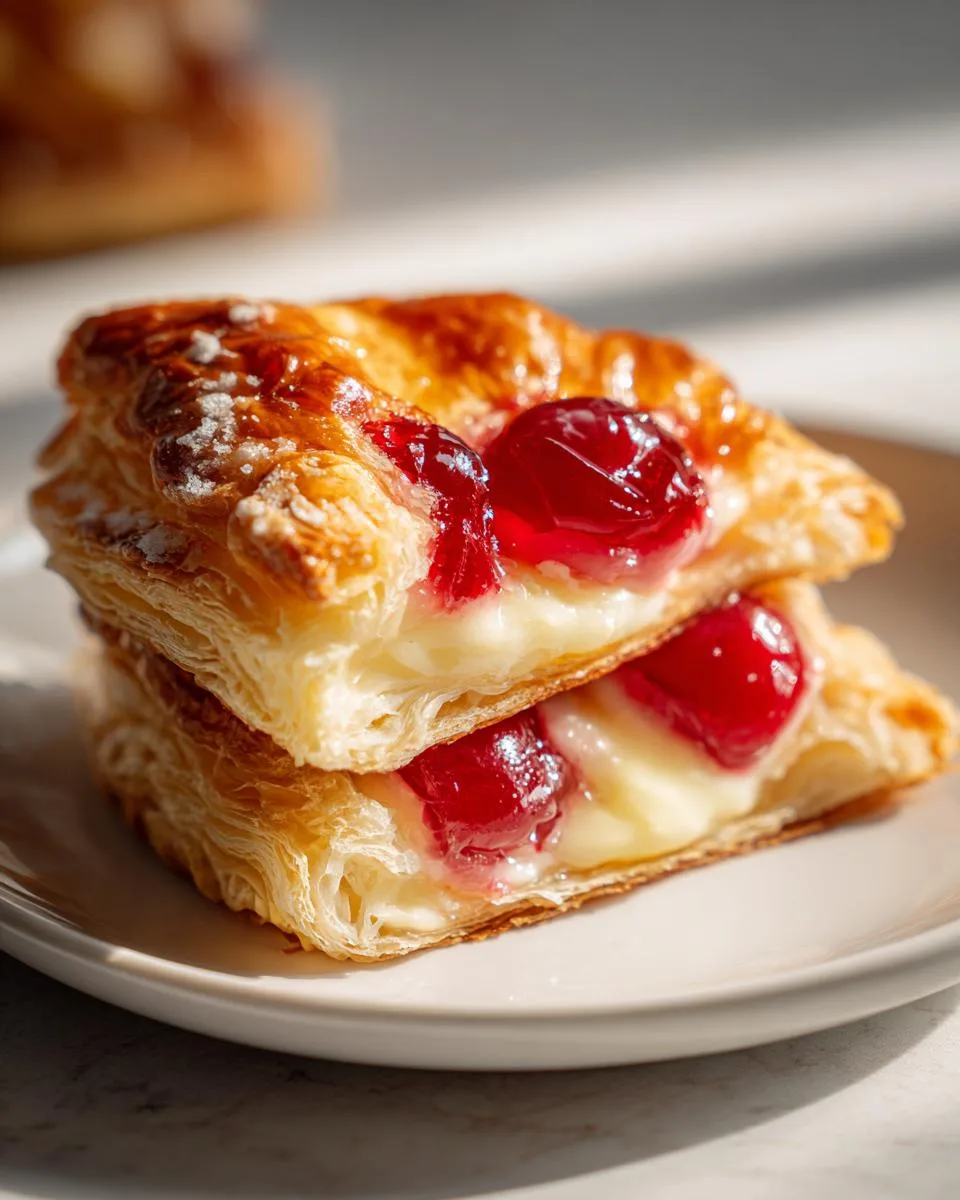
Oh, let me tell you about my love affair with cherry cheese danishes! There’s something magical about that flaky puff pastry hugging sweet cream cheese filling and tart cherries. I still remember the first time I made this Cherry Cheese Danish Recipe – it was a lazy Sunday morning, and I wanted something special without spending hours in the kitchen. Twenty minutes later, my kitchen smelled like a bakery, and my family couldn’t believe I’d whipped up something so impressive so quickly.
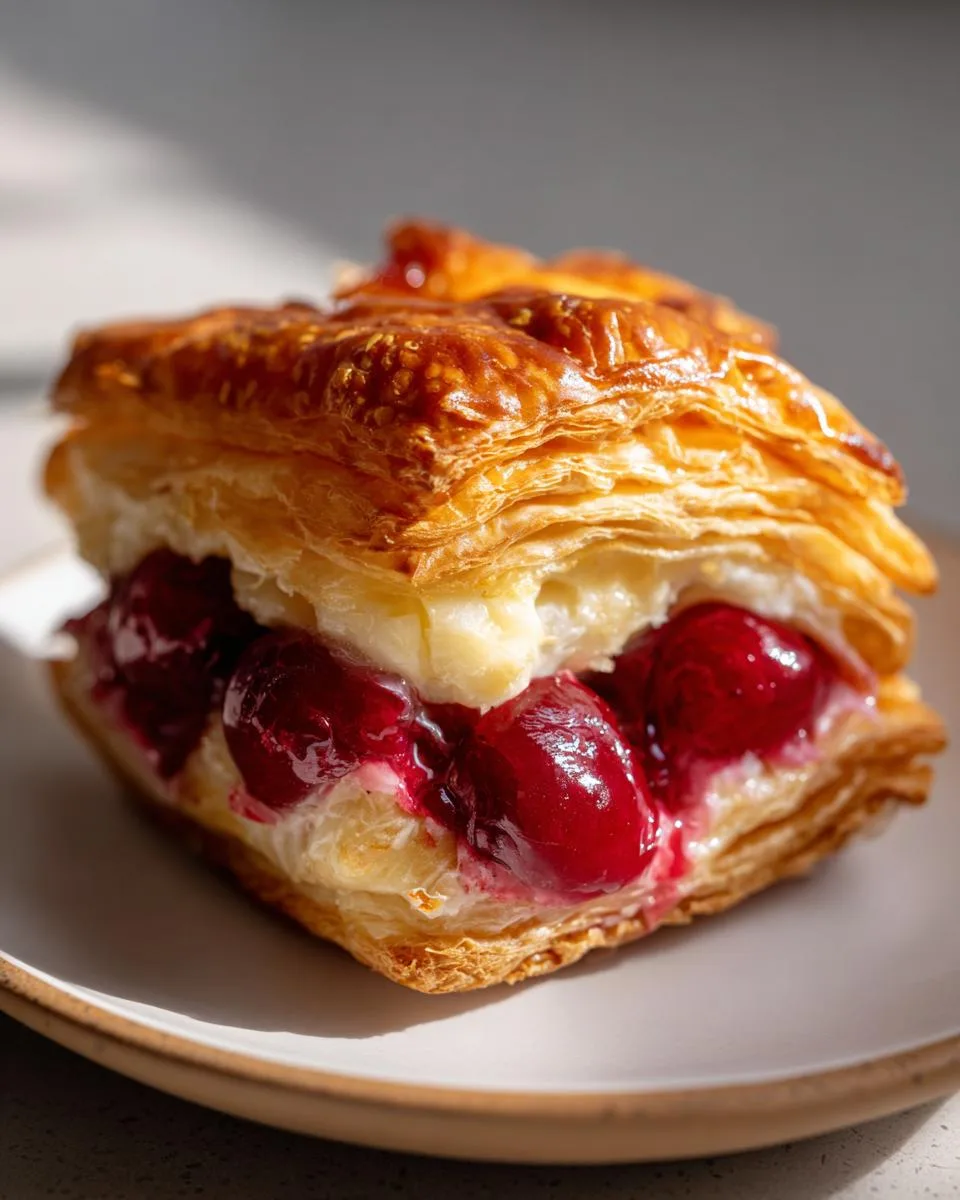
Table of Contents
Table of Contents
Why You’ll Love This Cherry Cheese Danish Recipe
What I love most is how versatile these danishes are. They’re perfect for lazy weekend breakfasts, but fancy enough for brunch parties. The best part? You probably have most ingredients already – just puff pastry, cream cheese, and some cherry pie filling. Even better, they taste just as good warm from the oven as they do at room temperature later. Trust me, once you try this recipe, you’ll be making excuses to bake them all the time!
Let me count the ways this recipe will become your new favorite breakfast (or dessert… no judgment here!):
- Faster than a coffee run: From fridge to table in under 35 minutes – seriously!
- Easier than pie: Only 5 main ingredients, and the puff pastry does most of the work
- Crowd-pleaser magic: That “wow” factor when you pull these golden beauties from the oven
- Better than bakery: Warm, flaky pastry with that dreamy cream cheese-cherry combo
- Brunch superstar: Makes you look like a pastry chef with zero stress
I make these when I want to feel fancy but don’t want to fuss – they’re that good!
Ingredients for Cherry Cheese Danish Recipe
Here’s everything you’ll need to make these irresistible danishes – and trust me, measuring matters! The magic happens when these simple ingredients come together just right:
- 1 sheet puff pastry (thawed but still cold – don’t let it get too warm!)
- 8 oz cream cheese (softened to room temp – this makes all the difference)
- 1/4 cup granulated sugar (not packed – just lightly spooned in)
- 1 tsp vanilla extract (the real stuff, please!)
- 1/2 cup cherry pie filling (or fresh pitted cherries if you’re feeling fancy)
- 1 egg (beaten, for that gorgeous golden shine)
See? Nothing fancy – just pantry staples transformed into something extraordinary. Now let’s get baking!
Equipment You’ll Need
Don’t worry – you won’t need any fancy tools for these danishes! Here’s what I always grab from my kitchen:
- Baking sheet (standard half-sheet pan works perfectly)
- Parchment paper (trust me, it’s worth the extra minute to line your pan)
- Mixing bowl (medium size for that dreamy cream cheese filling)
- Rolling pin (if your puff pastry needs a little persuasion)
- Pastry brush (for that golden egg wash – a silicone one works great)
That’s it! Now let’s make some magic happen.
How to Make Cherry Cheese Danish Recipe
Okay, let’s get to the fun part – making these gorgeous danishes! I promise it’s easier than you think, and the results will make you feel like a pastry chef. Just follow these simple steps, and you’ll have golden, flaky perfection in no time.
Step 1: Prep the Pastry
First things first – preheat that oven to 400°F (200°C). While it’s heating up, roll out your thawed puff pastry sheet on a lightly floured surface. I like to give it just a few gentle rolls to smooth it out – don’t go crazy or it’ll get too thin! Cut it into 4 equal squares (or rectangles if you’re feeling fancy), then transfer them to your parchment-lined baking sheet. Leave about an inch between each one – they’ll puff up beautifully!
Step 2: Make the Filling
Now for the dreamy cream cheese filling! In your mixing bowl, beat the softened cream cheese until it’s smooth and creamy – no lumps allowed! Add the sugar and vanilla, then keep mixing until it’s perfectly combined and silky. Taste it (my favorite part!) and add a pinch more sugar if you like it sweeter. This filling is what makes these danishes so irresistible!
Step 3: Assemble and Bake
Time to assemble! Spoon about 2 tablespoons of the cream cheese mixture onto each pastry square, leaving a nice border around the edges. Top with a spoonful of cherry pie filling – about 1 tablespoon per danish. Now fold the corners over the filling just slightly – they’ll look like little presents! Brush the edges with your beaten egg (this gives them that gorgeous golden color). Pop them in the oven for 15-20 minutes until they’re puffed and golden brown. The smell will drive you crazy!
Let them cool for about 5 minutes before serving – I know it’s hard to wait, but that cream cheese filling is lava-hot right out of the oven! Now enjoy your bakery-worthy creation.
Print
35-Minute Cherry Cheese Danish Recipe: Flaky Delight
- Prep Time: 15 minutes
- Cook Time: 20 minutes
- Total Time: 35 minutes
- Yield: 8 danishes 1x
- Category: Breakfast
- Method: Baking
- Cuisine: American
- Diet: Vegetarian
Description
A delicious cherry cheese danish recipe perfect for breakfast or dessert.
Ingredients
- 1 sheet puff pastry, thawed
- 8 oz cream cheese, softened
- 1/4 cup granulated sugar
- 1 tsp vanilla extract
- 1/2 cup cherry pie filling
- 1 egg, beaten (for egg wash)
Instructions
- Preheat oven to 400°F (200°C). Line a baking sheet with parchment paper.
- Roll out puff pastry and cut into squares or rectangles.
- Mix cream cheese, sugar, and vanilla in a bowl until smooth.
- Spread cream cheese mixture onto each pastry square, leaving edges clear.
- Top with cherry pie filling.
- Fold pastry edges over the filling.
- Brush edges with beaten egg.
- Bake for 15-20 minutes until golden brown.
- Let cool slightly before serving.
Notes
- Store leftovers in an airtight container for up to 3 days.
- Use fresh cherries if preferred.
- Adjust sugar to taste.
Nutrition
- Serving Size: 1 danish
- Calories: 280
- Sugar: 15g
- Sodium: 180mg
- Fat: 18g
- Saturated Fat: 8g
- Unsaturated Fat: 9g
- Trans Fat: 0g
- Carbohydrates: 25g
- Fiber: 1g
- Protein: 4g
- Cholesterol: 45mg
Tips for the Perfect Cherry Cheese Danish Recipe
After making these danishes more times than I can count, I’ve learned a few tricks that make all the difference:
- Keep pastry cold: If your puff pastry gets too soft while working, pop it in the fridge for 5 minutes. Warm pastry won’t puff properly!
- Less is more: Don’t overfill! Too much cream cheese or cherries will leak out during baking.
- Egg wash magic: That beaten egg isn’t just for color – it helps seal the edges so your filling stays put.
- Watch closely: Ovens vary – start checking at 15 minutes. You want golden brown, not burnt!
- Cooling patience: Let them rest 5 minutes before eating. That cream cheese filling is like molten lava when hot!
Follow these simple tips, and you’ll get perfect danishes every single time!
Variations and Substitutions
Oh, the fun part – making this recipe your own! Here are my favorite twists:
- Berry swap: Out of cherries? Try blueberry or raspberry pie filling – equally delicious!
- Fresh fruit: In summer, I love using fresh pitted cherries tossed with a bit of sugar
- Flavor boost: Add 1/4 tsp almond extract to the cream cheese for a bakery-style touch
- Savory option: Skip the sugar, add herbs, and use goat cheese instead of cream cheese
- Gluten-free: Use gluten-free puff pastry – works like a charm!
The possibilities are endless – that’s what makes this recipe so special!
Serving and Storing Cherry Cheese Danish Recipe
Oh, the best part – eating these glorious danishes! But first, let them cool for about 5 minutes after baking. I know it’s hard to resist, but that cream cheese filling needs a minute to set (trust me, I’ve burned my tongue more than once!). They’re perfect warm or at room temperature – I love them with my morning coffee.
If you have leftovers (big “if” in my house!), store them in an airtight container at room temperature for up to 2 days. For longer storage, pop them in the fridge for up to 3 days. Pro tip: To reheat, just 10 seconds in the microwave brings back that fresh-baked magic!

Cherry Cheese Danish Recipe FAQs
I get asked about these danishes all the time – here are answers to the most common questions that pop up (pun intended!):
How long do cherry danishes last?
Honestly, they rarely last more than a day in my house! But stored properly in an airtight container, they’ll stay fresh at room temperature for 2 days, or up to 3 days in the fridge. The puff pastry loses some crispness over time, but they’re still delicious when lightly reheated.
What if I don’t have puff pastry?
While puff pastry gives that signature flaky texture, you can use crescent roll dough in a pinch. It won’t be quite as light and airy, but still tasty! Just unroll the dough and press the seams together before cutting.
Can I use fresh cherries instead of pie filling?
Absolutely! Pit and chop about 1 cup fresh cherries, then toss with 1 tablespoon sugar and 1 teaspoon cornstarch. Let them sit for 10 minutes to create their own juicy filling. This is my favorite summer variation!
Why is my cream cheese filling runny?
This usually means your cream cheese wasn’t fully softened before mixing, or you overmixed it. Make sure it’s room temperature (about 30 minutes out of the fridge), and mix just until smooth. If it’s still too soft, chill the filled danishes for 15 minutes before baking.
Can I freeze unbaked danishes?
Yes! Assemble them completely, then freeze on the baking sheet before transferring to a freezer bag. When ready to bake, add 2-3 minutes to the baking time straight from frozen. Perfect for surprise guests or lazy Sunday mornings!
Nutritional Information
Now, I’m no nutritionist, but here’s the scoop on what’s in these delicious danishes – because let’s be real, we all want to know how much we can indulge! These values are estimates based on standard ingredients, but your exact nutrition may vary depending on brands and tweaks you make to the recipe.
Per serving (1 danish): About 280 calories, 18g fat (8g saturated), 25g carbs (15g sugar), and 4g protein. Not exactly health food, but hey – everything in moderation, right? And for something this tasty, I’d say it’s worth every bite! Remember, homemade means you control the ingredients, unlike store-bought versions packed with preservatives.
Final Thoughts
There you have it – my foolproof Cherry Cheese Danish Recipe that never fails to impress! I hope you’ll give it a try and experience that magical moment when flaky pastry meets creamy filling. Drop me a note when you do – I’d love to hear how yours turns out. Happy baking! You can also follow along for more great recipes on our Facebook page.