Oh my gosh, let me tell you about the first time I tried rhubarb cheesecake – it was love at first bite! I was at my aunt’s spring garden party, and she handed me this little square of heaven with the most perfect pink swirls. One taste of that creamy filling with the tart rhubarb and buttery crust, and I was hooked. That’s when I knew I had to create my own version of these Creamy Rhubarb Cheesecake Bars.
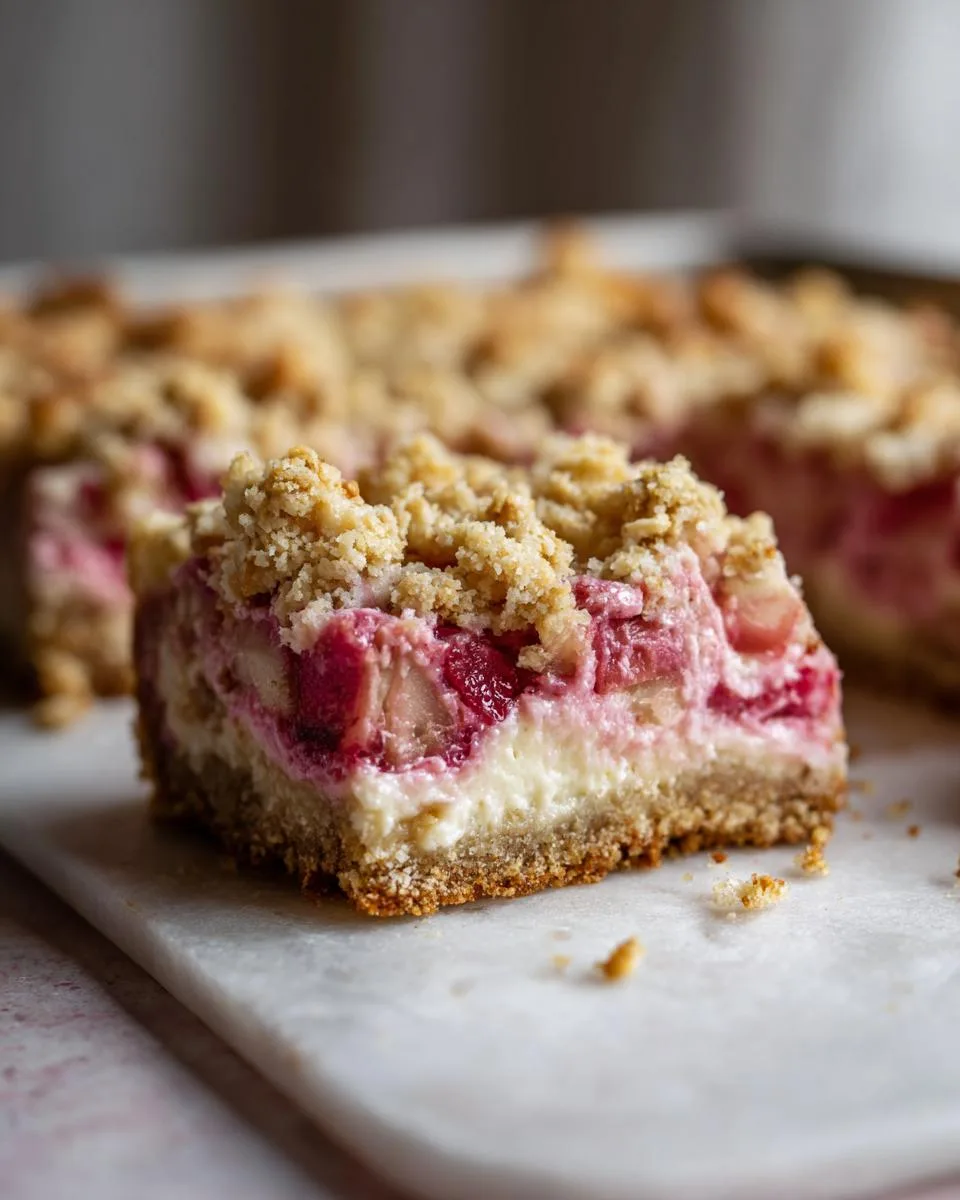
Table of Contents
Table of Contents
Why You’ll Love These Creamy Rhubarb Cheesecake Bars
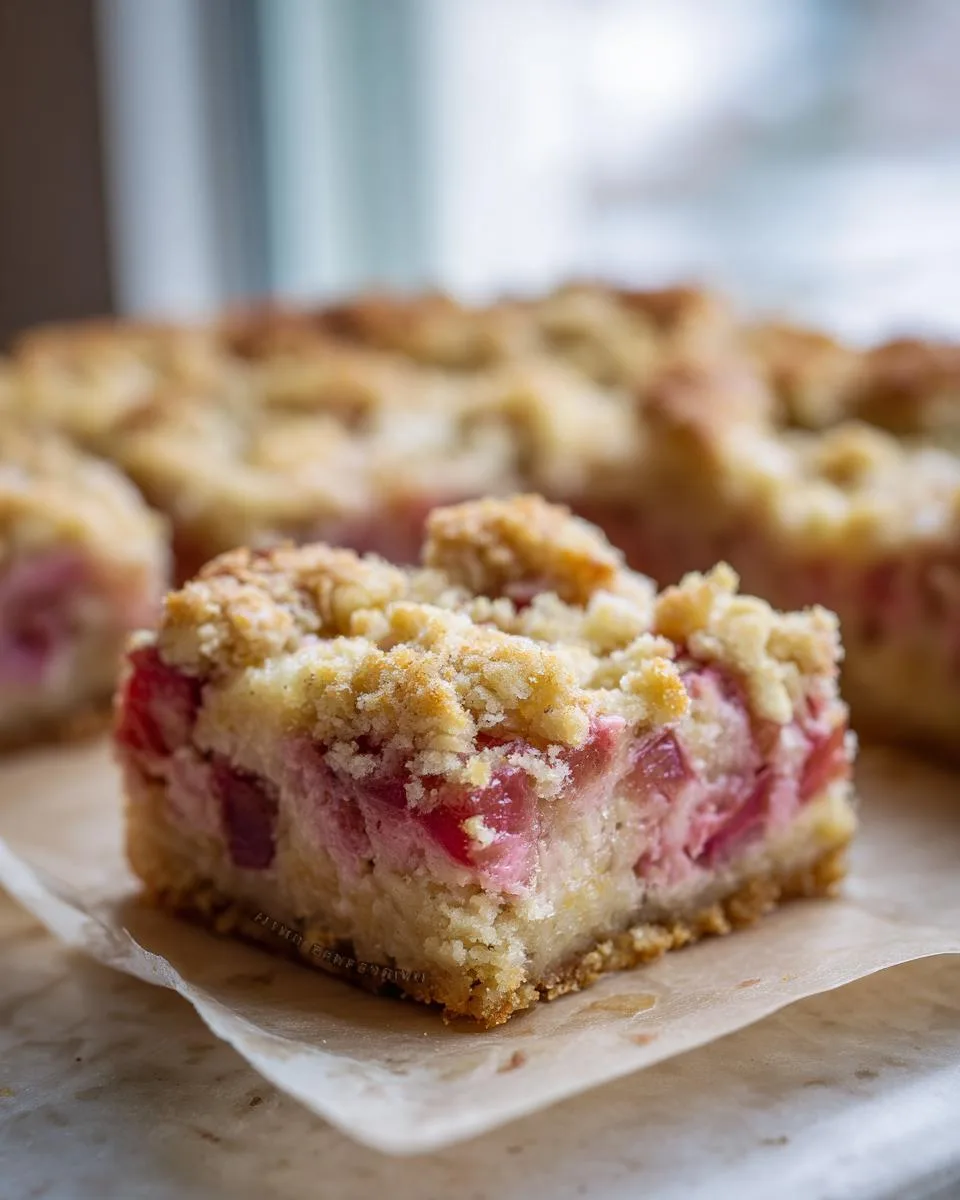
What makes these bars so special? They’ve got all the lusciousness of a classic cheesecake but in the most convenient handheld form. No fancy springform pan needed – just a simple square baking dish and you’re golden. The magic happens when the tangy rhubarb meets that velvety cream cheese filling, all nestled on a crumbly oat crust that gives just the right amount of crunch. Trust me, these disappear fast at potlucks – I once made a double batch and they were gone before I could even take a photo!
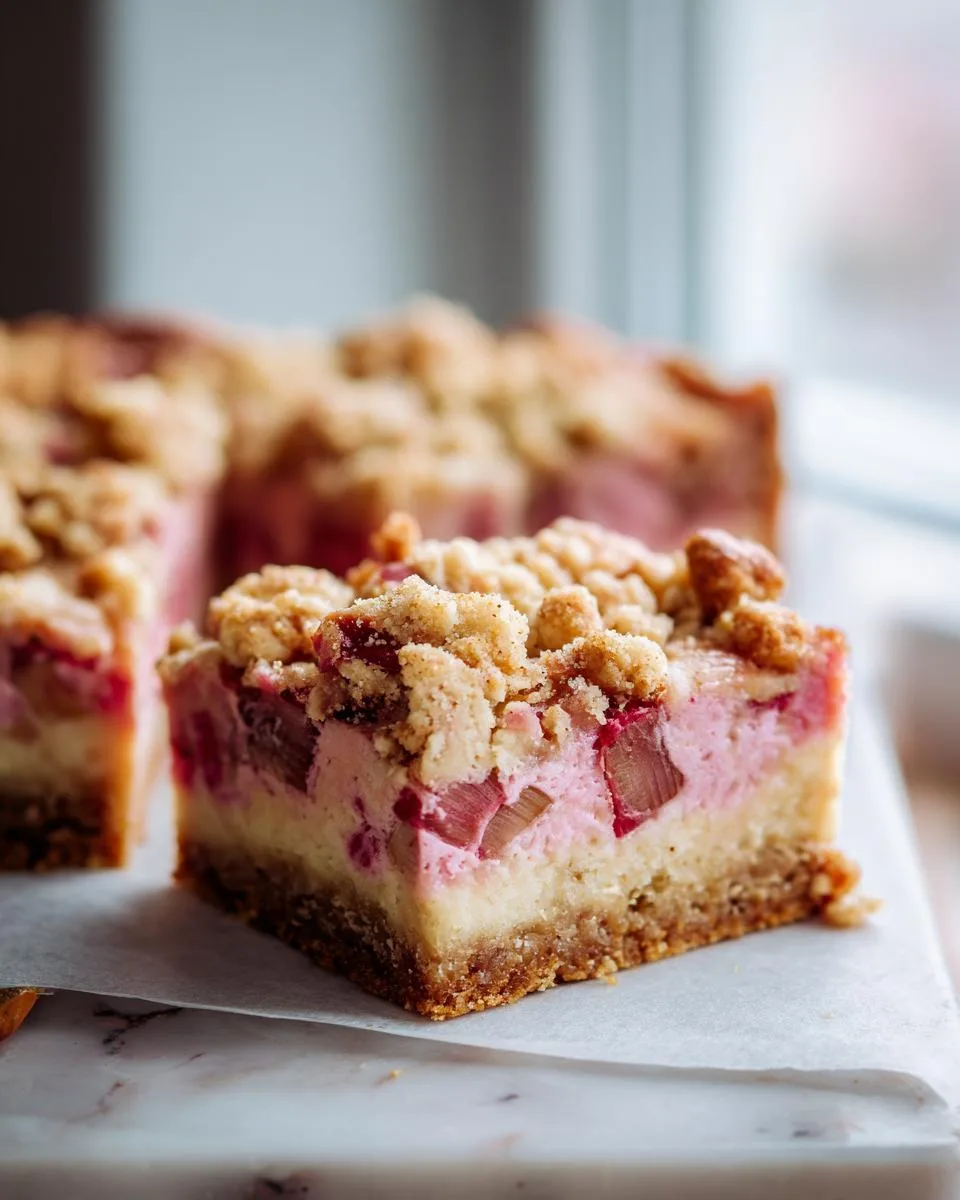
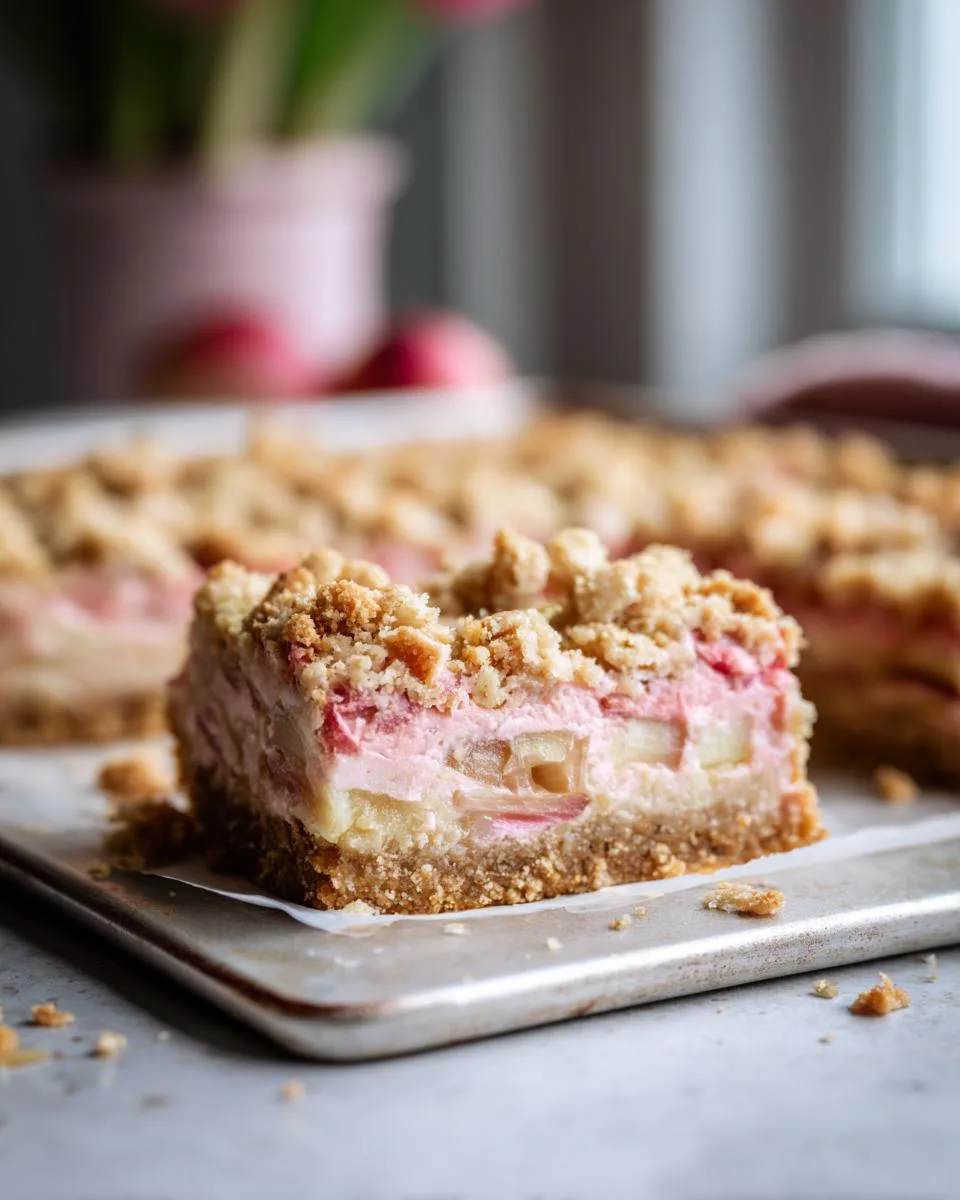
The best part? They’re easier than they look. Even if you’ve never worked with rhubarb before (I hadn’t before that fateful garden party), you can make these beauties. Just wait until you see how the ruby-red rhubarb peeks through that creamy topping – it’s like spring in every bite!
Let me count the ways these bars will become your new favorite dessert! First off, that perfect balance of tart rhubarb and sweet cream cheese filling? Absolute magic. The rhubarb keeps things bright and fresh while the rich cheesecake mellows it out beautifully.
Here’s what else makes them irresistible:
- Easy handheld perfection – No messy slicing like a traditional cheesecake. Just grab and go!
- Springtime showstopper – Those pink rhubarb flecks make them look fancy with zero effort
- Crowd-pleasing convenience – I bring these to every potluck and always get recipe requests
- Oat crust magic – That buttery, slightly crunchy base takes the texture to another level
Seriously, one bite and you’ll understand why I make these all rhubarb season long. They’re that good!
Ingredients for Creamy Rhubarb Cheesecake Bars
Gathering the right ingredients makes all the difference with these bars – trust me, I’ve learned the hard way! Here’s exactly what you’ll need:
- 1-1/4 cups all-purpose flour – Spoon it lightly into your measuring cup, don’t pack it down!
- 1/2 cup old-fashioned oats – Not quick oats! The texture matters here.
- 1/2 cup packed brown sugar – Really press it into the cup for accurate measurement.
- 1/2 cup cold butter, cubed – Unsalted and straight from the fridge works best.
- 8oz cream cheese – Full-fat only, softened to room temperature (low-fat will make the filling weep).
- 3/4 cup sugar – Regular granulated works perfectly.
- 1 large egg – Room temperature and lightly beaten.
- 1-1/2 cups diced rhubarb – Fresh or frozen (but thawed and drained well!).
Ingredient Notes & Substitutions
If using frozen rhubarb, thaw it overnight in the fridge and squeeze out excess liquid – watery rhubarb means soggy bars! Dark brown sugar can substitute for light brown in a pinch. For gluten-free, swap the flour with your favorite 1:1 blend (I like King Arthur’s). And please, please don’t use low-fat cream cheese – it’ll ruin that luscious creamy texture we’re after. The fat is what makes these bars so dreamy!
Equipment Needed for Creamy Rhubarb Cheesecake Bars
You won’t need anything fancy for these bars – just a few trusty kitchen tools to make the magic happen. Here’s what I always grab:
- 9-inch square baking pan – Metal works best for even browning
- Parchment paper – Lifesaver for easy removal and clean slices
- Stand mixer or hand beaters – For that perfectly smooth filling
- Rubber spatula – Essential for folding in rhubarb gently
That’s it! I’ve made these with just a bowl and wooden spoon when my mixer broke once – they still turned out delicious. But these tools make the process so much easier.
How to Make Creamy Rhubarb Cheesecake Bars
Okay, let’s get baking! I promise these bars come together easier than you think – just follow these steps carefully and you’ll be golden (literally, look for those golden edges!).
- Preheat your oven to 350°F – This gives your oven time to stabilize while you prep. Trust me, temperature matters!
- Make the crust – In a medium bowl, mix the flour, oats and brown sugar. Now grab those cold butter cubes and use your fingers or a pastry cutter to work them in until you’ve got pea-sized crumbs. Set aside 1 cup of this mixture for topping – I always sneak a pinch to taste!
- Press it in – Take the remaining crust mixture and firmly press it into your prepared 9-inch pan. Really get in there with your fingers – you want it compacted so it holds together when sliced.
- Whip up the filling – In your mixer bowl, beat the cream cheese until it’s completely smooth (no lumps!). Add the sugar, salt, cinnamon and nutmeg, mixing until fluffy. Then gently mix in the egg and vanilla – don’t overbeat here!
- Fold in the rhubarb – This is where that rubber spatula shines. Gently fold in the diced rhubarb until evenly distributed. The batter will turn the prettiest pale pink!
- Layer and bake – Pour the filling over your crust, then sprinkle with the reserved topping. Bake exactly 40 minutes – the edges should be golden and the center should have just the slightest wobble (no jiggle!).
Now comes the hard part – let it cool completely on a wire rack for at least 1 hour before even thinking about cutting! Then refrigerate for 2 hours minimum – this sets the filling perfectly. I know it’s tempting, but rushing this step leads to messy slices.
Step-by-Step Photos
If you’re a visual baker like me, here’s what to photograph along the way:
- The pressed crust before adding filling – see those oat flecks?
- The creamy filling consistency right after mixing – smooth as silk!
- The rhubarb folded in – those pink speckles are gorgeous
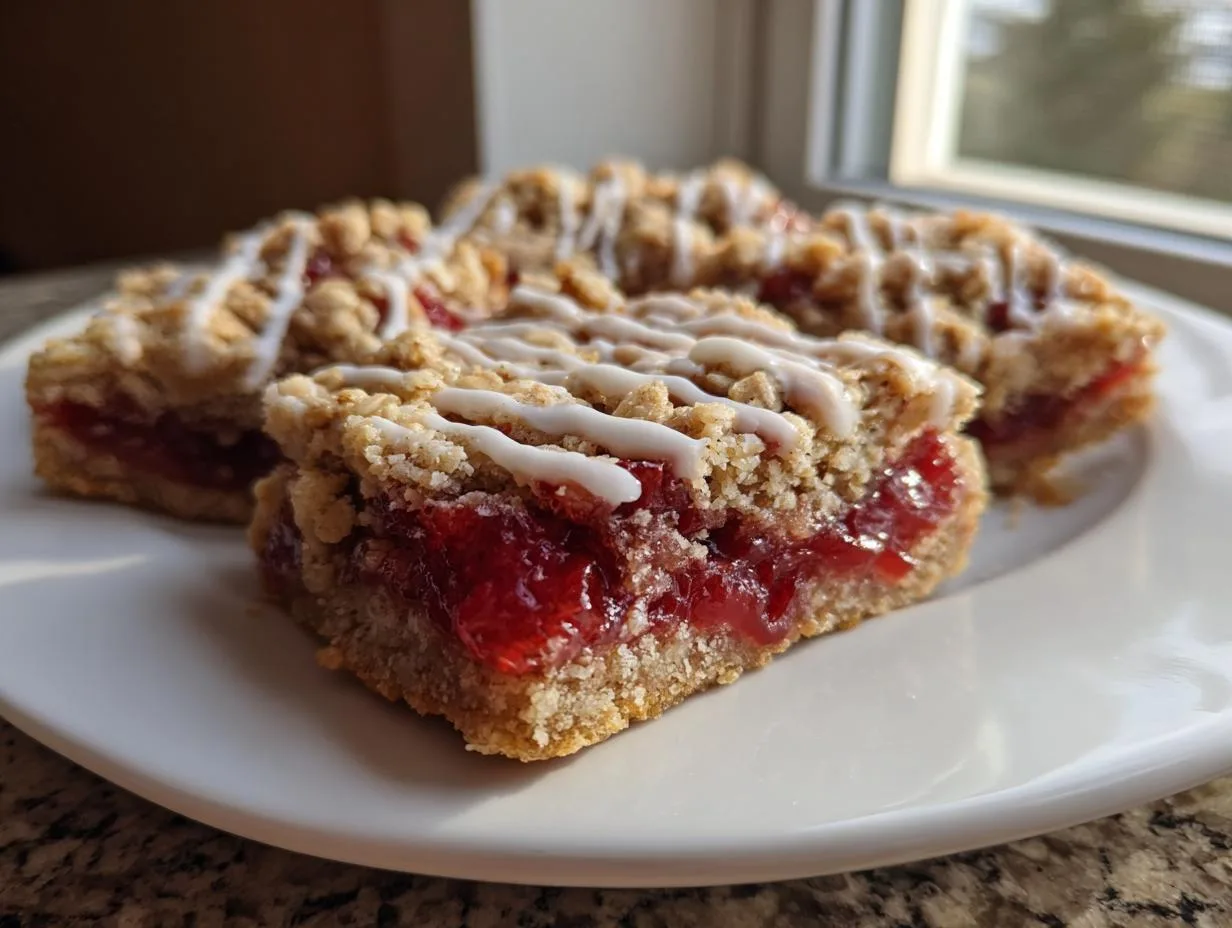
- The baked result with that golden crumble topping
Each stage is prettier than the last – your Instagram feed will thank you!
Print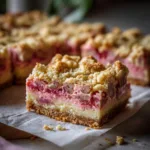
Creamy Rhubarb Cheesecake Bars: 1 Bite Takes You to Heaven
- Prep Time: 15 minutes
- Cook Time: 40 minutes
- Total Time: 3 hours 55 minutes (includes cooling)
- Yield: 9 bars 1x
- Category: Dessert
- Method: Baking
- Cuisine: American
- Diet: Vegetarian
Description
Delicious creamy rhubarb cheesecake bars with a crumbly oat crust.
Ingredients
- 1–1/4 cups all-purpose flour
- 1/2 cup old-fashioned oats
- 1/2 cup packed brown sugar
- 1/2 cup cold butter, cubed
- 1 package (8 ounces) cream cheese, softened
- 3/4 cup sugar
- 1/2 teaspoon salt
- 1/4 teaspoon addressed cinnamon
- 1/8 teaspoon ground nutmeg
- 1 large egg, room temperature, lightly beaten
- 1/2 teaspoon vanilla extract
- 1–1/2 cups diced fresh or frozen rhubarb, thawed
Instructions
- Preheat oven to 350°. Mix flour, oats and brown sugar in bowl.
- Cut in butter until crumbly. Reserve 1 cup for topping.
- Press remaining mixture into greased 9-in. square baking pan.
- Beat cream cheese, sugar, salt and spices until smooth.
- Add egg and vanilla; mix just until combined.
- Fold in rhubarb. Spread over crust.
- Sprinkle with reserved topping.
- Bake 40 minutes until golden and set.
- Cool on wire rack 1 hour.
- Refrigerate 2 hours before cutting.
Notes
- Use fresh or frozen rhubarb.
- Drain thawed rhubarb well to prevent watery filling.
- Don’t overmix filling to avoid cracks.
- No need to peel rhubarb.
Nutrition
- Serving Size: 1 bar
- Calories: 280
- Sugar: 22g
- Sodium: 220mg
- Fat: 14g
- Saturated Fat: 8g
- Unsaturated Fat: 5g
- Trans Fat: 0g
- Carbohydrates: 35g
- Fiber: 1g
- Protein: 4g
- Cholesterol: 55mg
Tips for Perfect Creamy Rhubarb Cheesecake Bars
After making these bars more times than I can count (and learning from all my mistakes!), here are my foolproof tips to ensure yours turn out perfect every single time:
Drain that rhubarb like your bars depend on it – because they do! Whether you’re using fresh or thawed frozen rhubarb, pat it dry with paper towels. I once skipped this step and ended up with watery bars – lesson learned the hard way. You can see more of my kitchen adventures over at my Facebook page.
Gentle mixing is key – once you add the egg to the filling, mix just until combined. Overbeating incorporates too much air, which leads to cracks as it bakes. I like to finish mixing by hand with a spatula to be extra careful.
Don’t rush the chill time – I know it’s tempting, but that 2-hour fridge time isn’t optional. It lets the filling set properly so you get clean slices. Pro tip: I make mine the night before for stress-free serving! If you are looking for other great dessert ideas, check out my healthy cherry oat crumble recipe.
Room temp ingredients matter – take the cream cheese and egg out at least 30 minutes before starting. Cold ingredients don’t incorporate smoothly and can lead to lumps in your filling.
Serving & Storing Creamy Rhubarb Cheesecake Bars
Here’s the best way to enjoy these beauties – chilled straight from the fridge! The cold makes that creamy filling extra luscious. I like to cut them into neat squares using a sharp knife dipped in hot water (wiping it clean between cuts for perfect edges). For a fancy touch, dust with powdered sugar right before serving – those pink rhubarb flecks peeking through look so pretty!
Store any leftovers (ha! as if!) covered in the fridge for up to 5 days. They actually taste even better on day two as the flavors meld. To freeze, layer between sheets of wax paper in an airtight container – they’ll keep beautifully for 2-3 months. Just thaw overnight in the fridge before serving. Pro tip: freeze individual portions so you can grab a sweet treat whenever the craving hits!
Nutrition Information
Just a quick heads up – these nutrition numbers are estimates since ingredients can vary by brand. Each creamy rhubarb cheesecake bar comes in around 280 calories, with that perfect balance of sweet and tart we love. They’ve got 14g of fat (that’s where all the creamy goodness comes from!), 35g carbs, and 4g protein per serving.
I always say one bar is a serving… but let’s be real, who stops at just one? The sugar content comes mostly from the natural rhubarb and brown sugar in the crust – about 22g per bar. If you’re watching sodium, these have 220mg per serving.
Remember, homemade treats like this are all about enjoying in moderation while savoring every bite. The nutrition facts are here as a guide, but the real magic is in sharing these with people you love!
FAQs About Creamy Rhubarb Cheesecake Bars
Can I use frozen rhubarb?
Absolutely! Frozen rhubarb works great – just thaw it overnight in the fridge and squeeze out all the extra liquid with paper towels. I actually keep bags of chopped rhubarb in my freezer year-round for these bars!
How do I stop the filling from getting watery?
The secret is draining your rhubarb really well (fresh or frozen) and not overmixing the filling after adding the egg. Also, make sure your cream cheese is full-fat – low-fat versions release more moisture.
Why are my bars cracking on top?
This usually happens from overbeating the filling (which adds too much air) or baking too long. The center should still have a slight wobble when you take them out – it’ll set as it cools. And remember, small cracks don’t affect the taste one bit!
Do I need to peel my rhubarb?
Nope! The peel adds lovely color and texture. Just trim off any dry ends and give the stalks a good rinse. Young, tender rhubarb doesn’t even need stringing – another reason I love this recipe!