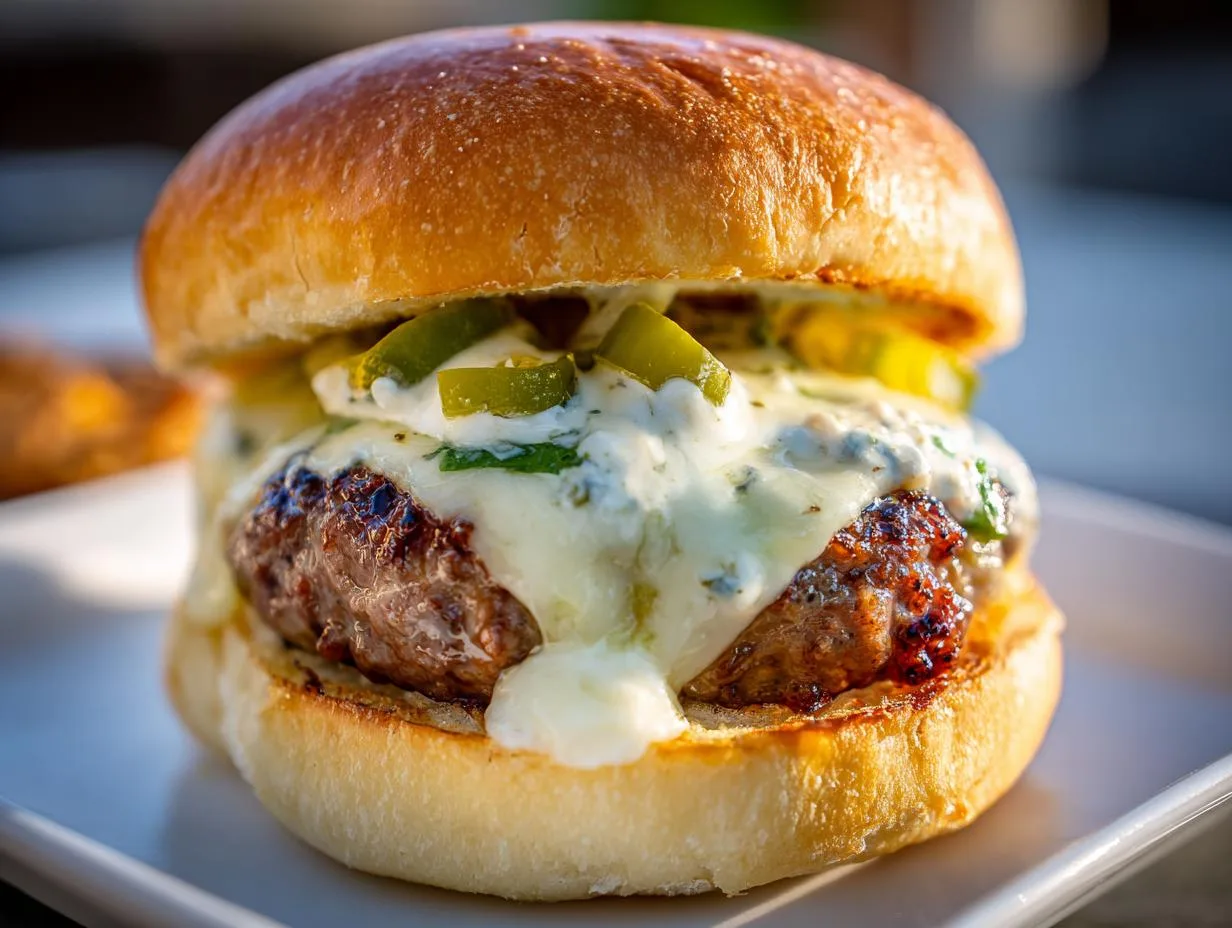
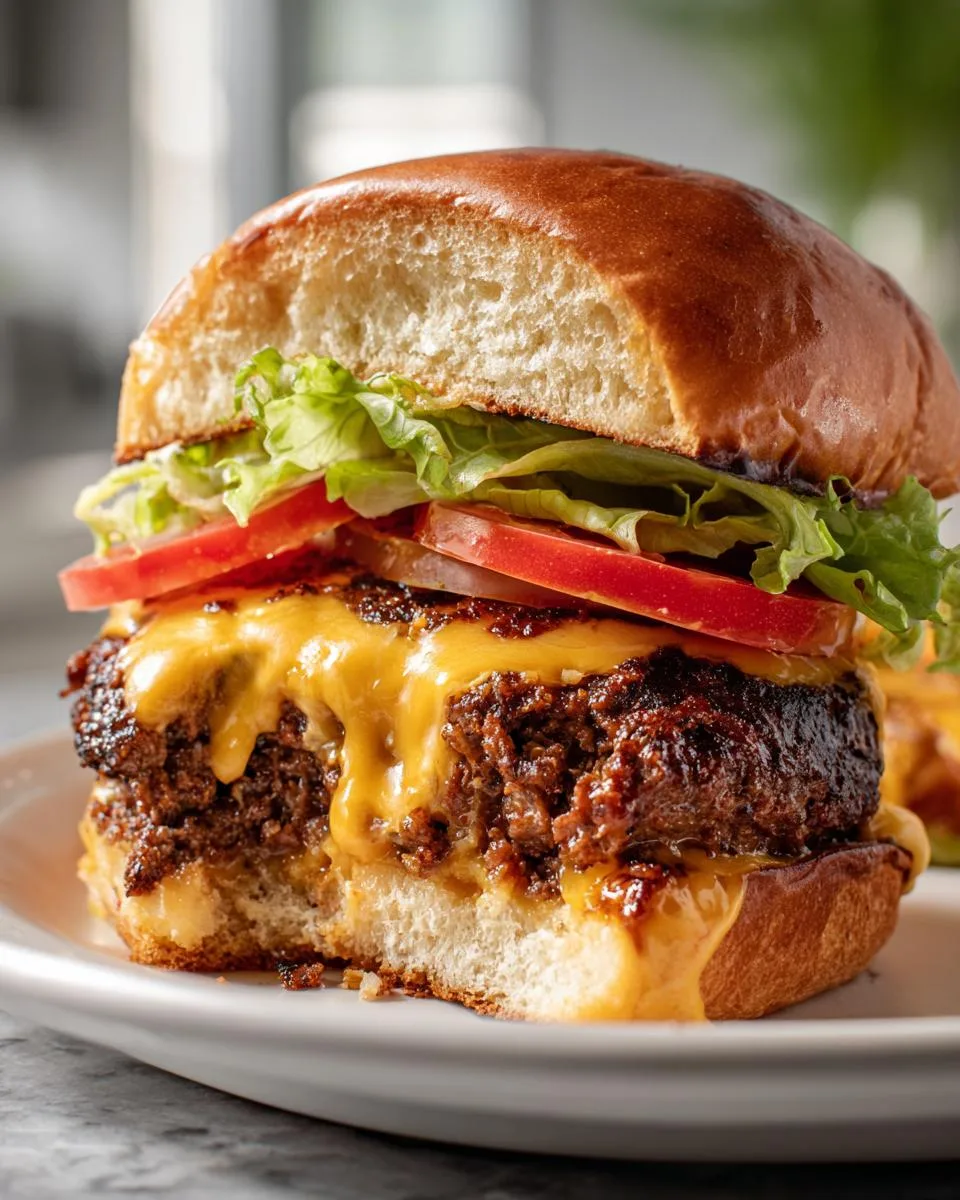
Oh my gosh, let me tell you about the first time I bit into a Juicy Lucy Cheddar Burger—cheese literally oozed out like molten gold and I nearly cried from happiness. This isn’t just a burger; it’s a delicious trap where the cheese hides INSIDE the patty, waiting to surprise you. I learned the hard way (burnt tongue, no regrets) that letting it rest for two minutes is crucial—those juices need to settle! My version uses sharp cheddar because that tangy punch cuts through the richness perfectly. Trust me, once you go cheese-stuffed, you’ll never look at regular burgers the same way again.
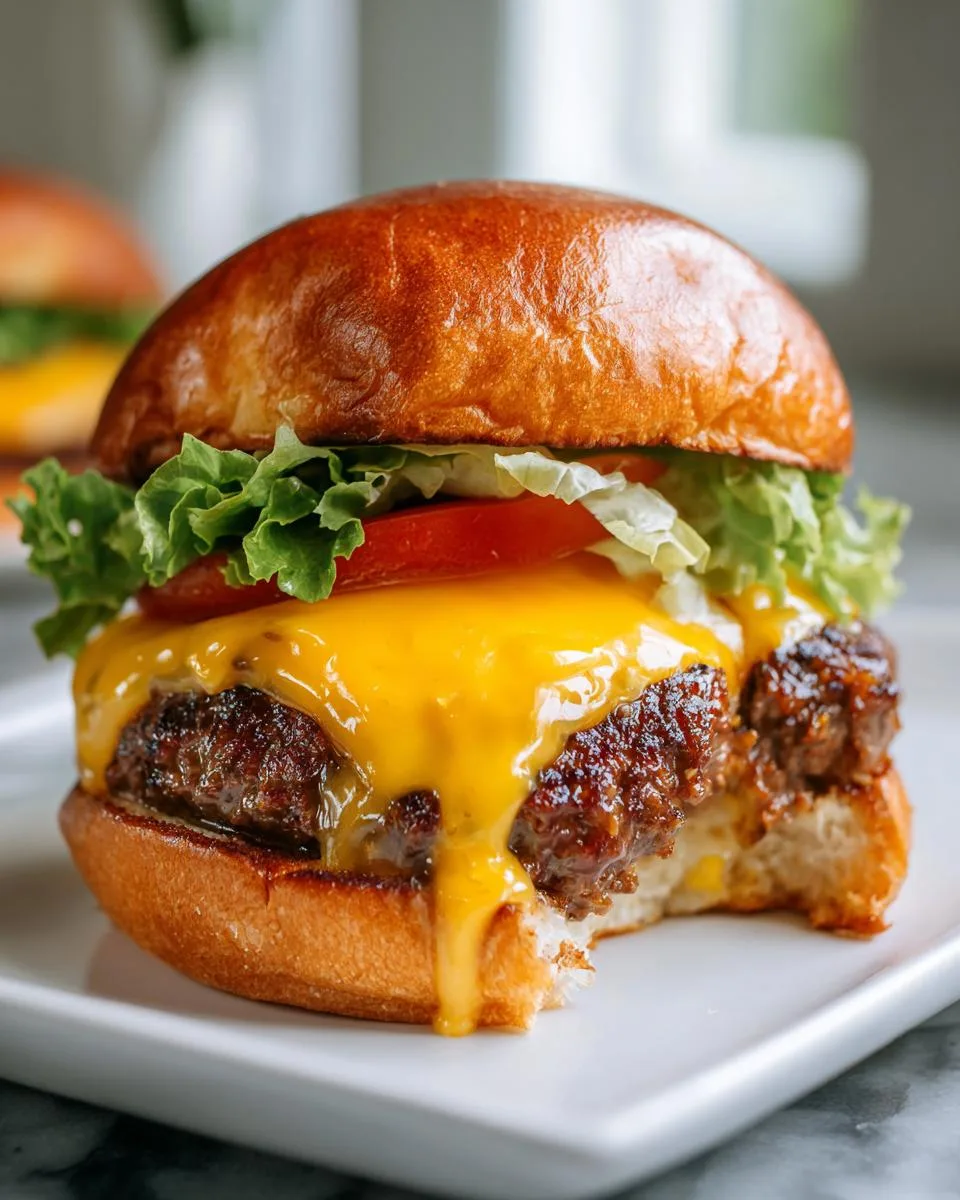
Table of Contents
Table of Contents
Why You’ll Love These Juicy Lucy Cheddar Burgers
Okay, let me count the ways these burgers will steal your heart—because trust me, they will! First off, that molten cheese center? Pure magic. It’s like biting into a crispy, juicy patty only to discover a gooey, cheesy surprise. And don’t even get me started on how easy they are to make. No fancy techniques, just a little patience when sealing those edges (worth it, I promise). Plus, you can dress them up or down—pile on the pickles and onions, or keep it classic with just a swipe of mustard. Seriously, once you try these, regular burgers will taste like cardboard. You’ve been warned!
Ingredients for Juicy Lucy Cheddar Burgers
Alright, let’s talk ingredients—because quality matters here, folks! You want that cheese to ooze and that beef to stay juicy, so don’t skimp. Here’s what you’ll need:
- 1 lb ground beef (80/20 blend) – Trust me, that extra fat is your friend. It keeps everything moist and delicious.
- 4 slices American or cheddar cheese – I’m team sharp cheddar for that extra kick, but American melts like a dream if you’re going for that classic diner vibe.
- 1 tsp salt – Just enough to bring out all those flavors without overpowering.
- 1 tsp black pepper – Freshly cracked if you’ve got it, because why not?
- 1 tsp garlic powder – My secret weapon for that “what’s in this?!” factor.
- 4 hamburger buns – Toasted, please. A soft bun is great, but a *lightly* toasted one? Chef’s kiss.
Optional toppings (go wild!): Lettuce, tomato, onion, pickles, ketchup, mustard—or whatever makes your burger-loving heart sing. I’m partial to a slather of spicy mayo and some quick-pickled onions, but you do you.
Equipment You’ll Need
Listen, you don’t need anything fancy here—just the basics to get that cheese bubbling and those edges sealed tight. Grab these:
- A heavy skillet or grill (cast iron is my hero for that perfect crust)
- A sturdy spatula (no flimsy stuff—you’ll need to flip with confidence)
- A mixing bowl (for dividing that beef like a pro)
That’s it! Now go make some cheesy magic happen.
How to Make Juicy Lucy Cheddar Burgers
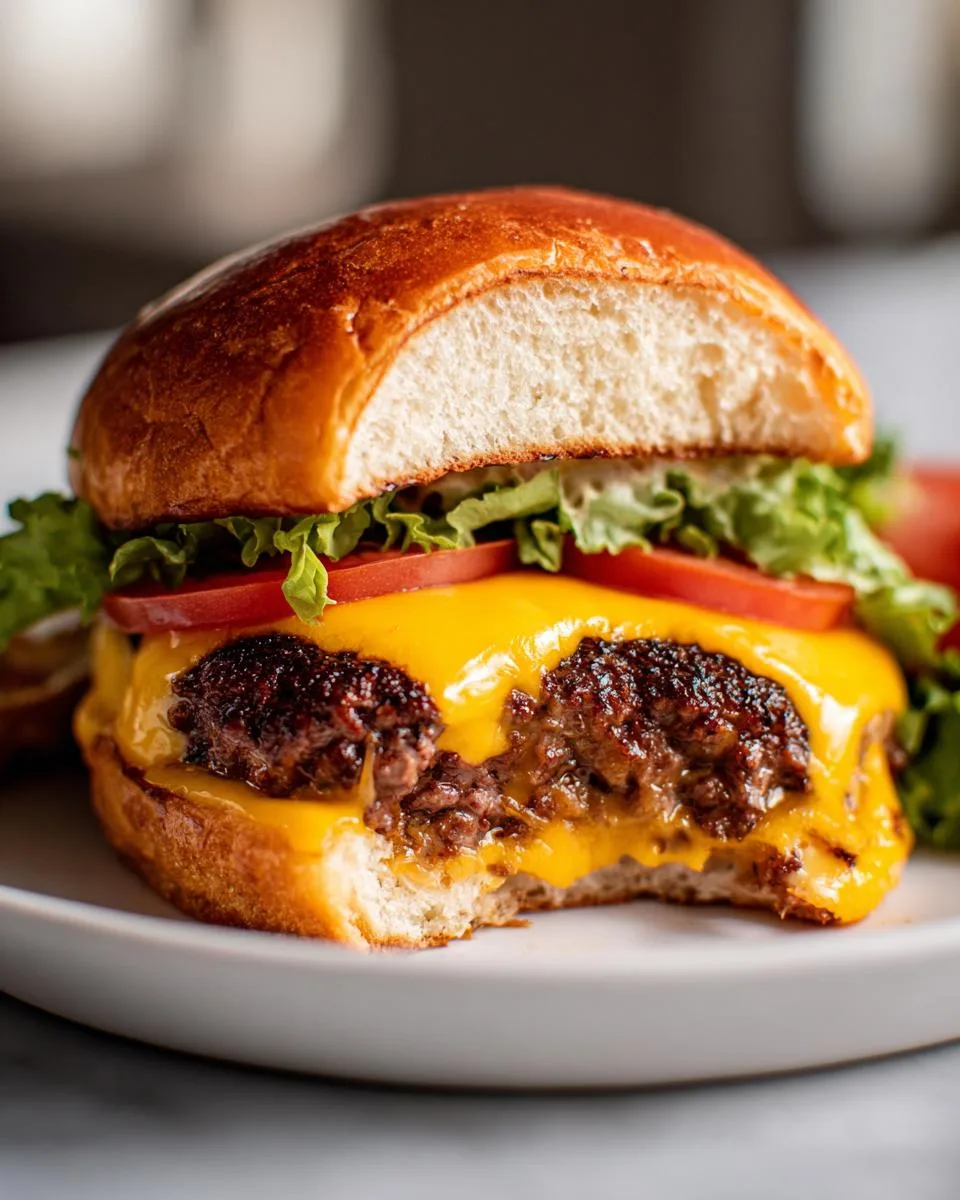
Okay, here’s where the magic happens—turning simple ingredients into that glorious, cheese-filled masterpiece. Follow these steps, and you’ll be biting into burger heaven in no time. Just promise me one thing: don’t rush the sealing part. A little patience now saves you from cheesy disasters later!
Step 1: Prepare the Patties
First things first—divide that beautiful ground beef into 8 equal portions. I like to use a kitchen scale for precision, but eyeballing works too (no judgment here). Now, flatten each portion into thin patties, about ¼-inch thick. Imagine you’re making tiny beef pancakes—they don’t need to be perfect, just evenly thin.
Here’s the fun part: place a slice of cheese on 4 of the patties, but leave a small border (about ½ inch) around the edges. This is your cheese containment zone! Top each cheesy patty with a plain one, then press the edges together like you’re sealing a pie crust. Really work those edges—pinch, press, repeat—until there’s no chance of escape for that molten cheese. Pro tip: wet your fingers slightly to help seal without sticking.
Step 2: Cook the Burgers
Heat your skillet or grill to medium-high—you want that satisfying sizzle when the patties hit the surface. Season both sides generously with salt, pepper, and that garlic powder we talked about. Now, cook for 4-5 minutes per side. Resist the urge to press down with the spatula (you’re not making hockey pucks here!). Flip carefully—these burgers are precious cargo.
When they’re gorgeously browned and firm to the touch, transfer them to a plate and let them rest for 2 minutes. I know, waiting is torture, but this lets the cheese relax into oozy perfection instead of erupting like a dairy volcano on your first bite.
Step 3: Assemble and Serve
While the burgers rest, lightly toast those buns—just enough for a little crunch, not so much they turn into crackers. Now, the grand finale: place each Juicy Lucy on a bun and pile on your favorite toppings. Keep it simple with ketchup and pickles, or go wild with bacon and avocado. No rules here, just deliciousness. Serve immediately and prepare for compliments (and maybe some jealous stares).
Print
Juicy Lucy Cheddar Burgers: 3 Secrets to Perfect Cheesy Bliss
- Prep Time: 10 mins
- Cook Time: 10 mins
- Total Time: 20 mins
- Yield: 4 burgers 1x
- Category: Main Dish
- Method: Grilling or Pan-Frying
- Cuisine: American
- Diet: Low Lactose
Description
A Juicy Lucy is a cheese-stuffed burger, known for its molten cheese center. It’s a delicious twist on the classic burger.
Ingredients
- 1 lb ground beef (80/20 blend)
- 4 slices American cheese (or cheddar)
- 1 tsp salt
- 1 tsp black pepper
- 1 tsp garlic powder
- 4 hamburger buns
- Optional toppings: lettuce, tomato, onion, pickles, ketchup, mustard
Instructions
- Divide the ground beef into 8 equal portions.
- Flatten each portion into thin patties.
- Place a slice of cheese on 4 patties, leaving a small border.
- Top with the remaining patties and seal the edges tightly.
- Season both sides with salt, pepper, and garlic powder.
- Grill or cook on a skillet over medium-high heat for 4-5 minutes per side.
- Toast the buns lightly.
- Serve with your favorite toppings.
Notes
- Seal the edges well to prevent cheese leakage.
- Let the burger rest for 2 minutes before serving.
- Use high-fat beef for juiciness.
Nutrition
- Serving Size: 1 burger
- Calories: 550
- Sugar: 5g
- Sodium: 800mg
- Fat: 35g
- Saturated Fat: 15g
- Unsaturated Fat: 12g
- Trans Fat: 1g
- Carbohydrates: 30g
- Fiber: 2g
- Protein: 30g
- Cholesterol: 100mg
Variations for Juicy Lucy Cheddar Burgers
Now, let’s talk about playing with your food—because why stick to just one version of perfection? Swap that cheddar for pepper jack if you want a spicy kick, or go wild with blue cheese for a funky twist. Add a sprinkle of smoked paprika to the beef for depth, or top your masterpiece with creamy avocado and crispy bacon. The beauty of Juicy Lucys? They’re your cheesy canvas—paint it however you like!
Serving Suggestions
Oh, you can’t just slap these beauties on a plate solo—pair them with crispy fries for that classic diner vibe, a tangy homemade coleslaw to cut through the richness, or my personal favorite: an ice-cold beer that makes that melty cheese sing even louder!
Storing and Reheating Juicy Lucy Cheddar Burgers
Okay, let’s be real—you probably won’t have leftovers, but just in case: store these cheesy wonders in the fridge for up to 2 days. When reheating, skip the microwave (sad, soggy burger alert!) and use a skillet over medium heat or a 350°F oven for 10 minutes. That way, you keep that crispy exterior and gooey center intact. Trust me, it’s worth the extra minute of patience!
Nutritional Information
Okay, let’s talk numbers—but take these with a grain of salt (literally, since seasoning levels vary!). This is a hearty burger we’re dealing with, friends. Each Juicy Lucy Cheddar Burger packs roughly 550 calories, with that glorious cheese and beef combo bringing the protein to about 30g. The exact numbers? They’ll dance around depending on your cheese choice, bun thickness, and whether you go wild with toppings (looking at you, bacon lovers).
Remember: homemade means you control the ingredients—swap in leaner beef or light cheese if you’re watching things closely. But hey, sometimes life’s too short not to embrace the oozy, juicy indulgence. Enjoy every bite!
FAQs About Juicy Lucy Cheddar Burgers
What exactly makes a Juicy Lucy different from a regular burger?
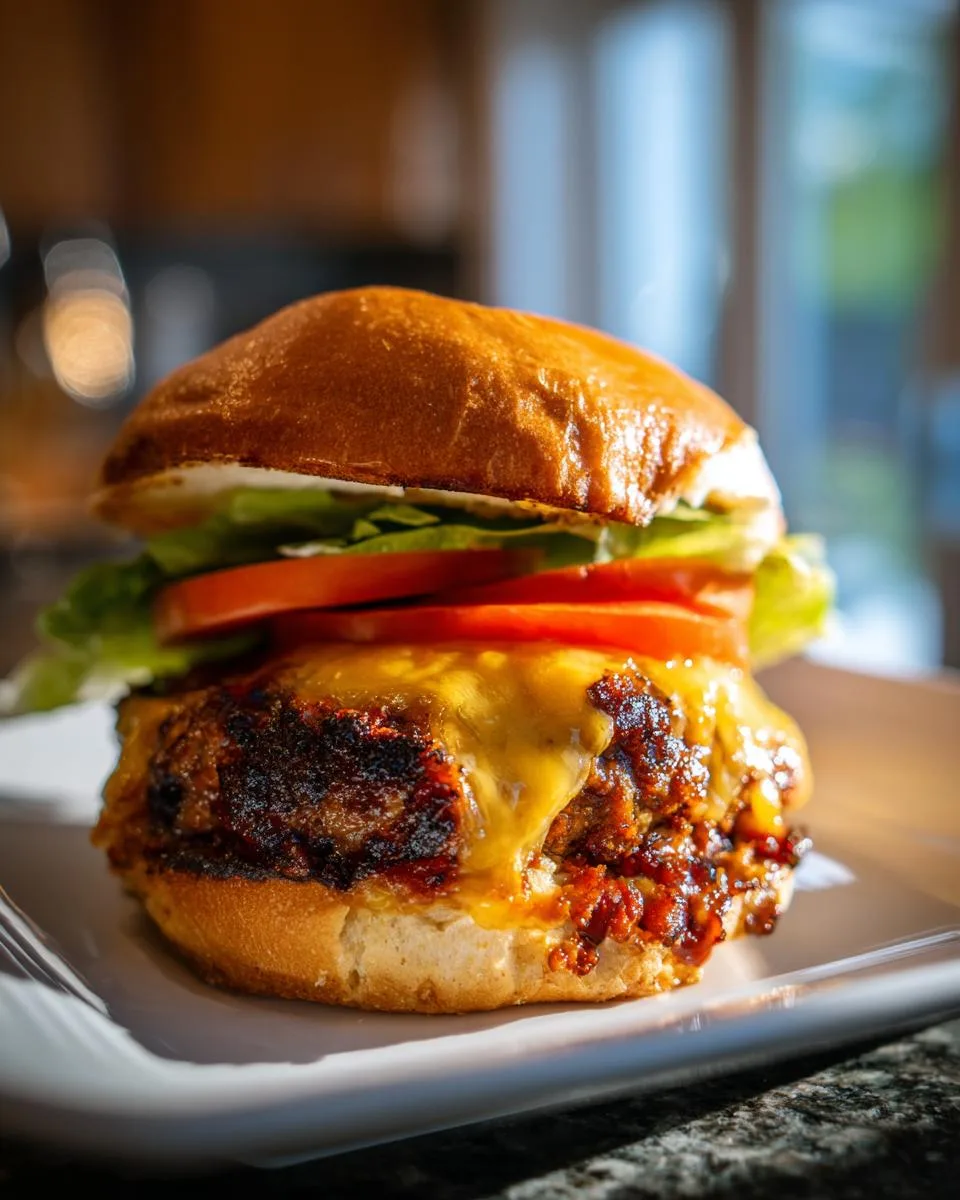
Oh, my friend, it’s all about the cheesy surprise inside! A Juicy Lucy isn’t just a burger with cheese on top—it’s got molten cheese stuffed right into the patty. When you bite into it, that golden goodness oozes out like a delicious lava flow. Regular burgers? They’re fine, but they don’t have that magical “wow” moment when the cheese reveals itself.
What’s the best cheese to use for Juicy Lucys?
I swear by sharp cheddar—it’s got that tangy punch that cuts through the rich beef beautifully. But if you want that classic, ultra-melty diner-style goo, American cheese works wonders too. Pro tip: avoid pre-shredded cheese—it’s got anti-caking agents that mess with the melt. Stick to slices or blocks you shred yourself for that perfect ooze.
Help! My cheese keeps leaking out—what am I doing wrong?
First, deep breath—we’ve all been there! The secret is in the seal. Make sure your edges are really pressed together—like you’re crimping a pie crust. I wet my fingers slightly to help seal without sticking. And don’t overstuff! Leave a good ½-inch border around the cheese. Oh, and resist pressing down while cooking—that’s just inviting leaks!
Can I make Juicy Lucys ahead of time?
You can prep the patties (sealed and all) up to 4 hours ahead—just keep them chilled. But honestly? They’re best cooked fresh. That cheese gets extra melty when it goes straight from fridge to heat. If you must store leftovers, reheat them gently in a skillet to bring back that crispy-cheesy magic.
Why is it called a Juicy Lucy anyway?
Oh, this is fun—it’s a Minnesota thing! Two bars (Matt’s Bar and the 5-8 Club) both claim they invented it in the 1950s. The name comes from that first glorious bite when the “juicy” cheese bursts out. Some say a regular named Lucy kept burning her mouth on the molten center, and the name stuck. True or not, it’s a story as good as the burger itself!
For More recipes Follow me on Facebook!