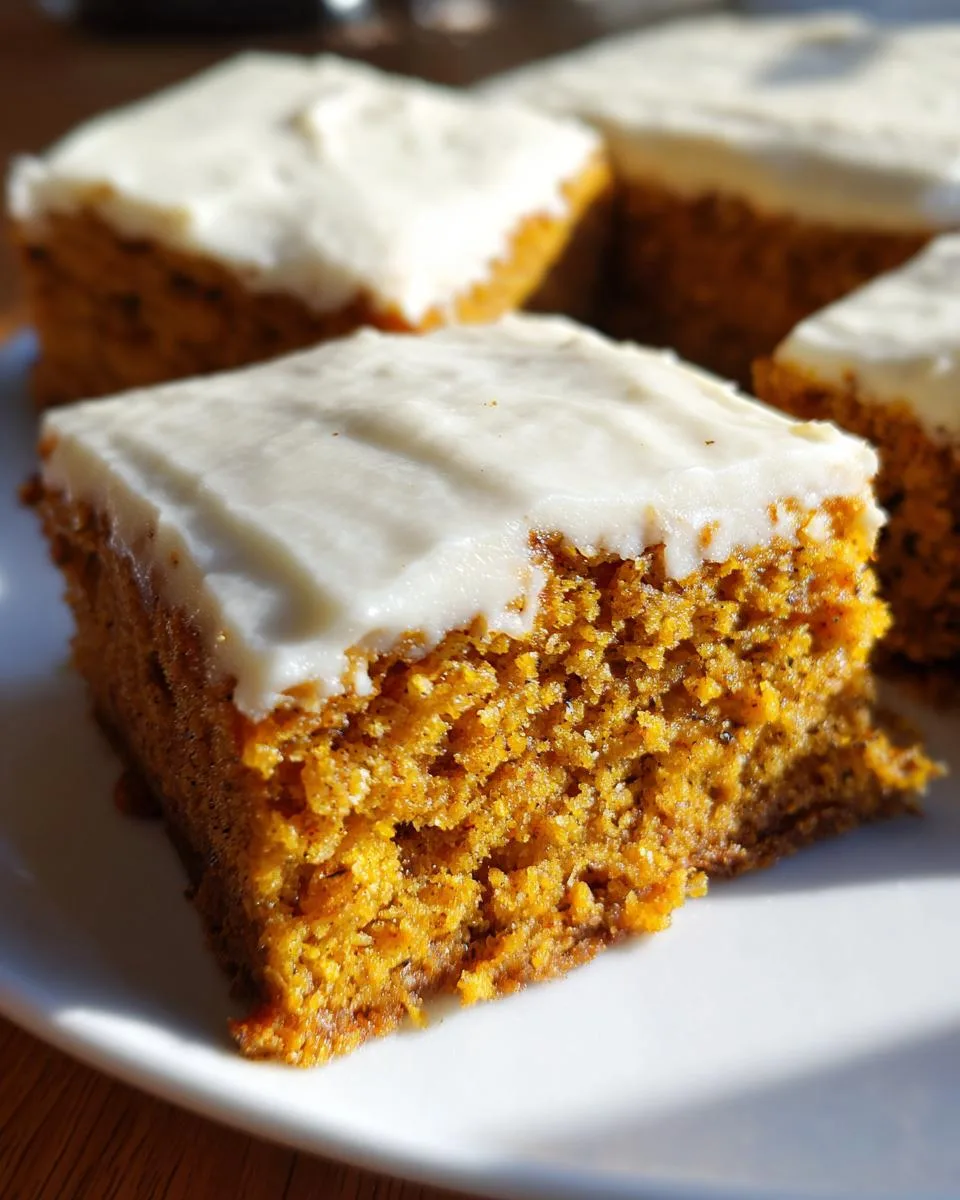
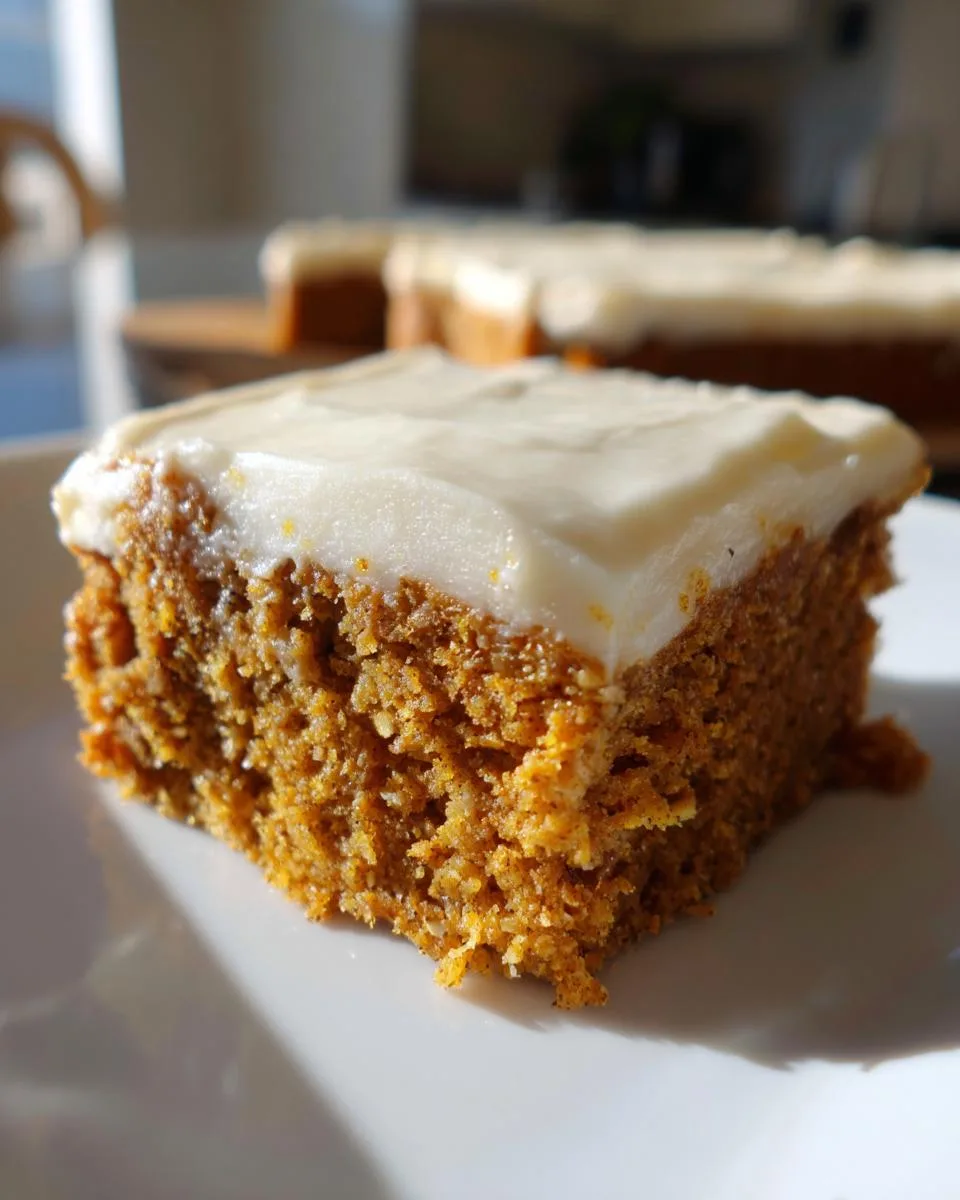
Oh my gosh, you guys—these healthy pumpkin bars have been my absolute obsession this fall! Picture this: spiced pumpkin goodness swirled with the creamiest, dreamiest cream cheese frosting, all wrapped up in a guilt-free treat that’s actually good for you. I can’t even tell you how many times I’ve made these since I first whipped them up on a lazy Sunday afternoon.
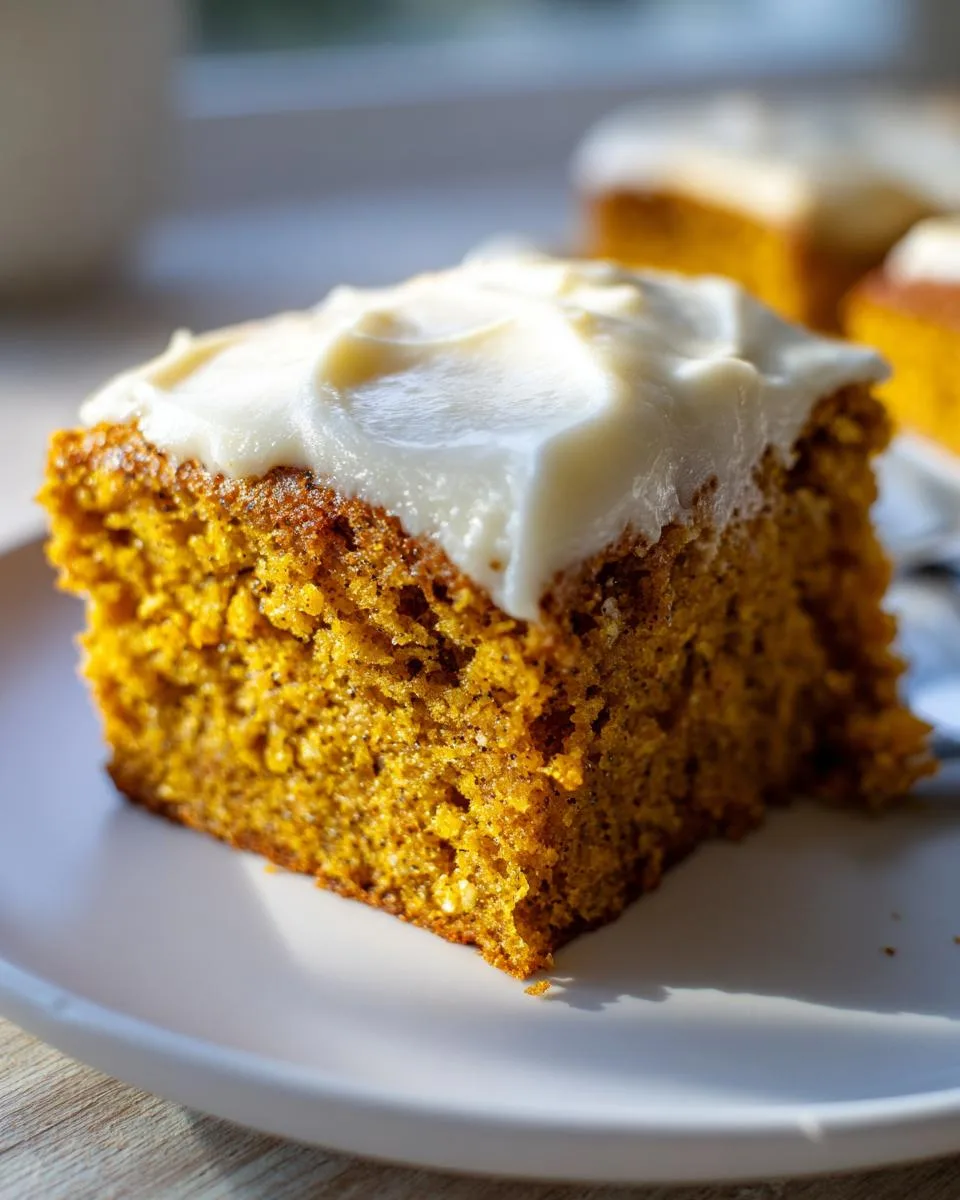
Table of Contents
Table of Contents
Why You’ll Love These Healthy Pumpkin Bars
What I love most is how simple they are—no fancy ingredients, no complicated steps, just real, wholesome stuff like oat flour, pure pumpkin, and a touch of maple syrup for that perfect sweetness. And that frosting? It’s light, it’s fluffy, and it makes these bars feel downright indulgent, even though they’re totally waistline-friendly. Trust me, one bite and you’ll be hooked—these pumpkin bars are the kind of dessert you’ll want to make again and again, whether it’s for a cozy weeknight treat or your next potluck. Let’s get baking!
Listen, these pumpkin bars aren’t just good—they’re the kind of dessert you’ll crave year-round. Here’s why:
- So easy to make—no mixer needed, just a couple bowls and a spatula. Perfect for lazy bakers!
- Actually good for you—packed with real pumpkin, oat flour, and just enough sweetness to feel like a treat.
- That cream cheese frosting…oh wow. Light, tangy, and just sweet enough to make you forget it’s fat-free.
- Works for any occasion—breakfast (don’t judge!), afternoon snacks, or even holiday dessert tables.
Seriously, they’re the MVP of my recipe box—flavorful, fuss-free, and secretly wholesome. What’s not to love? Share your pics and tag me!
Ingredients for Healthy Pumpkin Bars
Okay, let’s talk ingredients—because the magic of these pumpkin bars starts with simple, wholesome stuff you probably already have in your pantry. (And if you don’t? No stress! I’ve got notes on swaps later.) Here’s everything you’ll need, split into dry and wet ingredients because—trust me—it makes the mixing process SO much easier.
Dry Ingredients
- 2 cups oat flour – If you’re gluten-free, make sure yours is certified! Or just blitz oats in a blender until fine.
- 1 1/2 teaspoons ground cinnamon – The cozy backbone of these bars. Don’t skimp!
- 1 teaspoon ground ginger – Adds a little warmth and zing.
- 1/4 teaspoon freshly grated nutmeg – Seriously, fresh makes a difference here. That pre-ground stuff just doesn’t sing the same way.
- 1 1/4 teaspoons baking powder – Our lift-and-fluff hero.
- 1/4 teaspoon salt – Balances all the sweetness.
- 1/2 tablespoon dried raisins – Optional, but they add little bursts of sweetness. Chop ‘em roughly if you want ‘em to blend in more.
Wet Ingredients
- 3/4 cup pure pumpkin puree – Not pie filling! Just plain pumpkin. (And yes, canned is totally fine—I use it all the time.)
- 3/4 cup unsweetened almond milk – Or any milk you love. Dairy works too!
- 1/4 cup pure applesauce – Unsweetened, please! This keeps things moist without extra oil.
- 1 large egg – Room temp is ideal—it blends smoother.
- 1/2 teaspoon pure vanilla extract – The good stuff. No imitation here!
- 1/4 cup pure maple syrup – Grade A or B, whatever you’ve got. Just make sure it’s the real deal, not pancake syrup.
For the Cream Cheese Frosting:
- 8 ounces fat-free cream cheese – Softened! Cold cream cheese = lumpy frosting. Learned that the hard way.
- 1 egg yolk – Room temp again—it’ll blend like a dream.
- 1/2 teaspoon pure vanilla extract – Because frosting deserves love too.
- 2 tablespoons honey – Adjust to taste if you like it sweeter!
See? Nothing crazy. Just real ingredients that come together to make something magical. Now, let’s get mixing!
How to Make Healthy Pumpkin Bars
Alright, let’s get our hands dirty—or at least, a little pumpkin-y! Making these bars is honestly a breeze, but I’ve got a few little tricks up my sleeve to make sure they turn out perfect every single time. The key is taking it step by step and not rushing things (especially the cooling part—I know, it’s torture!).
Preparing the Cream Cheese Frosting
We’re starting with the frosting because it needs a little chill time in the fridge, and honestly, it’s the best part—why wait? First, make sure your cream cheese is softened. I usually take it out of the fridge about an hour before I start. If you forget (I do all the time!), just pop the sealed block in a bowl of warm water for 10 minutes. No microwaving! That’s a one-way ticket to lump city.
Grab a medium bowl and plop that cream cheese in there. Whisk it by hand until it’s super smooth and fluffy—this takes a minute or two, but it’s worth it. Then, add your room-temp egg yolk, vanilla, and honey. Keep whisking until it’s all beautifully combined and there are no streaks. Cover the bowl with some plastic wrap and tuck it into the fridge. It’ll thicken up a bit while we work on the bars.
Mixing and Baking the Bars
Okay, bars time! Preheat that oven to 350°F and grab your 8×8 pan. Line it with parchment paper—I leave a little overhang on two sides so I can just lift the whole thing out later. Life-changing, I swear.
In your big mixing bowl, whisk together all those dry ingredients: the oat flour, cinnamon, ginger, nutmeg, baking powder, salt, and raisins. In another bowl, whisk your wet ingredients—the pumpkin puree, almond milk, applesauce, egg, vanilla, and maple syrup. Now, pour the wet mix into the dry mix. Here’s the important part: use a spatula and fold gently. Don’t go crazy stirring! You just want to combine them until you don’t see any dry flour patches. A few lumps are totally fine—overmixing makes tough bars.
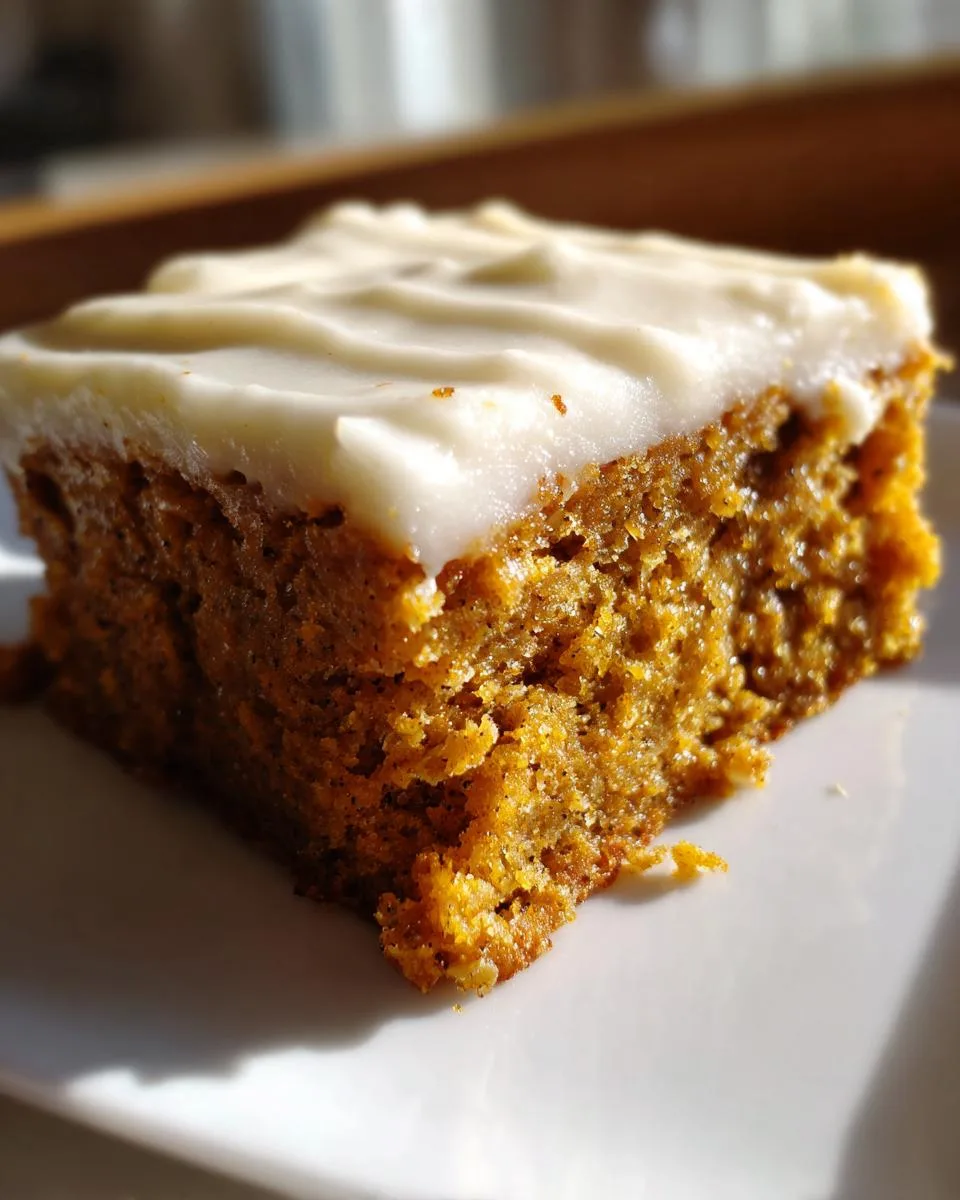
Pour that beautiful orange batter into your prepared pan and smooth the top. Slide it into the oven and bake for 20-25 minutes. You’ll know they’re done when the edges are just starting to pull away from the pan and a toothpick poked in the center comes out clean. Turn off the oven, but leave the pan in there for another 10 minutes—this helps them set without drying out. Then, take them out and let them cool completely on a wire rack. I know, I know, you want to frost them NOW, but warm bars plus cold frosting equals a melty mess. Patience, my friend!
Print
20-Minute Healthy Pumpkin Bars That Taste Sinful
- Prep Time: 15 minutes
- Cook Time: 25 minutes
- Total Time: 40 minutes
- Yield: 9 bars 1x
- Category: Dessert
- Method: Baking
- Cuisine: American
- Diet: Low Fat
Description
Healthy pumpkin bars with a creamy cream cheese filling. A perfect dessert or snack for any occasion.
Ingredients
- 3/4 cup of pure pumpkin puree
- 3/4 cup of almond milk (unsweetened)
- 1/4 cup of pure applesauce
- 1 large egg
- 1/2 teaspoon of pure vanilla extract
- 2 cups of oat flour
- 1/2 tablespoon of dried raisins
- 1 1/4 teaspoons of baking powder
- 1 1/2 teaspoons of ground cinnamon
- 1 teaspoon of ground ginger
- 1/4 teaspoon of nutmeg (freshly grated)
- 1/4 teaspoon of salt
- 1/4 cup of pure maple syrup
- 8 ounces of cream cheese (fat-free)
- 1 egg yolk (room temp)
- 1/2 teaspoon of pure vanilla extract
- 2 tablespoons of honey
Instructions
- Make the cream cheese frosting first. Whisk the cream cheese until soft and fluffy. Add egg yolk, vanilla extract, applesauce, and honey. Beat until well combined. Refrigerate.
- Preheat oven to 350°F. Line an 8×8 baking pan with parchment paper or lightly coat with cooking spray.
- In a large bowl, combine dry ingredients (oat flour, cinnamon, raisins, salt, baking powder, ginger, nutmeg).
- In another bowl, whisk milk, egg, vanilla, pumpkin, and maple syrup until well combined.
- Pour wet ingredients into dry ingredients. Fold gently with a spatula until mixed well.
- Transfer batter into the baking pan. Smooth the top with a spatula.
- Bake for 20-25 minutes. Check with a toothpick—if it comes out clean, bars are done.
- Turn off oven. Let bars sit for 10 minutes before removing. Cool completely on the counter.
- Spread cream cheese frosting over cooled bars. Cut into squares.
Notes
- Store in the refrigerator for up to 5 days.
- Use freshly grated nutmeg for the best flavor.
- Bars can be frozen for up to 1 month.
Nutrition
- Serving Size: 1 bar
- Calories: 180
- Sugar: 10g
- Sodium: 150mg
- Fat: 6g
- Saturated Fat: 3g
- Unsaturated Fat: 2g
- Trans Fat: 0g
- Carbohydrates: 25g
- Fiber: 3g
- Protein: 5g
- Cholesterol: 35mg
Tips for Perfect Healthy Pumpkin Bars
Listen, I’ve made these pumpkin bars more times than I can count, and here are my foolproof secrets for nailing them every time:
- Fresh nutmeg is everything – That little grater will change your life. The pre-ground stuff just doesn’t have the same warm, spicy kick.
- Check doneness early – Start testing at 20 minutes with a toothpick. Overbaked pumpkin bars are sad pumpkin bars.
- Let them cool completely – I know it’s tempting, but frosting warm bars leads to a gooey mess. Walk away for an hour!
- Room temp ingredients matter – Cold eggs and cream cheese don’t blend well. Trust me on this one.
- Fold, don’t stir – Gentle folding keeps the batter light. Your biceps can wait for arm day.
Follow these, and you’ll get moist, flavorful bars that even picky eaters will devour!
Ingredient Substitutions & Notes
Got an ingredient missing or an allergy to work around? No problem—this recipe is super flexible! Here’s how to tweak it without losing that deliciousness:
- Oat flour: No oat flour? Just blend rolled oats in a food processor until fine—instant homemade version!
- Almond milk: Any milk works here—dairy, soy, even coconut milk will do in a pinch.
- Pumpkin puree: Fresh puree works if you’ve got it, but canned is totally fine (and way easier).
- No applesauce? Mashed banana or even Greek yogurt makes a great sub.
- Cream cheese: Regular or reduced-fat works if you’re not into fat-free—just adjust the sweetness to taste.
Remember: swaps might change the texture slightly, but they’ll still taste amazing. Happy experimenting!
Serving and Storing Healthy Pumpkin Bars
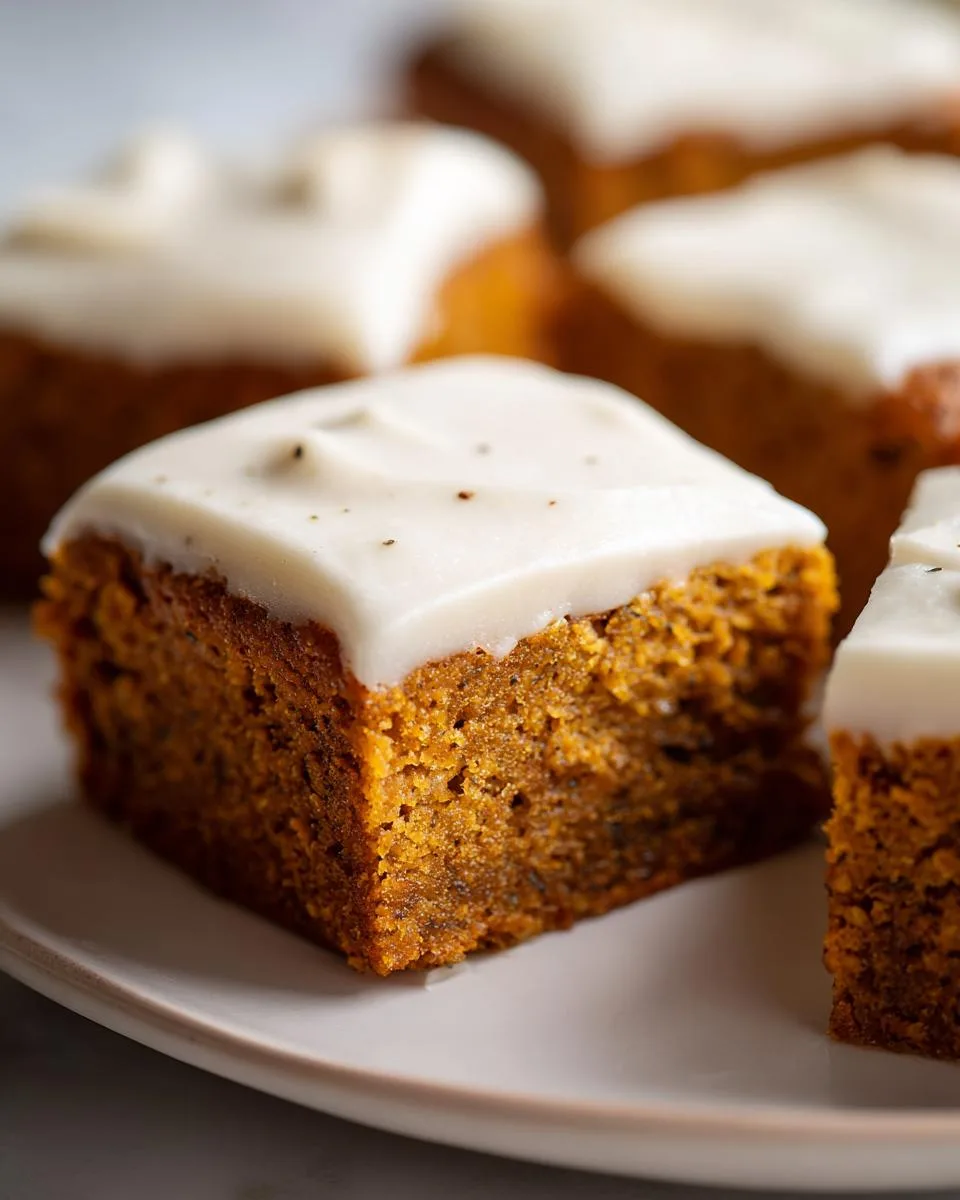
Okay, here’s the best part—eating these beauties! I love serving them slightly chilled so that cream cheese frosting holds its shape, but room temp works too if you can’t wait. Pro tip: use a hot knife (dip it in warm water, then dry) for those clean, Instagram-worthy slices.
Now, storage! These keep great in the fridge for up to 5 days—just cover them tightly. Want to freeze? Wrap individual bars in plastic, then pop them in a freezer bag for up to a month. Thaw overnight in the fridge, and they’ll taste like you just baked them. (Though let’s be real—they never last that long in my house!)
Nutritional Information for Healthy Pumpkin Bars
Let’s talk numbers – because yes, you can have your pumpkin bars and eat them too! Each delicious square comes in at around 180 calories, with 6g of fat (only 3g saturated) and 25g carbs that include a decent 3g of fiber. You’re also getting 5g of protein per serving – not too shabby for dessert!
Quick note: These numbers can vary slightly depending on your exact ingredients (especially if you tweak the milk or sweetener). But one thing’s for sure – these bars give you all the cozy pumpkin spice vibes without the usual sugar crash. That’s what I call a win!
Frequently Asked Questions
Can I use fresh pumpkin instead of canned?
Absolutely! You’ll need about 1 cup of roasted, pureed pumpkin to replace the canned. Just make sure it’s drained well—nobody wants soggy bars. (Pro tip: sugar pumpkins work better than carving pumpkins—they’re sweeter!)
How long can these pumpkin bars sit out at room temperature?
With that cream cheese frosting, I’d play it safe—2 hours max if it’s cool in your kitchen. Otherwise, pop them in the fridge. They’ll stay fresh there for up to 5 days (if they last that long in your house!).
Can I skip the frosting for a lighter version?
Of course! These bars are delicious plain or with a light dusting of powdered sugar. Though I’ll warn you—that tangy cream cheese topping really takes them to the next level.
My batter seems thick—is that normal?
Don’t panic! Pumpkin bar batter is supposed to be thicker than cake batter. As long as you can spread it in the pan, you’re golden. Too thick? Add a tablespoon of milk at a time until it’s workable.
Can I double this recipe?
Yes! Use a 9×13 pan and add 5-10 minutes to the bake time. Just keep an eye on it—ovens can be sneaky.
Final Thoughts
There you have it—my all-time favorite pumpkin bars that just happen to be good for you too! I can’t wait for you to try them and (hopefully) fall as hard for them as I have. Let me know how yours turn out—did you add any fun twists? Share your pics and tag me! Happy baking, friends!