You know those mornings when you’re scrambling to get out the door but still want something delicious and wholesome? That’s exactly why I fell in love with these Berry Yogurt Breakfast Cups. I first whipped them up during a particularly chaotic week when my toddler refused to eat anything but “purple food” (don’t ask). Five minutes of prep the night before, and voila – breakfast was ready to grab from the fridge! The magic lies in that sweet-tart berry compote layered with creamy Greek yogurt. It’s like having dessert for breakfast, but packed with protein and antioxidants. Plus, you can customize them endlessly based on what’s in season or what’s hiding in your fridge.
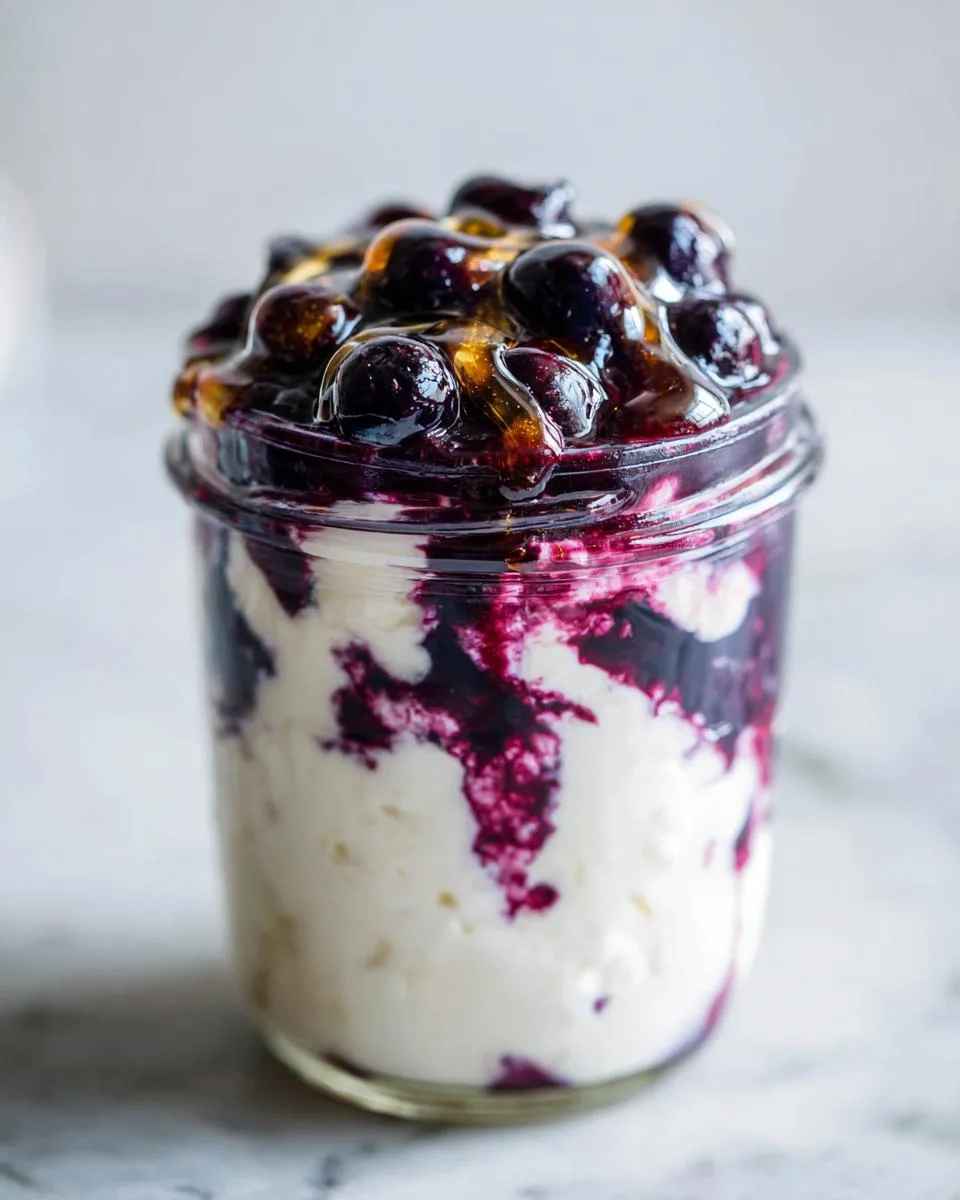
Table of Contents
Table of Contents
Why You’ll Love These Berry Yogurt Breakfast Cups
Let me count the ways these little jars of joy will change your mornings:
- 5-minute prep the night before means zero morning stress (trust me, I’ve survived many rushed school drop-offs thanks to these)
- Packed with protein from Greek yogurt and antioxidants from fresh berries – it’s breakfast that actually keeps you full
- Totally customizable – swap berries, sweeteners, or yogurt types based on what you crave (or what’s about to go bad in your fridge)
- Perfect portion control in cute jars – no accidental giant-bowl-of-yogurt situations
- Stays fresh for 5 days in the fridge – make a batch Sunday and breakfast is DONE
Seriously, these cups are my not-so-secret weapon for feeling like I’ve got my life together, even when I absolutely don’t. You can see more of my quick recipes over at Facebook!
Ingredients for Berry Yogurt Breakfast Cups
Here’s what you’ll need to make these magical little cups – I promise it’s all simple stuff you might already have:
- 1 pint berries (blackberries, raspberries, or blueberries – whatever looks best at the market or is about to turn in your fridge)
- 1 tablespoon water (just enough to get things bubbling without making soup)
- 1/2 teaspoon cornstarch (the secret thickener that makes the berry layer perfect)
- 2-4 tablespoons sweetener (honey, maple syrup, or sugar – start with less, you can always add more!)
- Squeeze of lemon juice (brightens everything up – about 1/2 teaspoon does the trick)
- 1 container Greek yogurt (I use full-fat for creaminess, but any kind works)
See? Nothing fancy – just good ingredients that come together in the most delicious way.
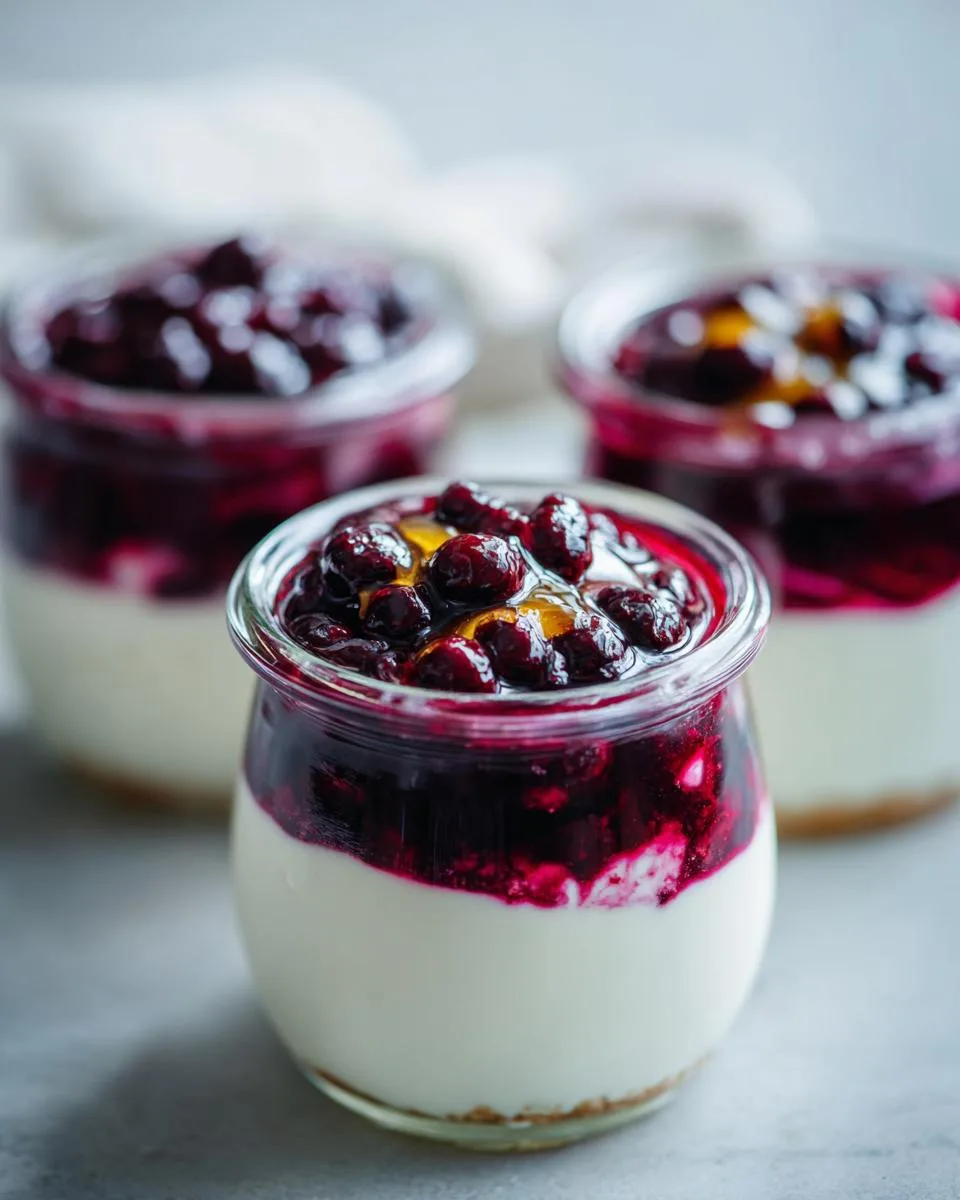
How to Make Berry Yogurt Breakfast Cups
Okay, let’s get to the fun part – making these little jars of morning happiness! I promise it’s so easy you’ll wonder why you ever bought those expensive pre-made ones. Here’s exactly how I do it:
Preparing the Berry Mixture
First, grab your smallest saucepan – no need to dirty the big ones for this! Toss in your berries (I like to mix them sometimes for fun), water, cornstarch, and sweetener. Here’s my pro tip: whisk the cornstarch with the water first to avoid lumps. Medium heat is your friend here – you want it bubbling gently, not going crazy. Stir constantly for about 5 minutes until it thickens just enough to coat the back of your spoon. Taste it! Some berries are sweeter than others, so adjust with more sweetener or a squeeze of lemon if needed. Want smooth cups? Mash or blend the mixture now. I personally love some berry chunks for texture!
Layering and Storing
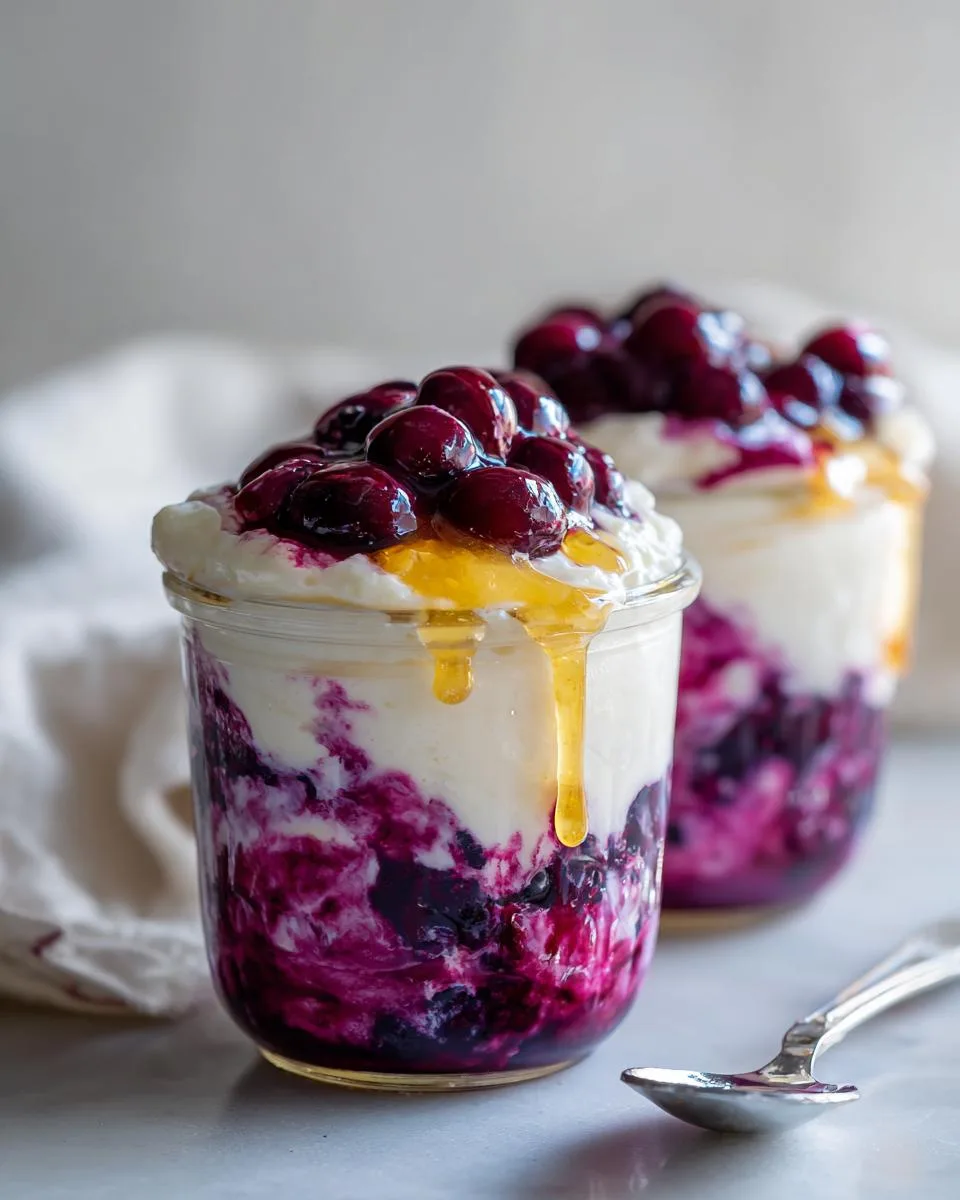
Now for the assembly line! Let the berry mixture cool slightly (hot berries + cold yogurt = weird separation). Divide it between your jars – I use 4 small mason jars, but any containers with lids work. Then comes the yogurt layer – spoon it gently over the berries so you get that pretty contrast. Pro tip: wipe the jar edges clean before putting lids on for a neater look. Pop them in the fridge overnight (the flavors get even better!), and in the morning just grab and go! Top with granola right before eating so it stays crunchy. These keep beautifully for 5 days – if they last that long in your fridge!
Print
5-Minute Berry Yogurt Breakfast Cups for Delicious Mornings
Ingredients
-
- 1 pint berries (blackberries, raspberries, or blueberries – whatever looks best at the market or is about to turn in your fridge)
-
- 1 tablespoon water (just enough to get things bubbling without making soup)
-
- 1/2 teaspoon cornstarch (the secret thickener that makes the berry layer perfect)
-
- 2–4 tablespoons sweetener (honey, maple syrup, or sugar – start with less, you can always add more!)
-
- Squeeze of lemon juice (brightens everything up – about 1/2 teaspoon does the trick)
-
- 1 container Greek yogurt (I use full-fat for creaminess, but any kind works)
Instructions
First, grab your smallest saucepan – no need to dirty the big ones for this! Toss in your berries (I like to mix them sometimes for fun), water, cornstarch, and sweetener. Here’s my pro tip: whisk the cornstarch with the water first to avoid lumps. Medium heat is your friend here – you want it bubbling gently, not going crazy. Stir constantly for about 5 minutes until it thickens just enough to coat the back of your spoon. Taste it! Some berries are sweeter than others, so adjust with more sweetener or a squeeze of lemon if needed. Want smooth cups? Mash or blend the mixture now. I personally love some berry chunks for texture!
Now for the assembly line! Let the berry mixture cool slightly (hot berries + cold yogurt = weird separation). Divide it between your jars – I use 4 small mason jars, but any containers with lids work. Then comes the yogurt layer – spoon it gently over the berries so you get that pretty contrast. Pro tip: wipe the jar edges clean before putting lids on for a neater look. Pop them in the fridge overnight (the flavors get even better!), and in the morning just grab and go! Top with granola right before eating so it stays crunchy. These keep beautifully for 5 days – if they last that long in your fridge!
Tips for Perfect Berry Yogurt Breakfast Cups
After making these cups weekly for years (yes, I’m obsessed), here are my hard-earned secrets:
- Taste as you go – berry sweetness varies wildly! Start with less sweetener, then add more after cooking
- Frozen berries work too – just thaw and drain excess liquid first
- For ultra-creamy yogurt, give it a good stir before layering to smooth out any lumps
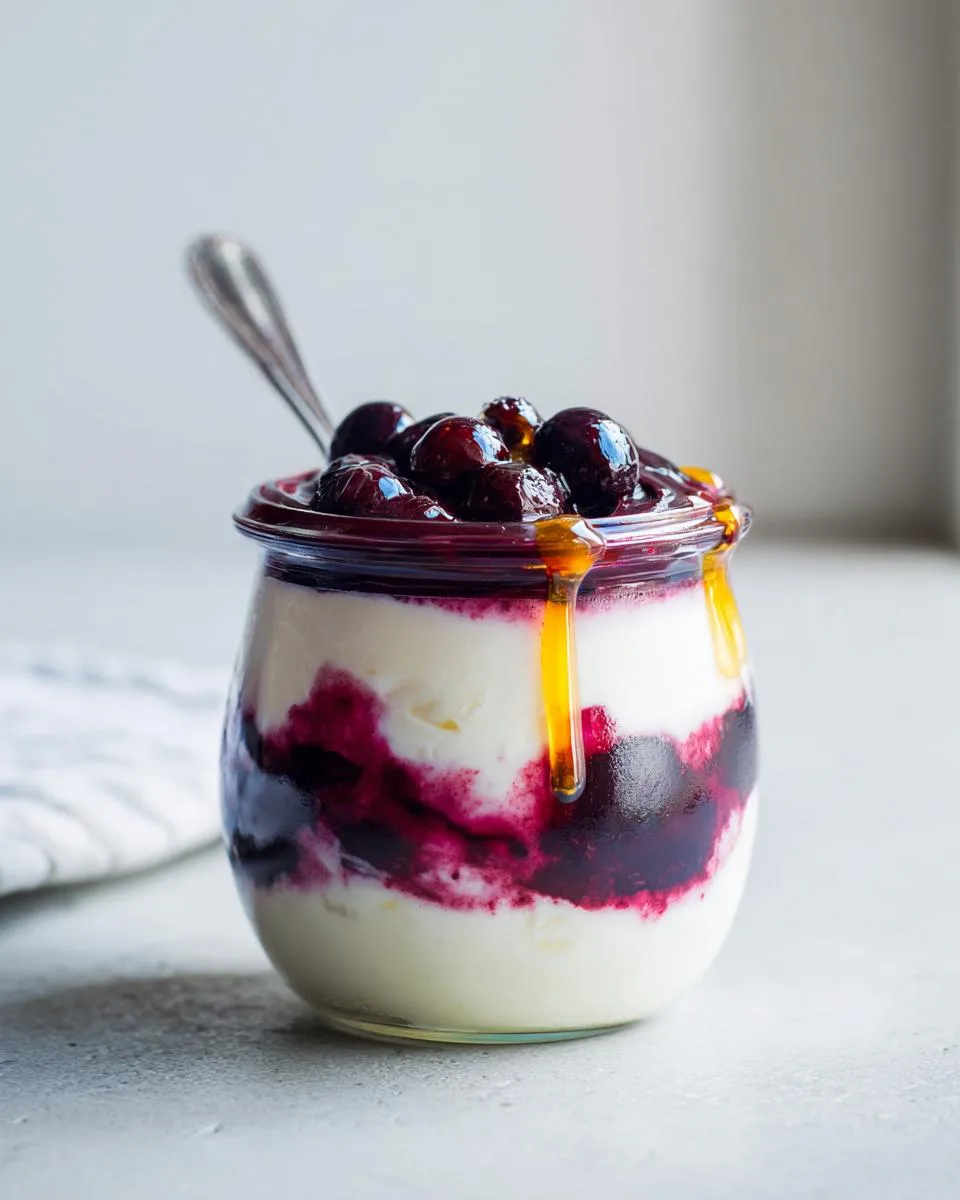
- Make it pretty – use clear jars to show off those gorgeous layers!
- Texture choice is yours – blend berries silky smooth or leave chunky for pops of fruit
Remember – there are no wrong answers here, just delicious breakfasts waiting to happen!
Variations for Berry Yogurt Breakfast Cups
The beauty of these cups? You can change them up every week and never get bored! Here are my favorite twists:
- Berry swaps: Try strawberries in spring, mixed berries in summer, or frozen cherries in winter
- Yogurt options: Coconut yogurt for dairy-free, skyr for extra protein, or flavored yogurts if you’re feeling fancy
- Sweetener ideas: Agave, date syrup, or even mashed banana for natural sweetness
- Spice it up: A pinch of cinnamon or cardamom in the berry mix adds cozy warmth
Honestly? The only limit is your imagination (and maybe what’s on sale at the grocery store). If you are looking for other breakfast ideas, check out my other posts!
Serving Suggestions for Berry Yogurt Breakfast Cups
The fun really begins when you get to top these beauties! Here’s how I love to serve mine:
- Crunchy granola (add it right before eating so it stays perfectly crisp)
- Toasted nuts – almonds or walnuts add the best texture contrast
- Fresh fruit slices – banana coins or extra berries make it feel extra special
- A drizzle of honey – because sometimes you just need that extra touch of sweetness
- Chia or flax seeds – for an easy nutrient boost
My kids go crazy when I let them create their own topping combos – it’s like a breakfast sundae bar!
Storing and Reheating Berry Yogurt Breakfast Cups
Here’s the best part – these cups actually get better as they sit! Just pop the lids on tight and refrigerate for up to 5 days (if they last that long). The berry layer infuses into the yogurt beautifully. No reheating needed – they’re meant to be enjoyed cold straight from the fridge. Pro tip: write dates on the lids so you remember which batch is which!
Nutritional Information for Berry Yogurt Breakfast Cups
While exact numbers vary based on your berry and yogurt choices, each cup typically packs about 150-200 calories with 10-15g protein from Greek yogurt and a healthy dose of antioxidants from the berries. Remember – homemade means you control the sweetness!
FAQ About Berry Yogurt Breakfast Cups
I get asked about these cups all the time – here are the questions that pop up most often from friends and family (and probably you too!):
Are yogurt cups good for breakfast?
Absolutely! The Greek yogurt gives you a protein punch to keep you full, while the berries pack antioxidants and fiber. It’s like nature’s perfect breakfast combo – sweet, satisfying, and actually good for you. If you prefer a different style of quick breakfast, maybe try my overnight oats!
What are yogurt cups made of?
Just simple, real ingredients – fresh berries, a touch of sweetener, and creamy yogurt. The beauty is you can customize everything based on what you like or have on hand! For another easy layered treat, check out my no-bake berry cheesecake cups.
Got more questions? Just ask – I could talk about these cups all day (and often do!).