Let me tell you about my secret weapon for summer desserts—these No Bake Berry Cheesecake Cups! After years of sweating over complicated desserts (hello, failed soufflés), I fell in love with this foolproof recipe that comes together in minutes. The magic happens when creamy cheesecake filling meets that buttery graham cracker crunch, all topped with juicy fresh berries—no oven required. Last-minute guests? No problem. Kids begging for dessert? Done. I’ve made hundreds of these little jars for everything from bridal showers to lazy Tuesday nights, and they never disappoint. Trust me, once you taste that first cool, creamy bite, you’ll understand why this recipe stays in heavy rotation in my kitchen.
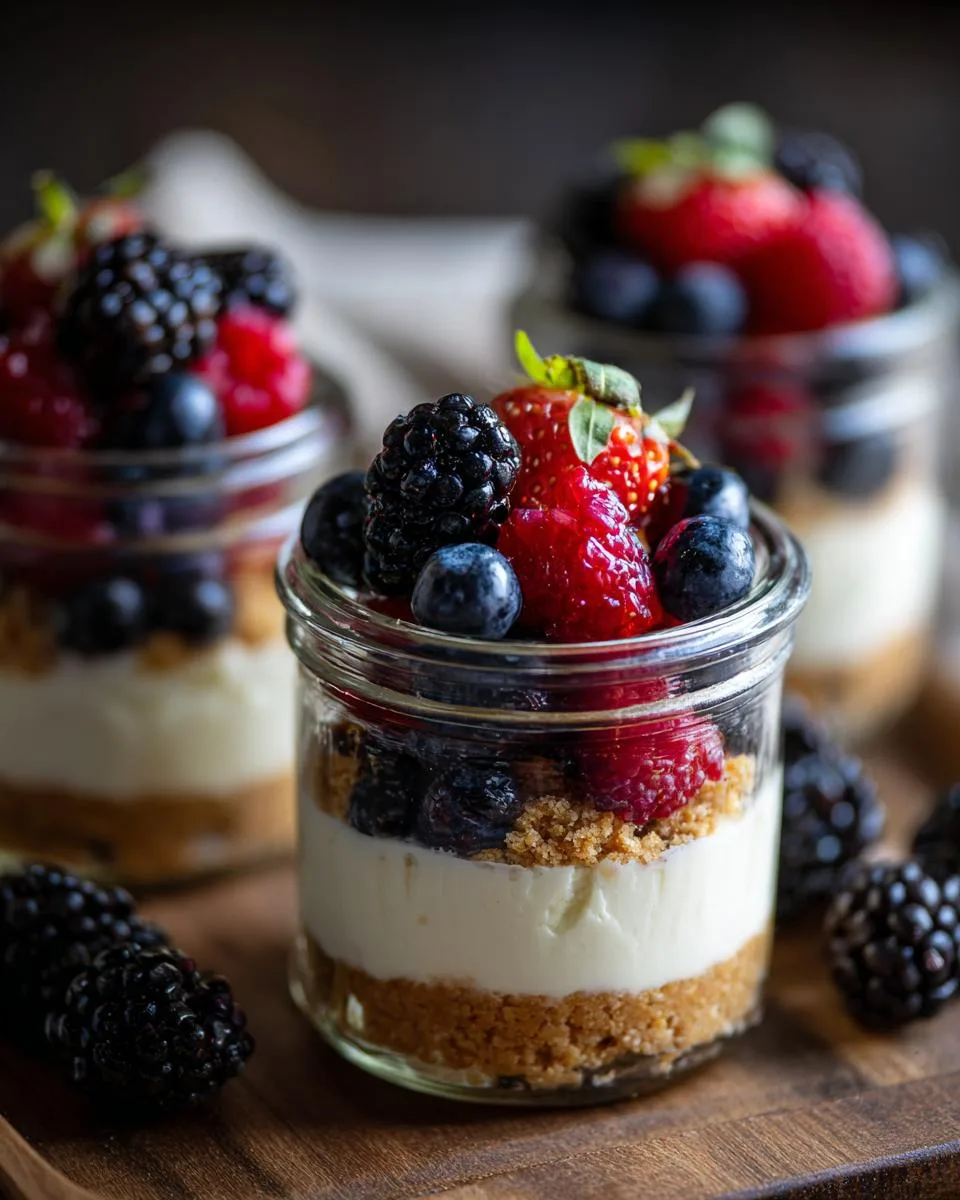
Table of Contents
Table of Contents
Why You’ll Love These No Bake Berry Cheesecake Cups
Listen, I don’t just *like* these cheesecake cups—I’m obsessed! Here’s why you will be too:
- No oven drama: Skip the heat and fuss—these set up beautifully in the fridge while you relax (or tackle that pile of laundry).
- 15-minute magic: Seriously, from crust to filling, you’re done before your favorite show’s intro finishes.
- Top it your way: Berries today, caramel and nuts tomorrow—each jar’s a blank canvas for your cravings.
- Crowd-pleaser: I’ve watched picky eaters and dessert snobs alike scrape their jars clean at parties.
Bonus? They look fancy but couldn’t be easier. Win-win!
Ingredients for No Bake Berry Cheesecake Cups
Here’s everything you’ll need to make these dreamy cups—and trust me, every ingredient plays a special role. I’ve learned the hard way (hello, lumpy cheesecake!) that quality matters here.
For the Crust
- 1 cup (100g) graham cracker crumbs – That’s about 8 full crackers smashed to bits (I use a rolling pin—great stress reliever!)
- 2 Tablespoons (28g) unsalted butter, melted – The glue holding our crunchy base together
For the Cheesecake Filling
- 8 ounces (226g) full-fat brick cream cheese – MUST be room temp (leave it out 2 hours—no shortcuts!)
- 1/3 cup (65g) granulated sugar – Just enough sweetness to let the berries shine
- 2 Tablespoons (30g) sour cream – My secret for extra creaminess
- 1 teaspoon lemon juice – Brightens up all that richness
- 1/2 teaspoon pure vanilla extract – Splurge on the good stuff
- 1 cup (240ml) heavy cream – Cold straight from the fridge
For Topping
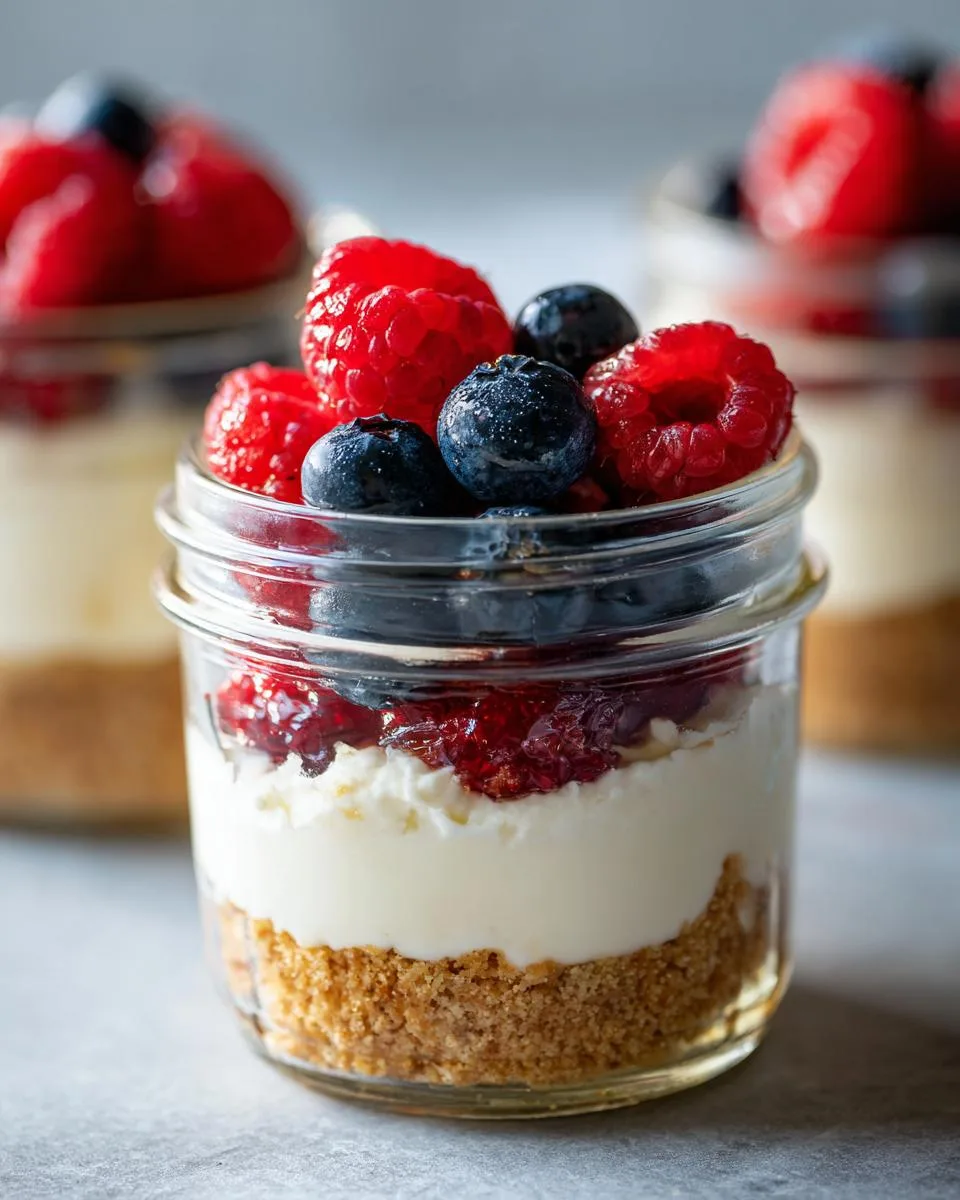
- Fresh berries – Strawberries, blueberries, raspberries—mix and match!
- Extra whipped cream – Because more is more when it comes to cream
See? Nothing weird or fancy—just pantry staples transformed into something magical.
Equipment You’ll Need
Don’t worry—you won’t need any fancy gadgets for these cheesecake cups! Here’s what I grab from my kitchen:
- Hand mixer or whisk – For whipping that cream into fluffy peaks
- Mixing bowls – One big one for filling, smaller one for crust
- 6-8 ounce jars or glasses – I repurpose old jam jars—cute and eco-friendly!
- Measuring cups/spoons – Precision matters with no-bake desserts
- Spatula – For scraping every last bit of that delicious filling
That’s it! No special equipment required—just basic tools you probably already have.
How to Make No Bake Berry Cheesecake Cups
Ready for the easiest dessert magic you’ll ever make? Follow these steps—I’ve included all my little tricks from years of cheesecake cup experiments (some more successful than others!).
Step 1: Prepare the Crust
First, grab those graham cracker crumbs and melted butter. Dump them into a bowl and mix until it looks like wet sand—you want every crumb coated in buttery goodness. Now here’s my pro tip: spoon about 2 tablespoons into each jar, then repellently press it down with the back of a spoon. I mean really pack it in there! This keeps your crust from crumbling when you dig in later. Pop these in the fridge while you work on the filling—it helps them set up nice and firm.
Step 2: Make the Cheesecake Filling
Now for the creamy star of the show! Beat that room-temperature cream cheese (seriously, cold cream cheese equals lumpy disaster) with sugar until it’s smooth and slightly fluffy—about 2 minutes with a hand mixer. Scrape down the sides (don’t skip this!), then add sour cream, lemon juice, and vanilla. Beat another 30 seconds until everything’s happily combined. It should look like thick frosting at this point.
Step 3: Fold in Whipped Cream
Here’s where things get dreamy. In a separate bowl, whip that cold heavy cream to stiff peaks—when you lift the beaters, the peaks should stand straight up without flopping over. Now gently fold about 1/3 of the whipped cream into the cheesecake mixture to lighten it up. Carefully fold assumptions remaining cream in two batches. Be patient! You want to keep all that air in the cream for the fluffiest texture. Overmixing here leads to dense, sad cheesecake—and nobody wants that.
Step 4: Assemble and Chill
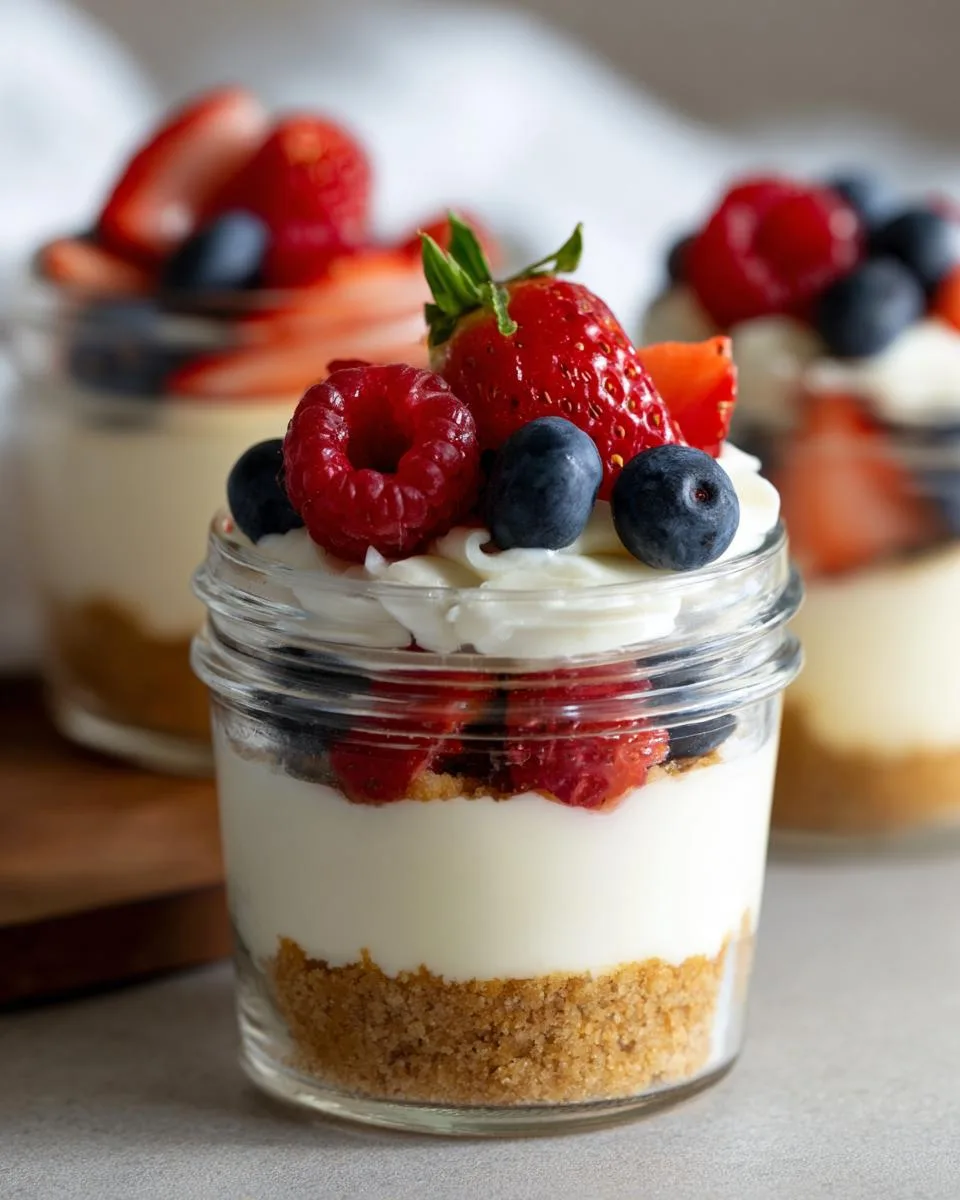
Spoon the heavenly filling over your chilled crusts, leaving about 1/2 inch at the top for toppings. Smooth the tops with a wet spoon (prevents sticking). Now the hardest part—waiting! Chill for at least 30 minutes, though 2 hours is ideal for perfect texture. Add berries and extra whipped cream right before serving so they stay fresh and perky. Pro tip:: if you’re making these ahead, store them without toppings and add those last-minute!
Print
15-Minute No Bake Berry Cheesecake Cups – Blissfully Easy Dessert
- Prep Time: 15 minutes
- Cook Time: 0 minutes
- Total Time: 45 minutes (including chilling)
- Yield: 6 (8-ounce) or 10 (6-ounce) jars 1x
- Category: Dessert
- Method: No Bake
- Cuisine: American
- Diet: Vegetarian
Description
No Bake Berry Cheesecake Cups are a quick and easy dessert with a graham cracker crust and creamy cheesecake filling topped with fresh berries.
Ingredients
- 2 Tablespoons (28g) unsalted butter, melted
- 1 cup (100g) graham cracker crumbs (about 8 graham crackers)
- 1 cup (240ml) heavy cream or heavy whipping cream, cold
- 8 ounces (226g) full-fat brick cream cheese, softened to room temperature
- 1/3 cup (65g) granulated sugar
- 2 Tablespoons (30g) sour cream, at room temperature
- 1 teaspoon lemon juice
- 1/2 teaspoon pure vanilla extract
- toppings & garnishes (berries, whipped cream, etc.)
Instructions
- Prepare jars: Line up 6 (8-ounce) or 10 (6-ounce) jars.
- Make crust: Mix melted butter and graham cracker crumbs. Spoon into jars.
- Whip heavy cream until stiff peaks form. Set aside.
- Beat cream cheese, sugar, sour cream, lemon juice, and vanilla until smooth.
- Fold whipped cream into cheesecake filling gently.
- Spoon filling over crust in jars, leaving room for toppings.
- Chill for 30 minutes or up to 3 days before adding toppings.
- Add toppings just before serving.
- Store leftovers in the refrigerator for up to 5 days.
Notes
- Use full-fat cream cheese for best texture.
- Ensure cream cheese is softened to avoid lumps.
- Fresh berries work best, but frozen can be used if thawed.
- Freezing is not recommended as texture may change.
Nutrition
- Serving Size: 1 (8-ounce) jar
- Calories: 320
- Sugar: 20g
- Sodium: 180mg
- Fat: 22g
- Saturated Fat: 13g
- Unsaturated Fat: 7g
- Trans Fat: 0g
- Carbohydrates: 28g
- Fiber: 1g
- Protein: 4g
- Cholesterol: 65mg
Tips for Perfect No Bake Berry Cheesecake Cups
After making these cheesecake cups more times than I can count (sometimes at 2 AM—no judgment!), I’ve learned a few secrets for flawless results every time:
- Patience with cream cheese: Leave it out until it’s soft as room-temperature butter—lumps won’t blend out no matter how hard you mix!
- Chill your bowl: Pop your mixing bowl in the freezer for 10 minutes before whipping cream—cold everything = faster, fluffier peaks.
- Don’t overfill jars: Leave space for toppings (trust me, that filling expands slightly as it chills).
- Berry prep: Pat fresh berries dry so they don’t bleed juice everywhere—your cheesecake will thank you.
- Chill time matters: The longer these set (up to 3 hours), the creamier the texture becomes.
Follow these, and you’ll have jars of perfection that’ll make everyone think you’re a pastry chef!
Ingredient Substitutions & Variations
Listen, I get it—sometimes you need to swap things out based on what’s in your pantry or dietary needs. Here’s the scoop on making these cheesecake cups your own without sacrificing that dreamy texture:
- Gluten-free folks: Use gluten-free graham crackers or even crushed gluten-free cookies (I love almond flour ones!). The crust will be just as crunchy.
- Dairy-free option: Swap in coconut cream for the heavy cream and dairy-free cream cheese. Pro tip: chill the coconut cream overnight first for best whipping results.
- Berry alternatives: Not feeling berries? Try lemon curd, chocolate shavings, or even caramel sauce with crushed nuts—my kids beg for the “turtle” version!
- Sugar swaps: Maple syrup works in place of granulated sugar, but reduce other liquids slightly since it adds moisture.
Just remember: full-fat cream cheese really can’t be substituted if you want that classic cheesecake texture. Everything else? Go wild!
Serving and Storage Instructions
Here’s the deal with these cheesecake cups—they’re best served cold straight from the fridge, with toppings added right before serving (unless you enjoy soggy berries, which… no thank you). If you’ve got leftovers (rare in my house!), store them without toppings in the fridge for up to 5 days—just pop some fresh berries on when you’re ready for round two. Fair warning: freezing turns the texture grainy, so resist the urge to stash these in the freezer. They disappear too fast anyway!
Nutritional Information
Okay, let’s talk numbers—but remember, these are estimates that can vary based on your exact ingredients. For one 8-ounce jar (with all the toppings!), you’re looking at:
- 320 calories
- 22g fat (13g saturated—this is dessert, after all!)
- 20g sugar
- 4g protein
Want to lighten it up? Skip the extra whipped cream topping—that saves about 50 calories per jar. But hey, sometimes you just need that extra fluff!
Frequently Asked Questions
I get questions about these cheesecake cups all the time—here are the answers to what everyone wants to know:
Can I use low-fat or fat-free cream cheese?
Oh honey, no! I learned this the hard way—low-fat versions make the filling weepy and sad. Full-fat cream cheese gives that perfect velvety texture we all crave. If you’re watching calories, just make smaller portions instead.
Why is my cheesecake filling lumpy?
Two words: ROOM TEMPERATURE. Cold cream cheese = lump city. Leave it out 2-3 hours until it’s soft as butter. Still lumpy? Run it through a sieve—messy but effective!
Can I use frozen berries instead of fresh?
Sure, but thaw and drain them completely first—no one wants a berry juice puddle drowning their cheesecake! Pat them dry with paper towels for best results.
Can I freeze no-bake cheesecake cups?
Technically yes, but the texture turns grainy when thawed. They’re so quick to make—just whip up a fresh batch when the craving hits!

Final Thoughts
There you have it—my absolute favorite dessert to whip up when I want something impressive without the hassle. These No Bake Berry Cheesecake Cups have saved me from countless dessert emergencies (and won me tons of compliments!). Now it’s your turn—make them, share them, and watch how fast they disappear. Tag me if you try them—I’d love to see your creations! You can also follow along for more easy recipes on my Facebook page.


