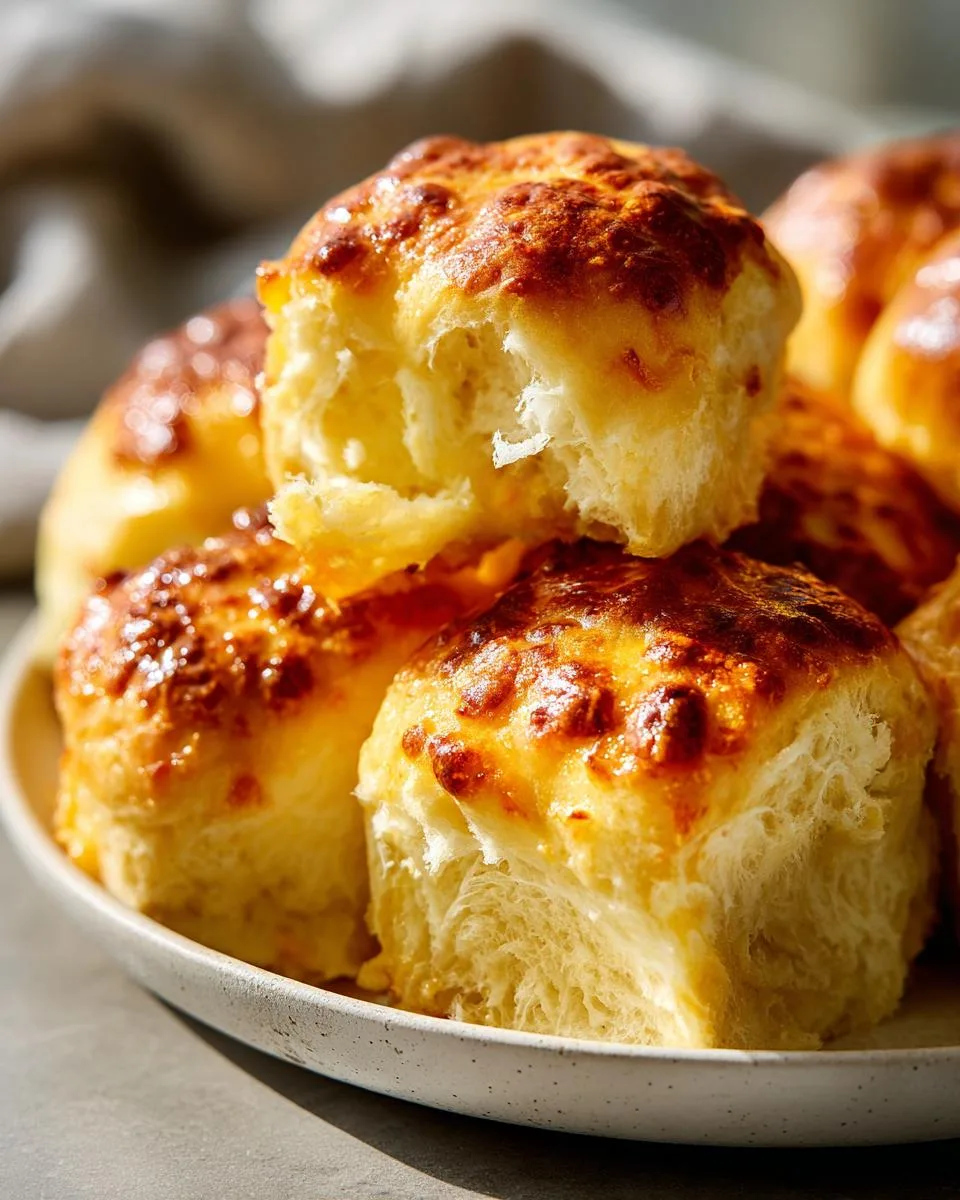
Nothing beats the smell of freshly baked cheddar garlic dinner rolls wafting through the kitchen – that golden, cheesy exterior giving way to a pillow-soft center gets me every time. This recipe has been my go-to for holiday dinners and Sunday suppers since my college days, when I discovered that adding sharp cheddar and roasted garlic transforms basic dinner rolls into something extraordinary.
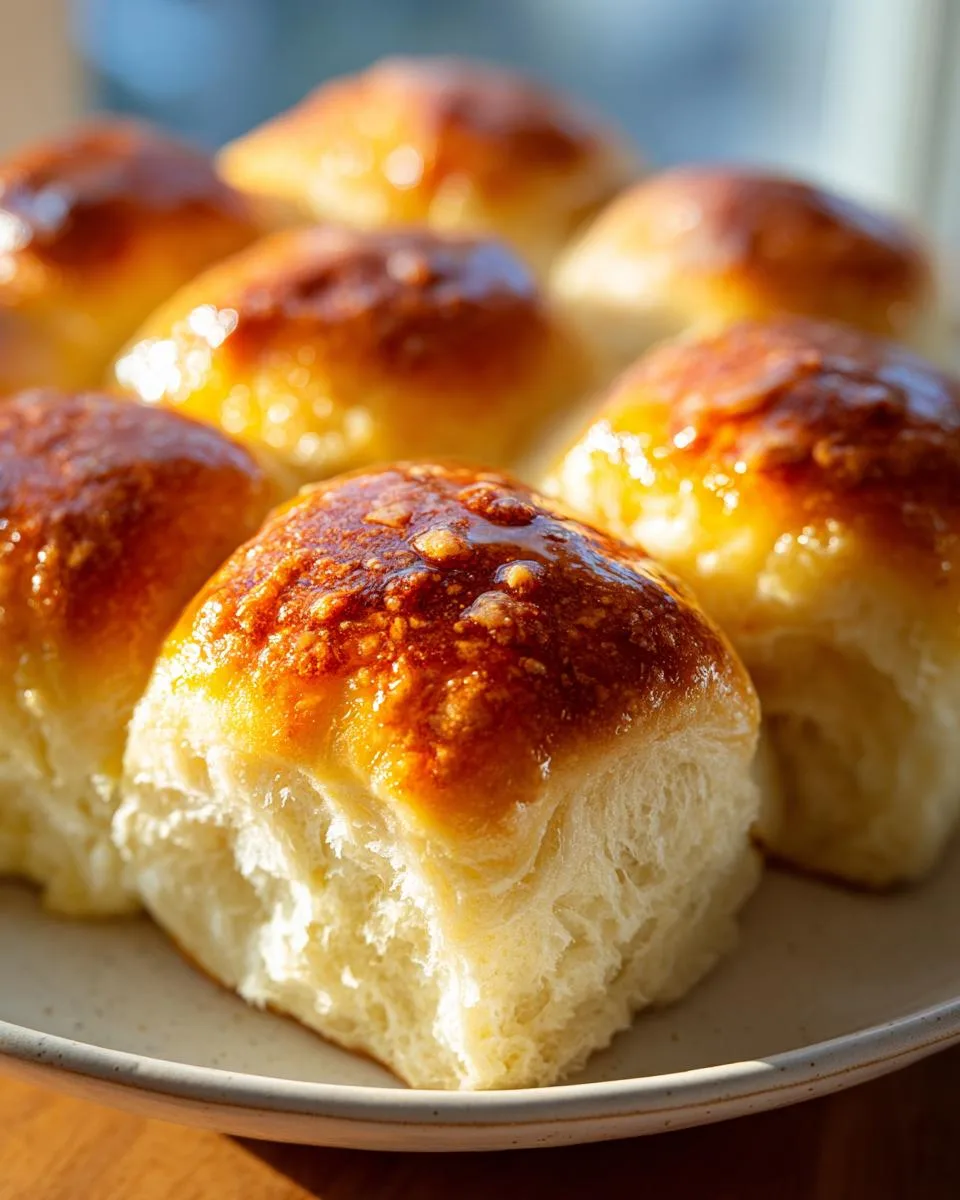
Table of Contents
Table of Contents
Why You’ll Love These Cheddar Garlic Dinner Rolls
The secret? Letting the dough develop slowly so those flavors really meld together. These aren’t just rolls – they’re little clouds of cheesy, garlicky bliss that disappear faster than I can say “seconds please.” Trust me, once you taste one warm from the oven, you’ll understand why my friends beg me to bring these to every potluck.
Let me count the ways these rolls will become your new baking obsession:
- Cloud-like texture – The perfect balance of yeast and kneading creates rolls so light they practically float off the plate
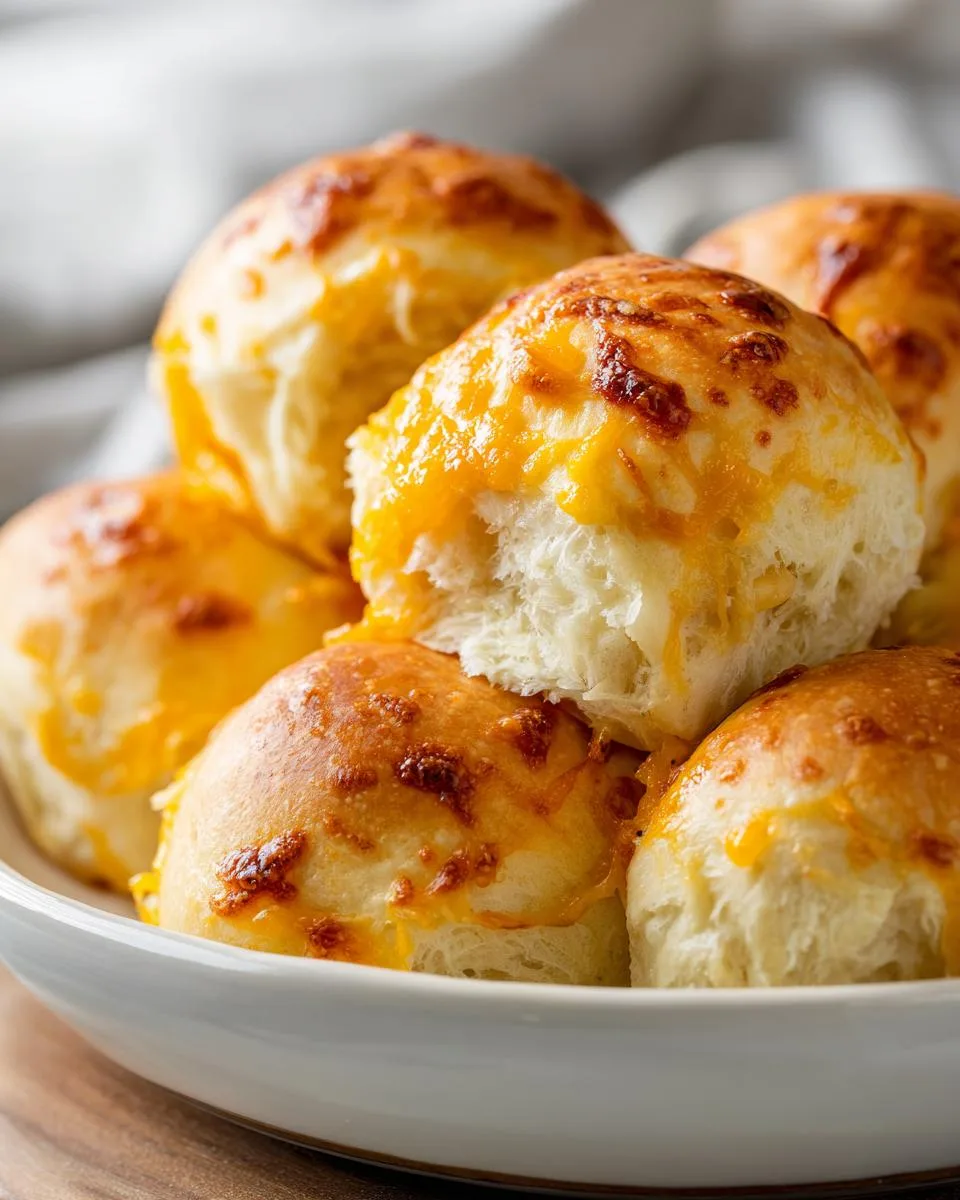
- Cheese pull perfection – Sharp cheddar melts into every nook and cranny for those Instagram-worthy cheese stretches
- Garlic lover’s dream – Roasted garlic infuses every bite without overwhelming (I promise it won’t scare off picky eaters)
- Versatile sidekick – Equally at home next to Sunday pot roast or Tuesday’s canned soup
- Crowd-pleasing magic – These disappear faster than I can say “I made extras” at family gatherings
Seriously – one whiff of these baking and your kitchen will smell like a fancy bakery (without any of the fuss).
Ingredients for Cheddar Garlic Dinner Rolls
Gathering the right ingredients is half the battle with these rolls – trust me, I’ve learned the hard way that substitutions don’t always work! Here’s exactly what you’ll need:
- 1 cup (240ml) whole milk, warmed to about 110°F – This temperature wakes up the yeast without killing it (your wrist should feel it as pleasantly warm)
- 2 and 1/4 teaspoons instant yeast – That’s one standard packet, though I often buy the jar because I make these so often
- 2 Tablespoons granulated sugar, divided – Save half to feed the yeast and half for sweetening the dough
- 1 large egg – Room temperature blends better (I just set mine out when I start prepping)
- 1/4 cup (4 Tbsp) unsalted butter, softened – Real butter makes all the difference here
- 1 teaspoon salt – Sounds small but balances all the flavors perfectly
- 3 cups (390g) all-purpose flour or bread flour – Bread flour gives slightly chewier rolls if you have it
- 1 cup shredded sharp cheddar – The sharper the cheese, the bolder the flavor
- 2 cloves roasted garlic, minced – Roasting tames the bite while keeping all that delicious flavor
Don’t skip warming the milk properly – cold milk won’t activate the yeast, and too-hot milk kills it (yes, I’ve done both). The butter should be soft enough that your finger leaves an indent but doesn’t sink straight through.
Equipment You’ll Need
Don’t worry – you won’t need any fancy gadgets for these rolls! Just grab these kitchen basics:
- Large mixing bowl – Big enough for the dough to double in size (I use my trusty ceramic one)
- 9×13 inch baking pan – Metal gives crisper bottoms, glass works fine too
- Measuring cups and spoons – For those precise ingredient amounts
- Wooden spoon or stand mixer – Either works (my arms prefer the mixer option)
- Kitchen scale (optional) – If you’re a stickler for exact flour measurements
That’s it! No bread machines or special tools required – just good old-fashioned hands (and maybe a little elbow grease).
How to Make Cheddar Garlic Dinner Rolls
Alright, let’s get our hands doughy! Making these rolls is easier than you think, but there are a few key steps I’ve learned over the years that make all the difference between “good” and “oh-my-gosh-I-need-another-roll” amazing.
Preparing the Dough
First, grab that warmed milk – not too hot, not too cold. Think baby bottle temperature. Whisk in the yeast and 1 Tablespoon of sugar, then walk away for 5 minutes. Come back to a frothy, bubbly mixture – that’s your yeast saying “I’m alive and ready to work!” No bubbles? Start over (trust me, I’ve wasted flour trying to push ahead with dead yeast).
Now add the rest of your sugar, the egg, softened butter, salt, and 1 cup of flour. Mix on low speed (or stir vigorously) for about 30 seconds – just enough to combine. Add the remaining flour gradually while mixing until the dough pulls away from the bowl’s sides. It should look shaggy at first, then magically come together after about 2 minutes of mixing.
Here’s where the magic happens: knead that dough for 5 minutes by hand or with your mixer’s dough hook. You’ll feel it transform from sticky to smooth and elastic. If it sticks to your fingers like gum, add a sprinkle more flour. Too dry? Spritz with water. The perfect dough should feel like a baby’s cheek – soft but not sticky.
Shaping and Rising
Now for my favorite part – the first rise! Plop your dough into a greased bowl, cover with a clean towel, and find a warm spot. I use my oven with just the light on (about 80°F). Wait 1-2 hours until doubled – no peeking early! Patience rewards you with pillowy dough.
Punch down the dough (so satisfying!) and turn it onto a lightly floured surface. Divide into 14-16 equal pieces – I eyeball it, but perfectionists can weigh them. Roll each piece into a smooth ball by tucking the edges underneath. Arrange them in your greased baking pan so they’re just touching – this forces them to rise upwards for that perfect pull-apart shape.
Cover again and let rise until puffy, about 1 hour. They won’t quite double this time, but should look plump and spring back slowly when gently poked.
Baking the Rolls
Preheat your oven to 350°F (177°C) during the last 15 minutes of rising. Slide your rolls in and bake for 20-25 minutes until tops are golden brown. Rotate the pan halfway if your oven heats unevenly like mine.
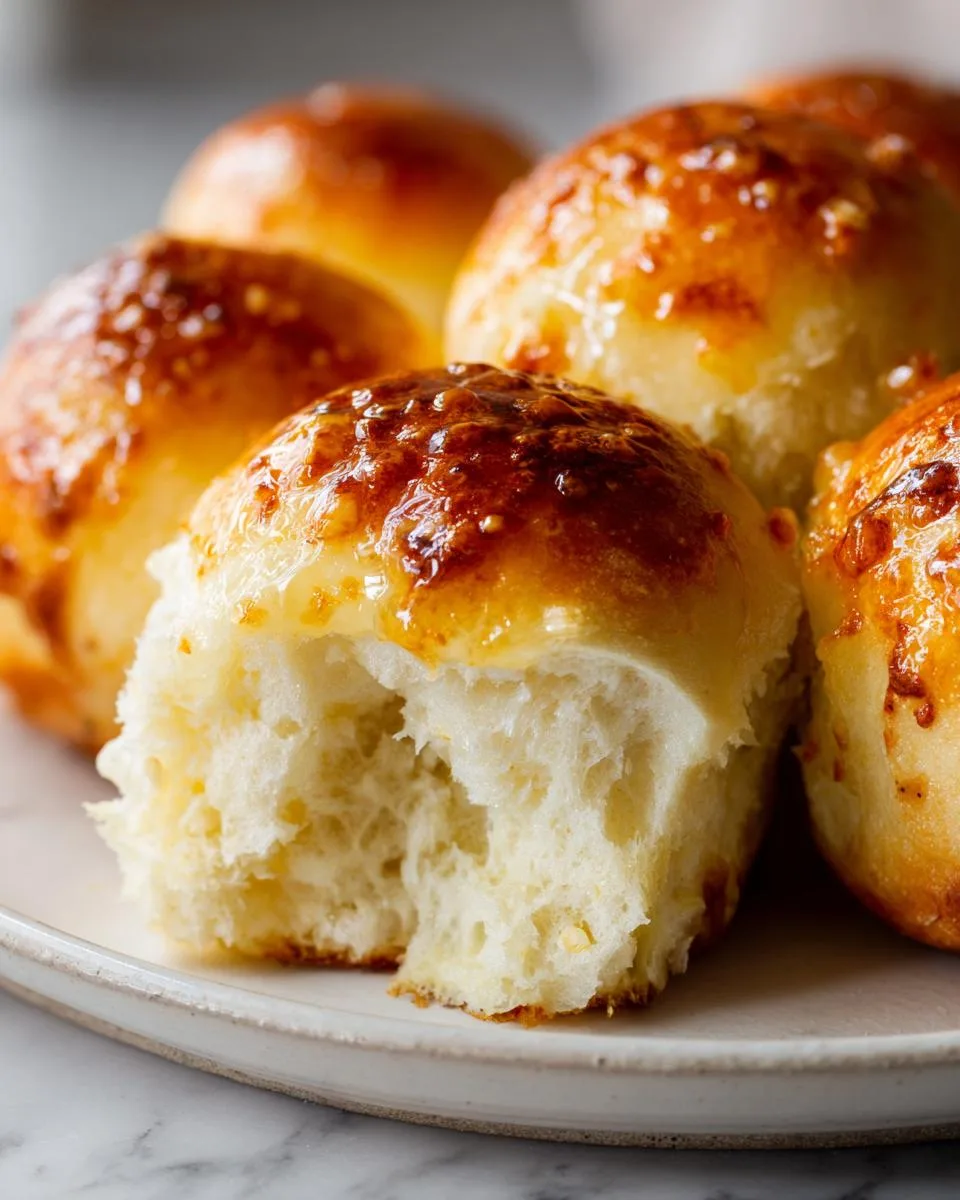
The moment of truth! Tap a roll’s bottom – it should sound hollow. If it’s still doughy, give it 2 more minutes. Brush the tops with that optional honey butter mixture right out of the oven – the heat helps it soak in beautifully.
Resist tearing into them immediately (I know, torture!) – let them cool just 5 minutes in the pan. Then transfer to a wire rack or serving basket lined with a tea towel to keep them warm. That first bite of soft, cheesy perfection makes all the waiting worthwhile!
Print
Irresistible Cheddar Garlic Dinner Rolls Recipe in 3 Easy Steps
- Prep Time: 30 minutes
- Cook Time: 25 minutes
- Total Time: 3 hours (including rising)
- Yield: 14–16 rolls 1x
- Category: Side Dish
- Method: Baking
- Cuisine: American
- Diet: Vegetarian
Description
Soft and fluffy dinner rolls infused with cheddar and garlic, perfect for any meal.
Ingredients
- 1 cup (240ml) whole milk, warmed to about 110°F (43°C)
- 2 and 1/4 teaspoons instant yeast (1 standard packet)
- 2 Tablespoons granulated sugar, divided
- 1 large egg
- 1/4 cup (4 Tbsp; 56g) unsalted butter, softened
- 1 teaspoon salt
- 3 cups (390g) all-purpose flour or bread flour
- optional topping: 2 Tablespoons (28g) melted unsalted butter mixed with 1 Tablespoon honey
Instructions
- Whisk warm milk, yeast, and 1 Tablespoon sugar in a bowl. Let sit for 5 minutes.
- Add remaining sugar, egg, butter, salt, and 1 cup flour. Mix on low speed for 30 seconds.
- Add remaining flour and mix until dough pulls away from bowl sides, about 2 minutes.
- Knead dough for 5 minutes until soft and slightly sticky.
- Let dough rise in a greased bowl until doubled, about 1-2 hours.
- Divide dough into 14-16 pieces and shape into balls. Place in baking pan.
- Cover and let rise until puffy, about 1 hour.
- Preheat oven to 350°F (177°C). Bake rolls for 20-25 minutes until golden brown.
- Brush with optional honey butter topping and serve warm.
Notes
- Store leftovers tightly covered at room temperature for 2-3 days or refrigerate for up to 1 week.
- Instant yeast can be substituted for active dry yeast.
- Garlic won’t kill yeast if added after proofing.
- Cheddar works best, but other cheeses can be used.
Nutrition
- Serving Size: 1 roll
- Calories: 150
- Sugar: 3g
- Sodium: 150mg
- Fat: 5g
- Saturated Fat: 3g
- Unsaturated Fat: 2g
- Trans Fat: 0g
- Carbohydrates: 22g
- Fiber: 1g
- Protein: 4g
- Cholesterol: 25mg
Tips for Perfect Cheddar Garlic Dinner Rolls
After countless batches (and a few flops!), here are my can’t-live-without secrets for roll perfection:
- Yeast check: If your milk-yeast mixture doesn’t foam within 10 minutes, toss it – dead yeast means flat rolls
- Kneading test: Poke the dough – it should spring back slowly but leave a small indentation
- Temperature matters: Use an oven thermometer – my dial was 25°F off once and ruined a whole batch
- Cheese timing: Fold in shredded cheddar after the first rise to prevent tough dough
- Garlic trick: Roast whole cloves in foil with olive oil for 30 minutes – it mellows the bite beautifully
Trust me, these little tricks separate “good enough” rolls from “please-pass-another” masterpieces!
Ingredient Notes and Substitutions
Life happens, and sometimes you need to swap ingredients – here’s what works (and what definitely doesn’t) based on my many kitchen experiments:
- Milk: Whole milk gives richest flavor, but 2% works in a pinch. For dairy-free, unsweetened almond or oat milk substitute well (avoid coconut milk – it alters the texture)
- Yeast: Instant yeast can be swapped 1:1 with active dry – just activate it in warm milk with sugar first (takes 5-10 minutes longer)
- Cheese: Sharp cheddar’s my go-to, but gruyère or pepper jack add fun twists. Pre-shredded bags contain anti-caking agents that can make rolls gummy
- Garlic: Never add raw garlic with yeast – it can inhibit rising. Roast or sauté first, then mix in after the first rise
The butter and flour really shouldn’t be substituted – they’re the backbone of these rolls’ perfect texture!
Serving Suggestions for Cheddar Garlic Dinner Rolls
Oh, the places these rolls will go! I’ve served them with everything from fancy holiday dinners to casual weeknight chili – they always steal the show. Here are my favorite ways to enjoy them:
- Soup’s best friend: Dunk them into tomato soup or butternut squash bisque for the ultimate comfort food combo
- Salad sidekick: Pair with crisp garden salads to balance the richness
- Holiday hero: They disappear fastest next to roasted turkey or glazed ham
- Breakfast bonus: Split and toast them the next day for killer breakfast sandwiches
Honestly? They’re so good I’ve been known to eat them straight from the pan with just a swipe of butter. No judgement! If you’re looking for other great side dishes, check out my collection of recipes.
Storing and Reheating
These rolls taste best fresh, but here’s how to keep them soft for days (if they last that long!):
- Room temp: Keep in an airtight container or ziplock bag for 2-3 days – the honey butter topping helps prevent drying
- Freezing: Cool completely, wrap tightly in foil, then freeze for up to 3 months – thaw at room temperature when needed
- Reheating magic: Sprinkle frozen rolls with water and bake at 350°F for 5-8 minutes to revive that fresh-baked texture
Pro tip: Never refrigerate – it makes bread go stale faster!
Nutritional Information
Okay, let’s be real here – when you’re biting into one of these warm, cheesy rolls, nutrition facts are probably the last thing on your mind! Just know that these are homemade goodness, not lab-engineered health food. The exact numbers will vary depending on your specific ingredients (like how generous you are with that cheese!).
That said, here’s a general idea per roll: you’re looking at roughly 150 calories with a nice balance of carbs, protein, and fats. The cheddar adds calcium, and using whole milk gives you some vitamin D. But let’s be honest – we’re here for the flavor, not the nutrition label!
If you’re counting macros or have dietary concerns, I recommend plugging your exact ingredients into a calculator. My grandma always said “Everything in moderation” – which definitely applies to these irresistible rolls! You can see some of my other family favorites over at Grandma and Me Cooking.
Frequently Asked Questions
Can I prep these rolls ahead of time?
Absolutely! My favorite trick is making the dough up to the first rise, then refrigerating overnight. Next day, let it come to room temp (about 1 hour) before shaping. You can also freeze baked rolls – just reheat with a spritz of water to restore freshness.
Will adding garlic kill the yeast?
Raw garlic can interfere with yeast activity, but roasted garlic is totally safe. I always add it after the first rise – that way you get all the flavor without risking flat rolls. The roasting mellows the garlic’s bite too!
Can I use instant yeast instead of active dry yeast?
Yes! They’re actually interchangeable in this recipe. Just skip the activation step with instant yeast – mix it right in with the flour. If using active dry, definitely proof it in the warm milk first.
What cheeses work best?
Sharp cheddar’s my gold standard, but I’ve had great results with gruyère, Monterey Jack, and even gouda. Avoid pre-shredded cheeses – the anti-caking agents can make your rolls gummy. Freshly grated melts so much better!
Final Thoughts
There you have it – my foolproof recipe for cheddar garlic dinner rolls that never fails to impress. I hope you’ll give them a try soon and experience that magical moment when golden, cheesy perfection comes out of your oven. Snap a photo and tag me when you do – nothing makes me happier than seeing others fall in love with these rolls as much as I have!