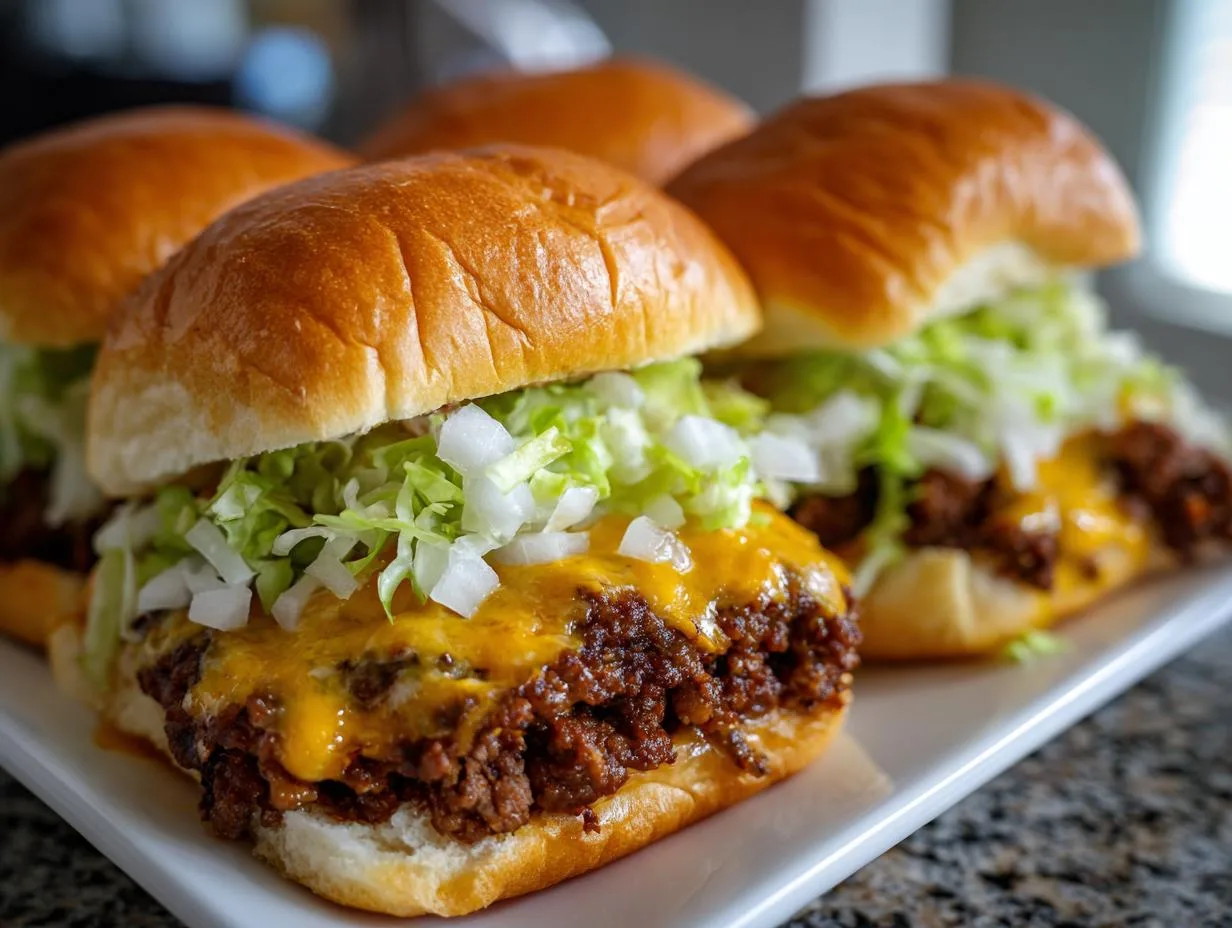
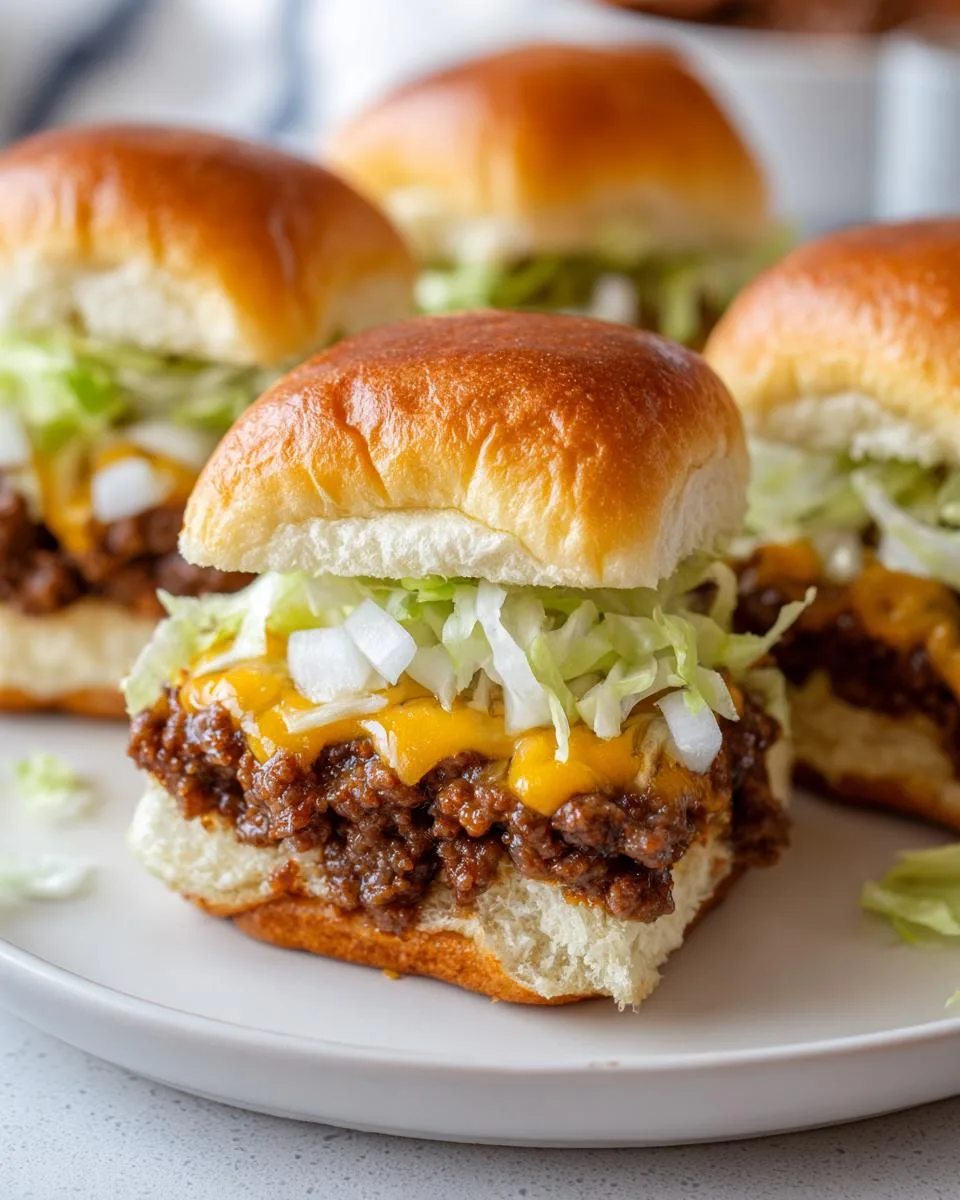
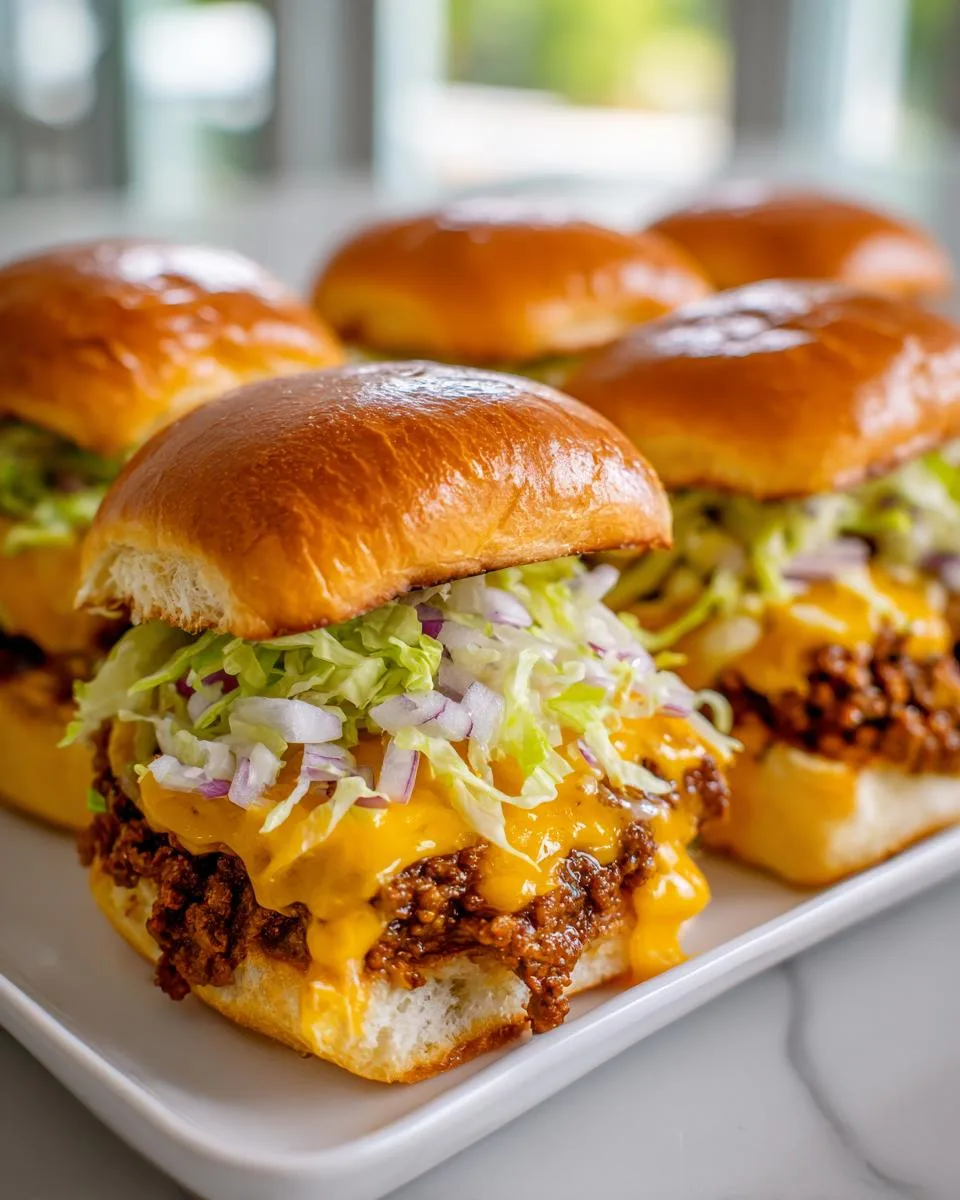
Let me tell you about my go-to party lifesaver – these insanely delicious chopped cheese sliders. I discovered this recipe during a last-minute gathering at my cousin’s house, where we needed something quick, filling, and guaranteed to disappear fast. Now, my chopped cheese sliders recipe has become legendary at every potluck and game night. What makes them so special? Imagine juicy ground beef smothered in melted cheese, piled onto sweet Hawaiian rolls with just the right amount of crunch from fresh veggies – all ready in under 30 minutes. Trust me, once you try these, you’ll be making them every time you need to feed a crowd with minimal fuss.
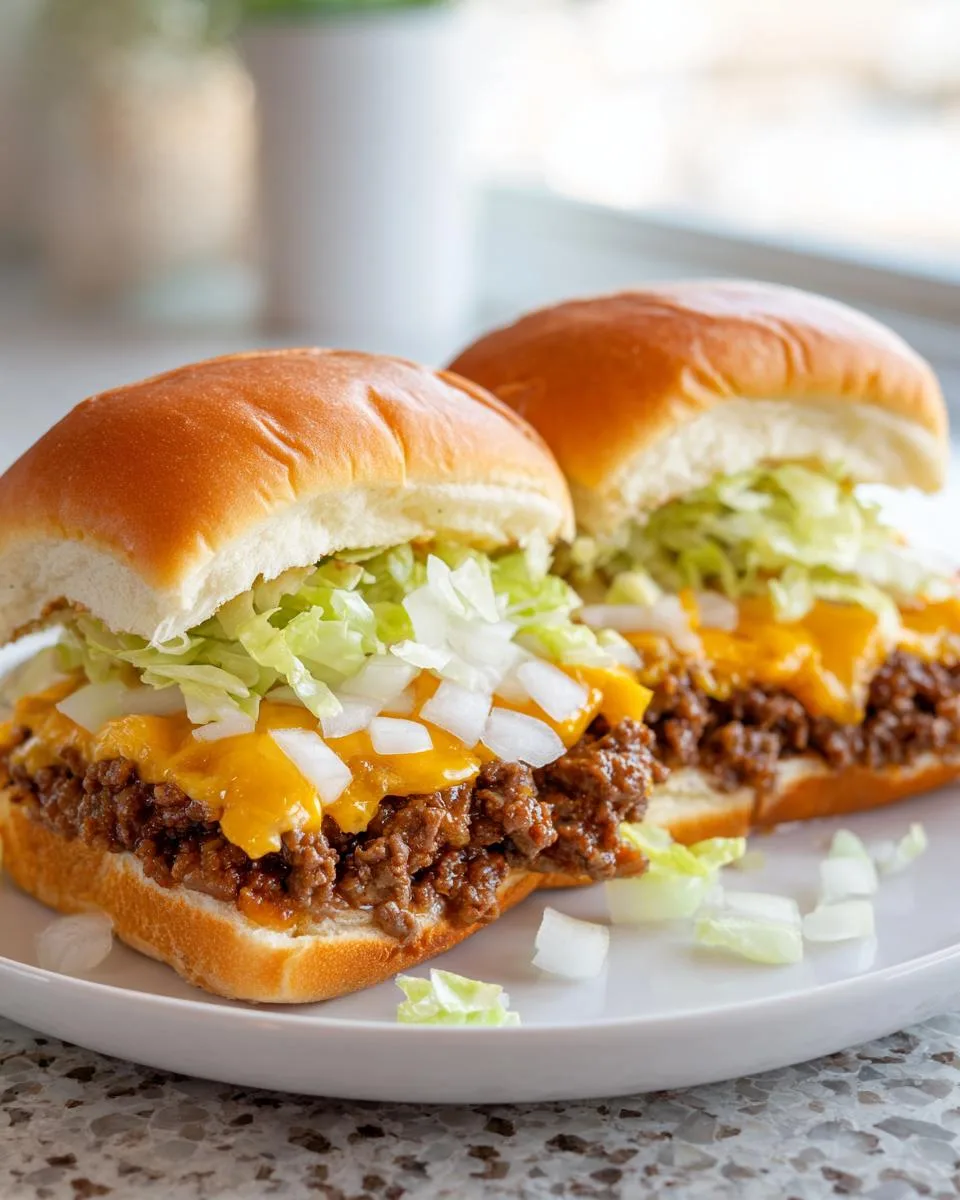
Table of Contents
Table of Contents
Why You’ll Love This Chopped Cheese Sliders Recipe
Listen, I don’t mess around when it comes to feeding a crowd, and neither should you. Here’s why these chopped cheese sliders are my secret weapon:
- Crazy fast: We’re talking 25 minutes from fridge to table – perfect for when hunger strikes hard.
- No-fail delicious: That sweet-savory combo of melty cheese and Hawaiian rolls? Absolute magic.
- Customizable: Swap the beef for turkey, add jalapeños, or go wild with different cheeses.
- Party gold: I’ve yet to meet someone who doesn’t grab seconds (or thirds).
Seriously – it’s the kind of recipe that’ll make you look like a kitchen rockstar with barely any effort.
Ingredients for Chopped Cheese Sliders
Okay, let’s get real – the magic of these sliders starts with quality ingredients. After years of making this recipe, I’ve learned exactly what works best. Here’s everything you’ll need:
- The sauce: 1/4 cup mayo (Duke’s is my fave), 2 tbsp ketchup, 1 tbsp yellow mustard (the classic yellow kind – trust me), 1/2 tsp garlic powder, and 1/4 tsp smoked paprika for that subtle kick
- The star: 1 lb 80% lean ground beef (that 20% fat = flavor town!)
- Cheese glory: 6 slices American cheese (or sharp cheddar if you’re feeling fancy)
- The vehicle: 12 oz package Hawaiian sweet rolls (King’s® brand has the perfect sweetness)
- Crunch factor: 1 cup shredded iceberg lettuce (fresh is crucial!), 1 small white onion finely diced
- Bonus: Dill pickle chips if you’re like me and believe everything’s better with pickles
See? Nothing fancy – just good, honest ingredients that come together in the most delicious way.
How to Make Chopped Cheese Sliders
Alright, let’s get cooking! I’ve made these sliders so many times I could probably do it in my sleep, but don’t worry – I’ll walk you through every step. The key here is working fast while paying attention to those little details that make all the difference.
Step 1: Prepare the Sauce
First, grab a small bowl – no need to dirty your stand mixer for this! I like to mix together the mayo, ketchup, and mustard first until they’re completely smooth. Then I sprinkle in the garlic powder and smoked paprika (my secret weapon for depth of flavor). Here’s my pro tip: taste as you go! Want more tang? Add a smidge more mustard. Need more kick? Another pinch of paprika won’t hurt. Set this saucy goodness aside – it’ll be our flavor bomb later.
Step 2: Cook the Beef and Cheese
Now, heat up your skillet over medium heat – I use my trusty cast iron because it distributes heat perfectly. Crumble in that ground beef like you’re angry at it (just kidding, gentle hands work too). Cook until it’s nicely browned, about 8 minutes, stirring occasionally. Drain most of the fat if you want, but leave a little – that’s where the flavor lives! Here comes the magic: lower the heat, lay those cheese slices right over the beef, and let them melt for about 3 minutes. Then grab your spatula and chop everything together until you’ve got this glorious beef-cheese hybrid. That’s the signature chopped cheese texture right there!
Step 3: Assemble the Sliders
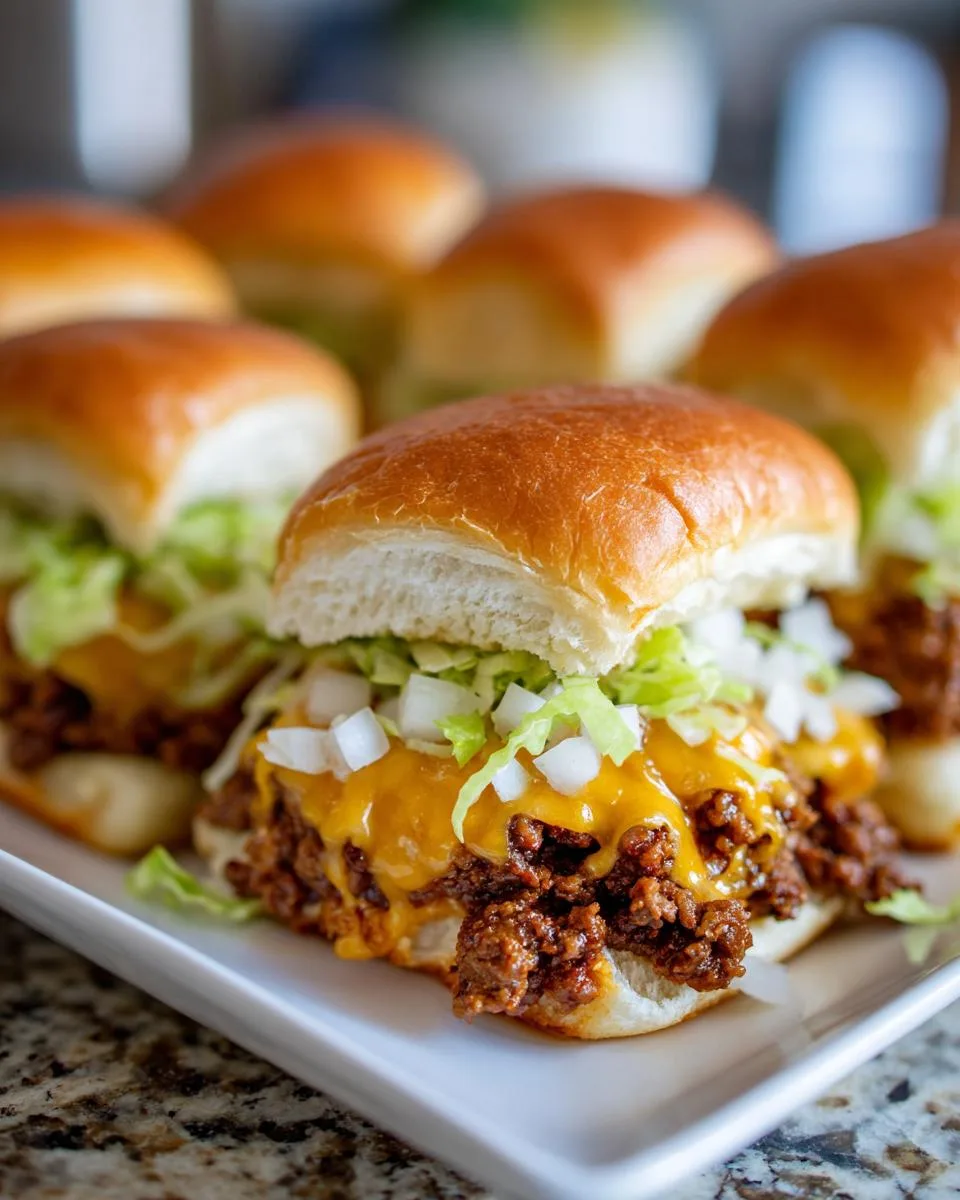
Quick tip before we start building: keep those Hawaiian rolls connected! Slice the whole package horizontally so you’ve got one giant top and bottom – this makes assembly so much easier. Spread that amazing sauce you made on both halves (don’t be shy with it). Pile that cheesy beef mixture evenly across the bottom half – I like to use a spoon to really press it into all the nooks. Top with the crunchy lettuce, onions, and pickles if you’re using them (you should be using them). Gently place the top buns back on, press lightly, and voila! You’ve just made the easiest crowd-pleaser ever. Now slice between the rolls and watch them disappear.
Print
Chopped Cheese Sliders Recipe – The Ultimate Party Pleaser
- Prep Time: 10 minutes
- Cook Time: 15 minutes
- Total Time: 25 minutes
- Yield: 6 sliders 1x
- Category: Appetizer
- Method: Stovetop
- Cuisine: American
- Diet: Low Lactose
Description
A quick and easy recipe for chopped cheese sliders, perfect for gatherings or a quick meal.
Ingredients
- 1/4 cup mayonnaise
- 2 tablespoons ketchup
- 1 tablespoon yellow mustard
- 1/2 teaspoon garlic powder
- 1/4 teaspoon smoked paprika
- salt and freshly ground black pepper to taste
- 1 pound 80% lean ground beef
- 6 slices American cheese or Cheddar cheese, or a combination, plus more as needed
- 1 (12 ounce) package Hawaiian sweet rolls, such as King’s®
- 1 cup shredded iceberg lettuce
- 1 small white onion, finely diced
- dill pickle chips or chopped pickles, as needed (optional)
Instructions
- Gather all ingredients.
- Stir mayonnaise, ketchup, mustard, garlic powder, and paprika together in a small bowl; season with salt and pepper. Set aside.
- Heat a large skillet over medium heat. Add ground beef, season with salt and pepper, and cook until browned, about 8 minutes. Drain excess fat, if desired.
- Lower heat to avoid overcooking beef, and lay cheese slices directly over beef. Allow to melt, about 3 minutes more, then chop beef and cheese together to create that signature chopped cheese texture.
- Slice Hawaiian rolls in half horizontally, keeping them attached. Spread chopped cheese sauce on both halves of rolls. Evenly distribute beef and cheese mixture over bottom half.
- Top with chopped lettuce, onion, and pickles. Place top buns back on and enjoy!
Notes
- For a spicier kick, add hot sauce to the cheese sauce.
- Use fresh ingredients for the best flavor.
- Adjust cheese quantity based on preference.
Nutrition
- Serving Size: 1 slider
- Calories: 350
- Sugar: 10g
- Sodium: 450mg
- Fat: 20g
- Saturated Fat: 8g
- Unsaturated Fat: 10g
- Trans Fat: 0g
- Carbohydrates: 25g
- Fiber: 1g
- Protein: 18g
- Cholesterol: 60mg
Tips for the Best Chopped Cheese Sliders
Listen, I’ve made every possible mistake with these sliders so you don’t have to. Here are my hard-won secrets:
- Cheese matters: American melts like a dream, but mix in some sharp cheddar if you want extra flavor. Don’t be afraid to add an extra slice or two – I won’t judge!
- Chop it right: When mixing the beef and cheese, really chop and fold until you get that perfect marbled look. Big chunks are no good here.
- Keep it crisp: Add the lettuce and onions right before serving to maintain that satisfying crunch. No one likes a soggy slider!
- Roll with it: Hawaiian rolls are perfect, but brioche works too – just toast them slightly if they’re too soft.
Follow these simple tricks and you’ll have sliders that’ll disappear faster than you can say “seconds please!”
Variations for Your Chopped Cheese Sliders
Here’s the beautiful thing about these sliders – they’re like a blank canvas for your cravings! Swap the beef for ground turkey if you’re feeling lighter, or go wild with pepper jack cheese for some heat. My cousin adds pickled jalapeños right into the beef mix (genius!), and my neighbor swears by caramelized onions instead of raw. Want extra decadence? Try mixing in some crispy bacon bits with the beef. The possibilities are endless – make it your own!
H2: Serving Suggestions
These chopped sliders are the ultimate crowd-pleaser, so pair them with the right sides to make a meal of it. My go-to is a big basket of crispy shoestring fries and a tangy homemade coleslaw that cuts through the richness. Pro tip: serve everything warm – those melty cheese and toasty rolls are best when the sliders are hot off the skillet. Trust me, this combo disappears faster than a touchdown at a football party!
(40 words)
Storing and Reheating Chopped Cheese Sliders
Okay, let’s be real – you probably won’t have leftovers (they’re that good). But if you do, here’s how to keep them tasting fresh. Store assembled sliders in an airtight container for 2-3 days max. When reheating, skip the microwave – it makes the rolls soggy. Instead, pop them in a 350°F oven for 5-7 minutes to bring back that perfect crispness. The cheese gets all melty again, and you’d swear they were fresh off the skillet!
Chopped Cheese Sliders FAQs
After making these sliders for every gathering, I’ve heard all the questions. Here are the most common with my no-nonsense answers:
- Can I use different cheese? Absolutely! Cheddar, pepper jack, or even gouda work – just know the melt factor varies. Pro tip: add a slice of American to help.
- How do I prevent soggy sliders? The sauce is the culprit – spread a thin layer and add lettuce as a barrier. My trick: assemble right before serving.
- Can I make these ahead? Prep the beef and cheese mix, but assemble last minute. Store components separately for best texture.
- What’s the best cheese for sliders? American melts like a dream, but mix in your fave – I’m partial to a 50/50 blend.
- How do I reheat without drying them out? 10 minutes in a 350°F oven with a light foil tent – keeps the moisture in.
Nutritional Information
Heads up – these numbers are estimates and can vary by ingredients. But for my classic version (you know, the one that disappears the fastest):
- Per slider: 350 calories (but who stops at one?)
- Fat: 20g (that’s the good fat – 8g saturated)
- Protein: 18g (the muscle-building kind)
- Carbs: 25g (1g fiber – 10g sugar)
- Sodium: 450mg (that’s per slider – share if you can!)
Remember: Values vary by ingredients and serving size. Now go enjoy – these sliders won’t last long!
For more delicious recipes and cooking inspiration, check out our recipes section. You might also enjoy our Spinach Tomato Breakfast Casserole or our Mushroom Cheddar Egg Bake. If you’re looking for more party-pleasing ideas, visit our Facebook page for daily inspiration!