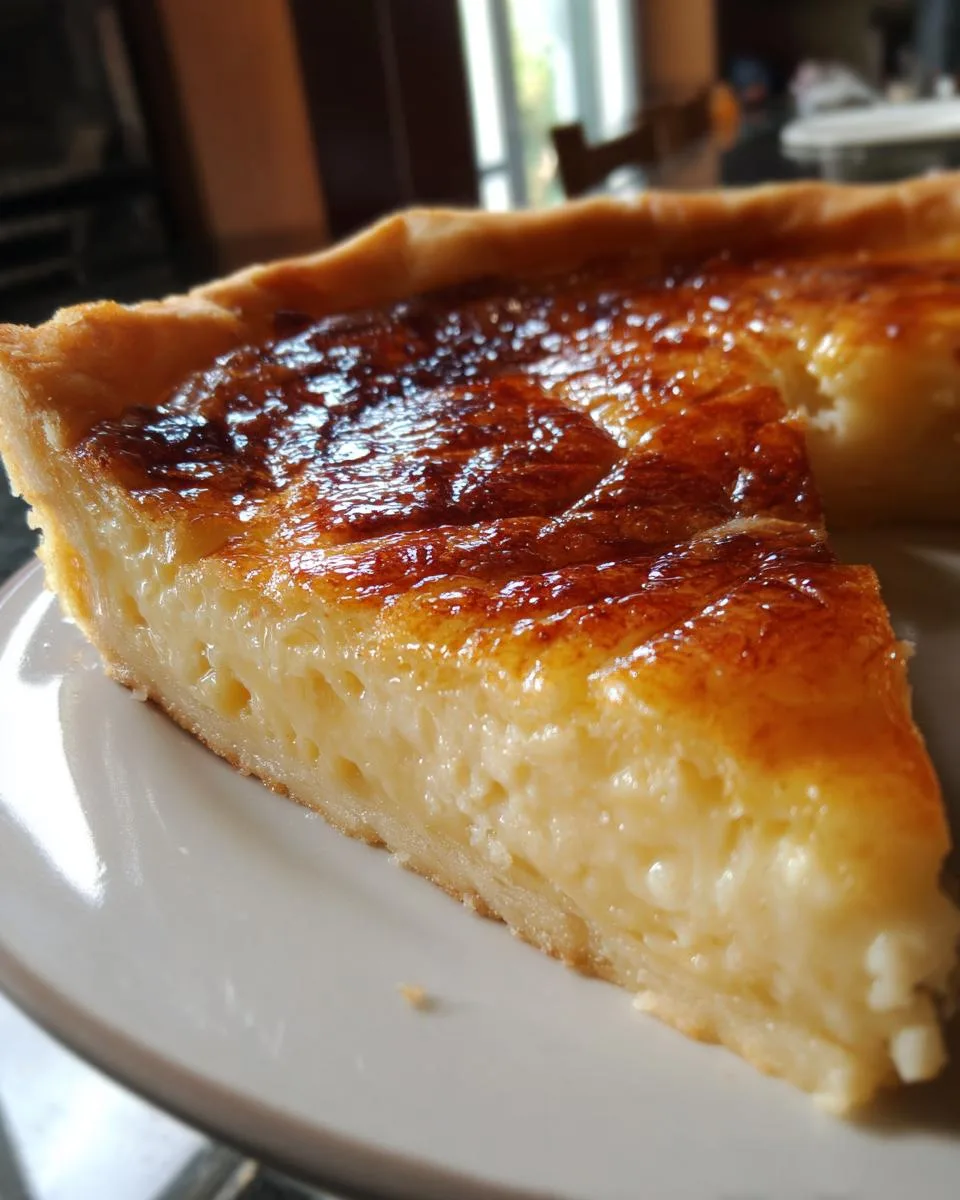
Oh my gosh, have you ever had that moment when you take your first bite of creme brulee pie and just – wow – your eyes roll back in pure bliss? It happened to me the first time I made this dessert for a dinner party. Halfway through slicing, my friend grabbed the torch from me because she couldn’t wait another second to crack that caramelized sugar top. That perfect “snap” when your spoon breaks through the glass-like crust to hit the silky custard underneath? Absolute magic.
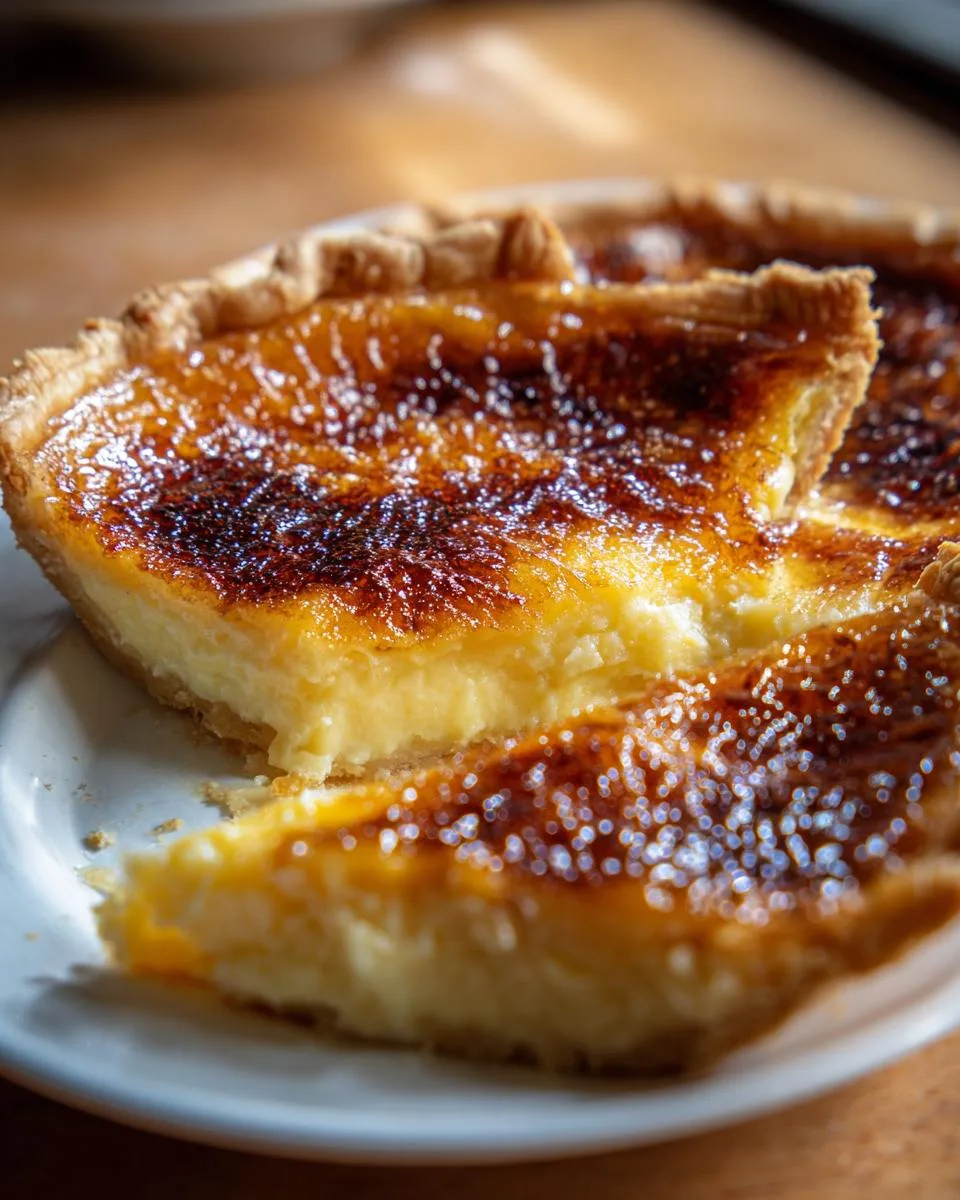
Table of Contents
Table of Contents
Why You’ll Love This Creme Brulee Pie
This creme brulee pie recipe combines all the elegance of classic French custard with the homey comfort of pie – my two dessert loves colliding in the best possible way. The vanilla bean-speckled filling bakes up velvety smooth in a flaky crust, then gets that signature crackly sugar shell right before serving. I’ve made this for birthdays, holidays, even just “I need dessert NOW” Tuesdays – it never fails to impress.
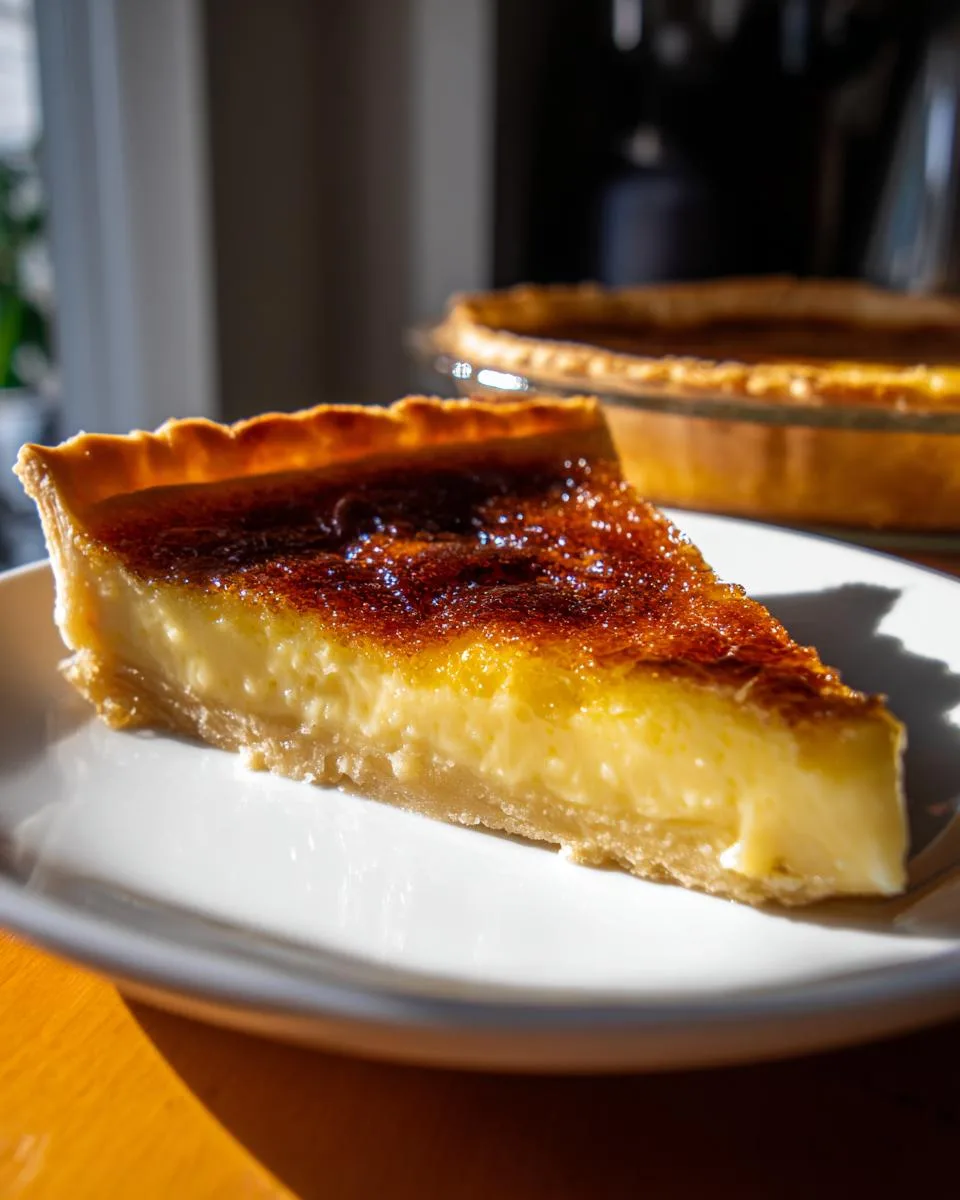
What makes it so special? That perfect contrast of temperatures and textures. The filling stays gloriously chilled while the burnt sugar topping gives that warm, toasty crunch. My secret? Using real vanilla beans (though extract works in a pinch) and taking the time to properly temper the eggs so you get that flawless custard consistency. Trust me, once you master this, you’ll be the superstar of every potluck.
Ingredients for Creme Brulee Pie
Okay, let’s gather the good stuff! You’ll need:
- 1 pre-baked pie crust (my go-to is all-butter, but gluten-free works perfectly too!)
- 2 cups heavy cream (trust me, don’t skimp here – it makes the custard dreamy)
- 1/2 cup granulated sugar (plus 2 extra tbsp for that glorious caramelized top)
- 1/2 tsp salt (balances all that sweetness beautifully)
- 2 vanilla beans, insides scraped out (or 2 tsp vanilla extract if you’re in a pinch)
- 6 egg yolks, room temperature (save the whites for meringues!)
See? Simple ingredients for something that tastes so fancy. I always pull everything out first because when you’re tempering eggs, you don’t want to be digging through cabinets mid-process. The vanilla beans are worth hunting down though – those little black specks make it feel extra special.
How to Make Creme Brulee Pie
Alright, let’s dive into the magic! Making creme brulee pie might seem fancy, but I promise it’s totally doable. Just follow these steps carefully, and you’ll have dessert perfection. The key is patience – good things come to those who wait (especially when custard’s involved).
Prepare the Pie Crust
First things first – get that crust ready! If you’re using homemade dough (my hero!), roll it out to about 1/4-inch thickness and gently fit it into your pie dish. Crimp those edges pretty – they’ll peek out from under all that custard later. Now, here’s the secret: blind bake it! Crumple up some parchment paper, fill it with pie weights or dried beans, and bake at 400°F for 15-20 minutes. Remove the weights and bake another 5-7 minutes until golden. This prevents a soggy bottom – nobody wants that!
Make the Custard Filling
While the crust cools, let’s make that luscious filling. In a saucepan, heat the heavy cream, sugar, salt, and vanilla bean scrapings (or extract) until it just starts to simmer – tiny bubbles at the edges, not a full boil. Meanwhile, whisk those egg yolks in a big bowl until they’re pale and smooth. Now the crucial part: tempering! Slowly drizzle the hot cream into the yolks while whisking constantly. Go slow – we’re making custard, not scrambled eggs! Once combined, strain it through a fine mesh sieve for ultra-smooth texture.
Bake and Chill the Pie
Pour the strained custard into your pre-baked crust (it should still be warm – helps prevent cracks). Bake at 300°F for 35-45 minutes. You’ll know it’s done when the edges are set but the center still has a slight jiggle – like Jell-O, not liquid. Let it cool completely on a rack, then refrigerate for at least 4 hours (overnight’s even better). This patience pays off with perfect texture!
Caramelize the Sugar Top
The grand finale! Right before serving, sprinkle that reserved 2 tbsp sugar evenly over the chilled pie. Now grab your torch (a kitchen torch, not a flamethrower!) and melt the sugar in circular motions about 2 inches above the surface. Watch it transform into golden caramel magic! Let it sit for a minute to harden, then serve immediately for that signature “crack” when spoons hit the surface. Pure bliss!
Print
Irresistible Creme Brulee Pie Recipe in 4 Simple Steps
- Prep Time: 45 minutes
- Cook Time: 1 hour
- Total Time: 5 hours 45 minutes (includes chilling)
- Yield: 1 pie (8 servings) 1x
- Category: Dessert
- Method: Baking
- Cuisine: French
- Diet: Gluten Free
Description
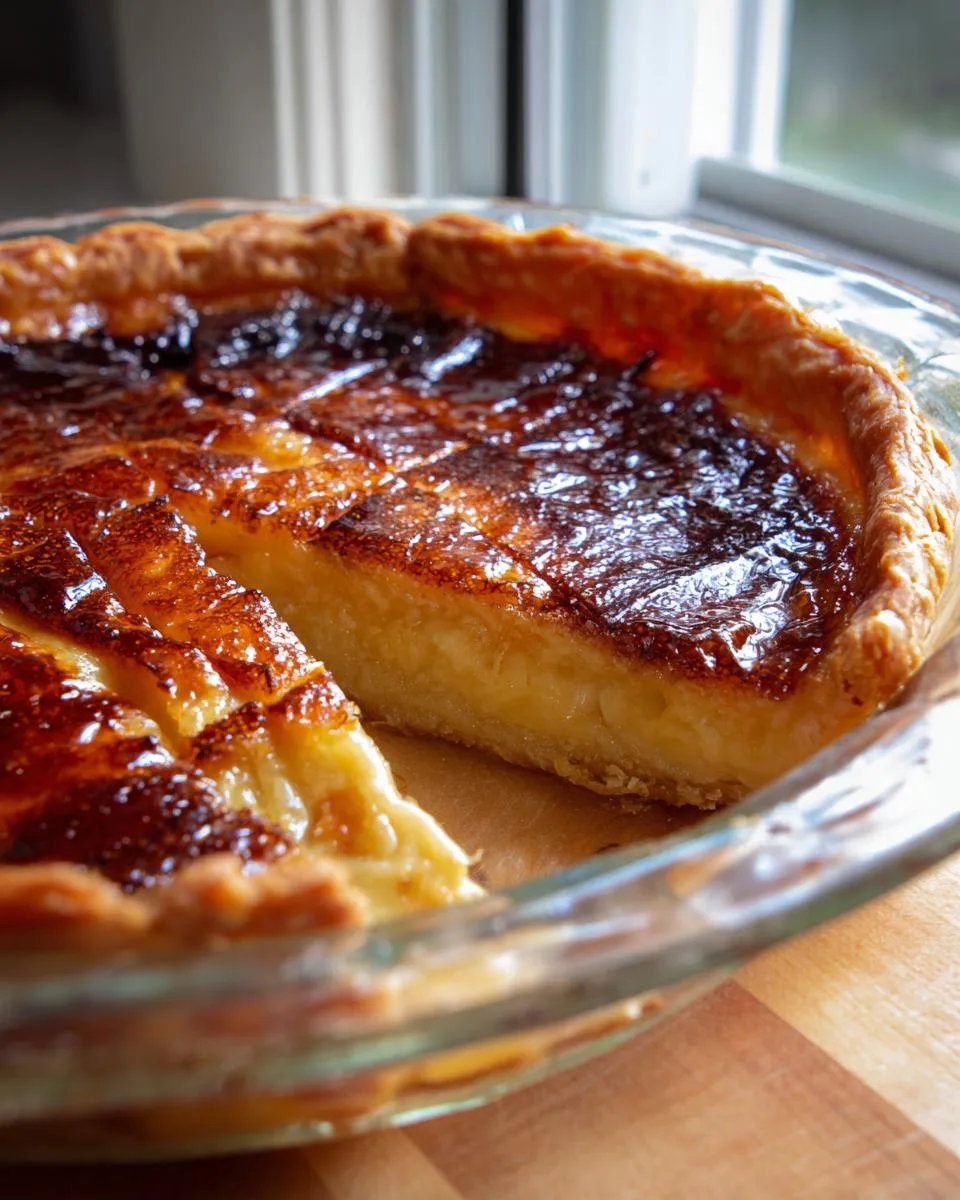
A delicious Creme Brulee Pie with a creamy custard filling and a caramelized sugar top.
Ingredients
- Normal crust or gluten-free crust option
- 2 cups heavy cream
- 1/2 cup granulated sugar, plus 2 tbsp for the top
- 1/2 tsp salt
- 2 vanilla beans, insides scraped out
- 6 egg yolks
Instructions
- Make the pie dough. Follow the instructions for the normal crust or gluten-free version. Chill the dough for 30 minutes before rolling out.
- Preheat the oven to 400°F. Roll out the pie dough and bake with weights for 15-20 minutes, then remove weights and bake until golden.
- Make the custard filling by heating heavy cream, sugar, salt, and vanilla. Slowly whisk into egg yolks.
- Pour the filling into the crust and bake at 300°F for 35-45 minutes until set. Cool and refrigerate for 4 hours or overnight.
- Sprinkle sugar on top and caramelize with a torch before serving.
Notes
- You can make the pie dough up to 3 days in advance.
- Ensure the custard is smooth by whisking the hot cream slowly into the egg yolks.
- Let the pie cool completely before refrigerating.
Nutrition
- Serving Size: 1 slice
- Calories: 320
- Sugar: 20g
- Sodium: 150mg
- Fat: 22g
- Saturated Fat: 13g
- Unsaturated Fat: 7g
- Trans Fat: 0g
- Carbohydrates: 25g
- Fiber: 0g
- Protein: 4g
- Cholesterol: 190mg
Tips for the Perfect Creme Brulee Pie
Want foolproof results every time? Here are my tried-and-true tricks for creme brulee pie perfection:
Chill your pie dough overnight – This makes rolling so much easier and prevents shrinkage during baking. I always make mine a day ahead – it’s one less thing to worry about when assembling.
Strain that custard! Even if you think it’s smooth, straining removes any tiny egg bits for velvety texture. I use a fine mesh sieve and press it through with a rubber spatula – takes 30 seconds but makes all the difference.
The jiggle test never lies – When baking, pull the pie when the edges are set but the center wobbles slightly like set gelatin. It’ll firm up as it cools. Overbaking leads to cracks (still tasty, just not as pretty).
Torch in sections – For even caramelization, work in small circles across the surface rather than trying to do it all at once. And hold that torch about 2 inches away – any closer risks burning the sugar.
Serve within an hour of torching – That crisp sugar top starts softening after about 60 minutes. If you need to prep ahead, torch just before serving for maximum “crack” factor.

Common Creme Brulee Pie Mistakes to Avoid
Listen, I’ve made every mistake possible with creme brulee pie – consider me your dessert guardian angel here to save you from heartbreak (or at least cracked custard). First biggie: rushing the tempering process. Pour that hot cream into eggs too fast, and you’ll get sweet scrambled eggs instead of silky custard. Slow and steady wins the race here.
Another classic? Overbaking the filling. That jiggle test isn’t just cute – it’s crucial! Pull it when the center still wobbles slightly. It’ll set as it cools. Bake too long, and you’ll get cracks (still tasty, just not Instagram-worthy).
And for Pete’s sake, don’t skip the sieve! I know it seems like an extra step, but straining removes any little egg bits that could ruin your smooth custard dreams. Trust me – I learned this the hard way at a dinner party where my pie had “texture surprises.”
Last pro tip: torch technique matters. Hold it too close, and you’ll burn the sugar; too far, and it won’t caramelize evenly. About 2 inches is perfect – move in small circles for that gorgeous golden finish.
Creme Brulee Pie FAQs
Q: How long does creme brulee pie take to set?
Ah, the eternal question! The custard needs at least 4 hours in the fridge to fully set, but I always recommend overnight if you can wait. That slow chill gives you that perfect spoonable-but-not-runny texture. Want to test it? Gently shake the pie – if the center moves as one jiggly unit (not liquidy waves), you’re golden!
Q: Can I make creme brulee pie gluten-free?
Absolutely! My gluten-free friends adore this recipe. Just swap the regular pie crust for your favorite GF version – I’ve had great results with almond flour crusts too. All the magic happens in that custard, which is naturally gluten-free. Bonus: GF crusts often blind-bake up extra crisp, which is perfect against the creamy filling.
Q: Why did my sugar topping get soggy?
Oh honey, I’ve been there! Two culprits: torching too soon (make sure the pie is fully chilled) or refrigerating after torching. That caramelized sugar is happiest at room temp – it starts dissolving once condensation forms in the fridge. My trick? Torch just before serving, and don’t store leftovers with the sugar crust on.
Q: Can I use a broiler instead of a torch?
You can, but it’s trickier! Move your oven rack to the highest position, sprinkle the sugar, and watch like a hawk – it can go from golden to burnt in seconds. I’ve saved many pies by rotating them constantly under the broiler. But honestly? A $15 kitchen torch is one of my best investments – way more control!
Serving and Storing Creme Brulee Pie
Here’s the best part – showing off your masterpiece! I always serve my creme brulee pie chilled with fresh berries on the side – raspberries or strawberries add a lovely tart contrast to that sweet custard. A dollop of whipped cream never hurts either (though honestly, it’s perfection all on its own). The real magic happens when that spoon cracks through the caramelized sugar – wait for the oohs and aahs!
Leftovers? They’re rare in my house, but if you’re lucky enough to have some, here’s how to keep it tasty. Store any remaining pie (without the sugar topping) covered in the fridge for up to 3 days. The custard gets even more flavorful overnight! If you’ve already torched the top, wrap it loosely and eat within a day – that sugar crust will soften, but it’ll still taste amazing. Pro tip: torch individual slices when you’re ready for seconds – just sprinkle a little sugar on each piece and fire it up for that fresh crackle.
Nutritional Information for Creme Brulee Pie
Okay, let’s be real – we’re not eating creme brulee pie for its health benefits! But if you’re curious, here’s the skinny on a single slice (based on 8 servings per pie): about 320 calories with 22g fat (13g saturated – hey, it’s called heavy cream for a reason!). You’re looking at 25g carbs (20g from sugar – but it’s dessert, not a salad!) and 4g protein. The egg yolks pack in 190mg cholesterol too.
Quick note: These numbers can vary based on your exact ingredients – using half-and-half instead of heavy cream lowers the fat but changes that luscious texture. Gluten-free crusts might tweak the carb count slightly. But honestly? When that caramelized sugar cracks under your spoon, nobody’s doing math!
For More recipes Follow me on Facebook!