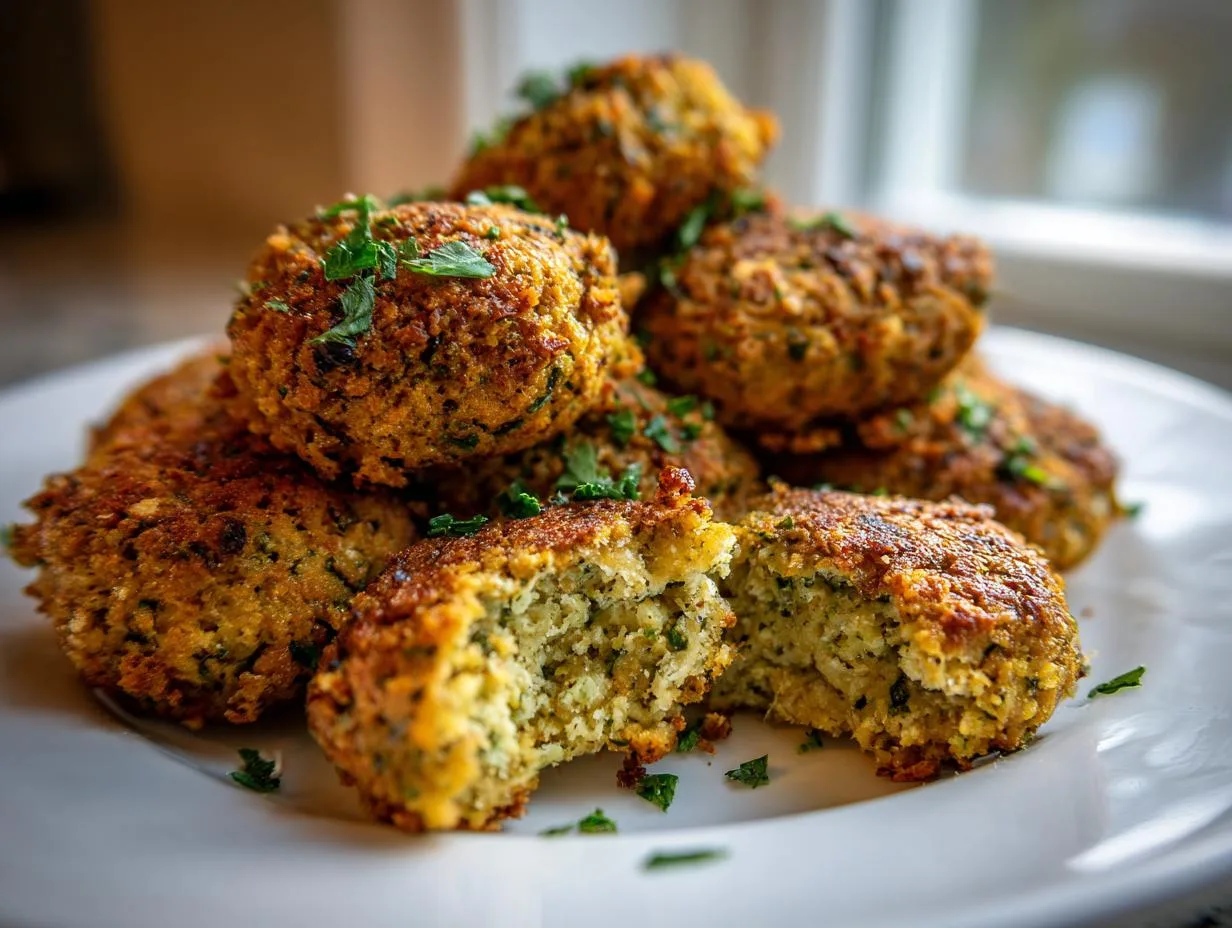
Listen, I know what you’re thinking—ground beef in a Philly cheesesteak? But trust me, this quick version is my weeknight lifesaver when I’m craving that melty, meaty goodness without the fuss. The first time I tried it, I was skeptical too, but one bite of those caramelized onions and peppers mixed with juicy beef and gooey provolone? Wow. Now it’s my go-to when the gang’s hungry and I’ve got 25 minutes flat. Plus, it’s way easier on the wallet than ribeye—don’t tell the purists!
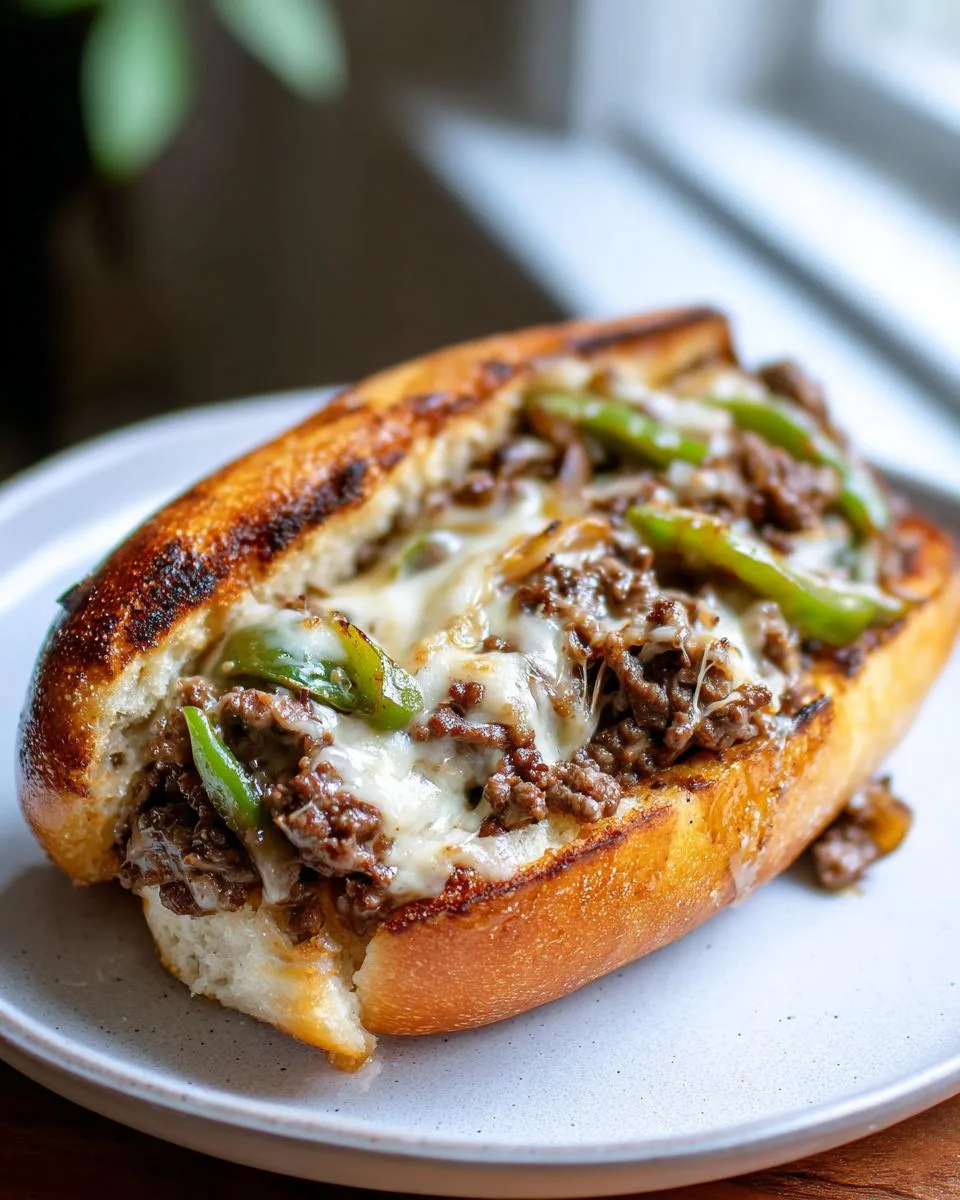
Table of Contents
Table of Contents
Why You’ll Love This Ground Beef Philly Cheesesteak Recipe
Listen, I’m not just saying this because it’s my recipe—this ground beef version might just become your new favorite way to make cheesesteaks. Here’s why:
- Weeknight fast: From fridge to table in 25 minutes flat. I’ve timed it between soccer practices and homework meltdowns!
- Budget-friendly: Ground beef costs half what ribeye does, and honestly? When it’s mixed with those caramelized veggies and melty cheese, no one misses the fancy steak.
- Customizable: My kids pick out the peppers? Fine, more for me. Want it spicy? Throw in some jalapeños. Vegetarian friend coming over? Swap in mushrooms. This recipe bends without breaking.
- One-pan wonder: That same skillet cooks everything—less dishes means more time enjoying that cheesy goodness.
- Crowd-pleaser: I’ve served these to picky toddlers and steak snobs alike, and plates always come back clean.
The first time I made these, I was just looking for a quick dinner. Now? They’re on my monthly rotation because everyone—and I mean everyone—asks for seconds. That first bite with the crispy-edged bread, the juicy beef, and that stretchy provolone? Pure comfort food magic.
Ingredients for Ground Beef Philly Cheesesteaks
Okay, let’s talk ingredients – and don’t worry, this isn’t one of those recipes where you need to hunt down fifteen specialty items. Everything here is simple, fresh, and probably already in your kitchen or easy to grab at any grocery store. Here’s what you’ll need to make my favorite quick cheesesteaks:
- 1 pound ground beef (I like 85/15 lean – enough fat for flavor without swimming in grease)
- 1 green bell pepper, sliced thin (that crisp texture is everything)
- 1 onion, sliced just as thin (yellow or white both work great)
- 4 hoagie rolls (look for the soft-but-sturdy ones that won’t fall apart)
- 8 slices provolone cheese (trust me, two per sandwich makes it perfect)
- 1 tablespoon olive oil (for getting those veggies nice and happy)
- Salt and pepper to taste (simple seasoning lets the beef shine)
See? Nothing fancy – just good, honest ingredients that come together to make something amazing. The first time I made these, I couldn’t believe how the simplest things could taste so incredible when you get them just right. Now I always keep these basics on hand for those nights when I need dinner fast but still want it to feel special. If you’re looking for more quick dinner ideas, check out my main recipes page.
How to Make Ground Beef Philly Cheesesteaks
Alright, let’s get cooking! I promise this comes together faster than you’d think. I’ve made these so many times I could probably do it in my sleep, but I’ll walk you through each step so yours turn out just right.
Cooking the Vegetables
First, grab your favorite skillet – I use my trusty cast iron – and heat that olive oil over medium heat. When it shimmers, toss in your sliced peppers and onions. Now here’s my trick: don’t rush this part! Let them sizzle and soften, stirring occasionally, until they get those beautiful golden edges but still have a tiny bit of crunch. About 5-7 minutes does it for me. You’ll know they’re perfect when the kitchen smells like heaven and the onions turn almost translucent.
Browning the Ground Beef
Next, push those gorgeous veggies to the side and add your ground beef right into the same pan. Break it up with your spoon as it cooks – I like mine in small, bite-sized crumbles. If you’re using higher-fat beef (I see you, 80/20 lovers), you might want to tilt the pan and spoon out some excess grease once it’s browned. Nobody likes a soggy sandwich! Keep cooking until there’s no pink left, then mix everything together and season with salt and pepper. Simple but oh-so-good.
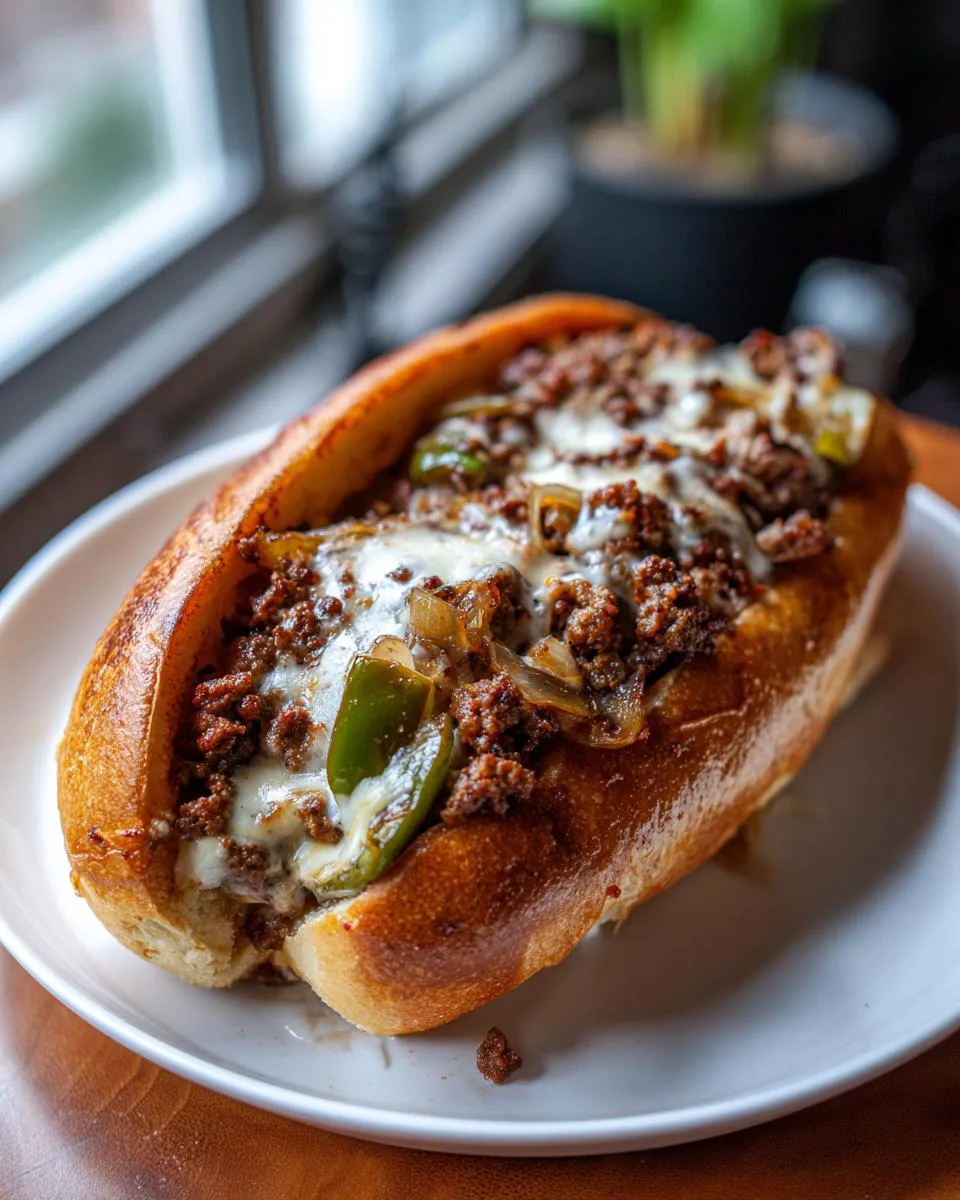
Assembling the Cheesesteaks
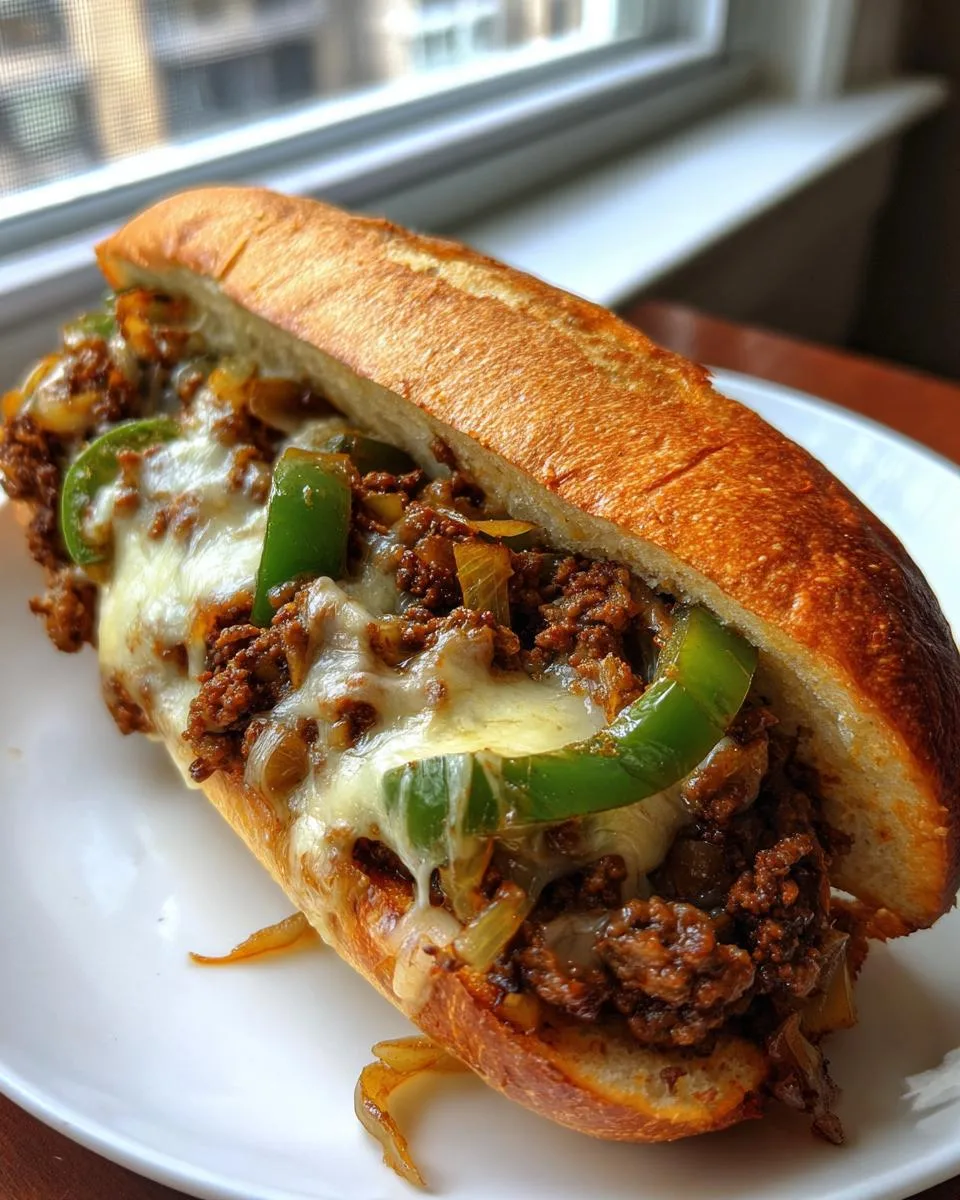
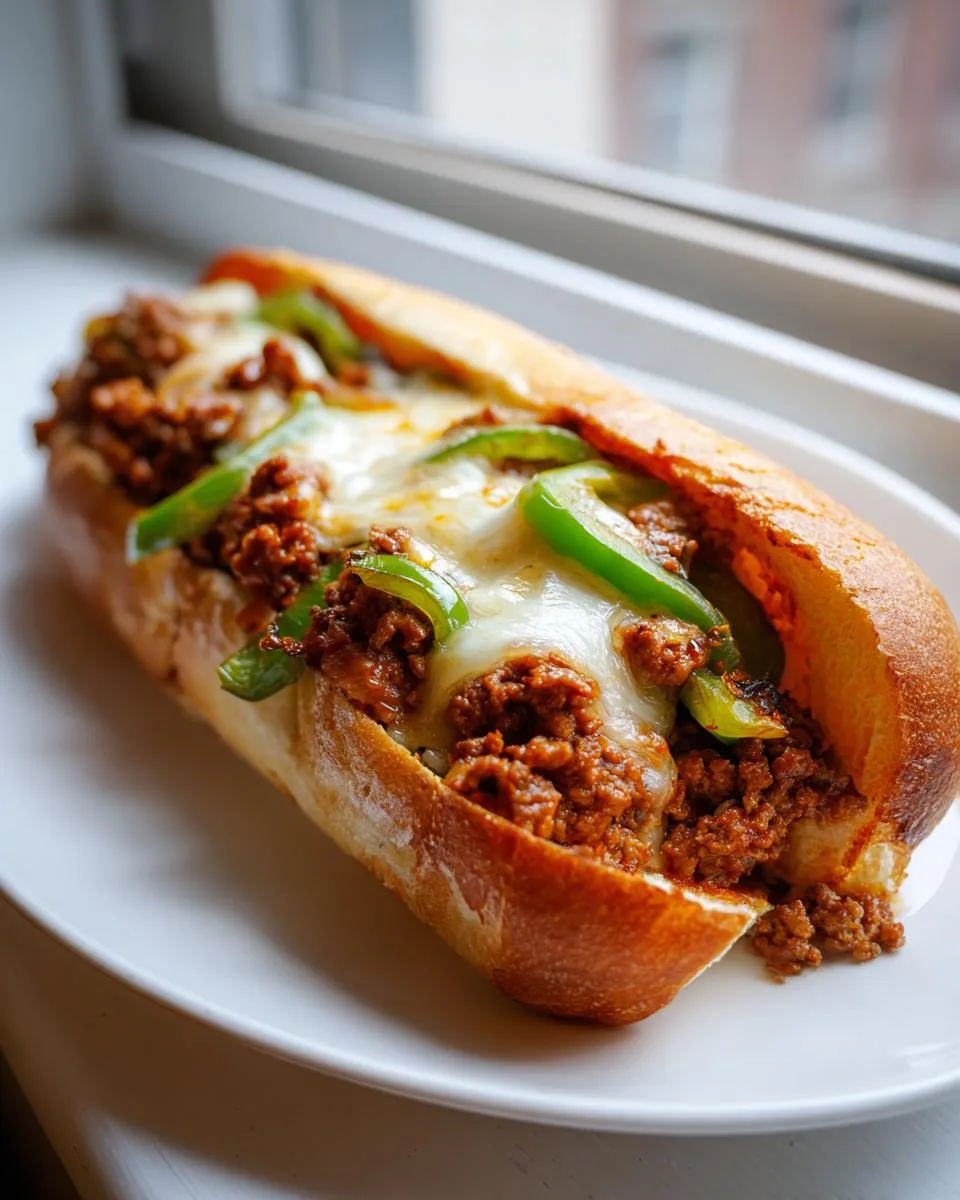
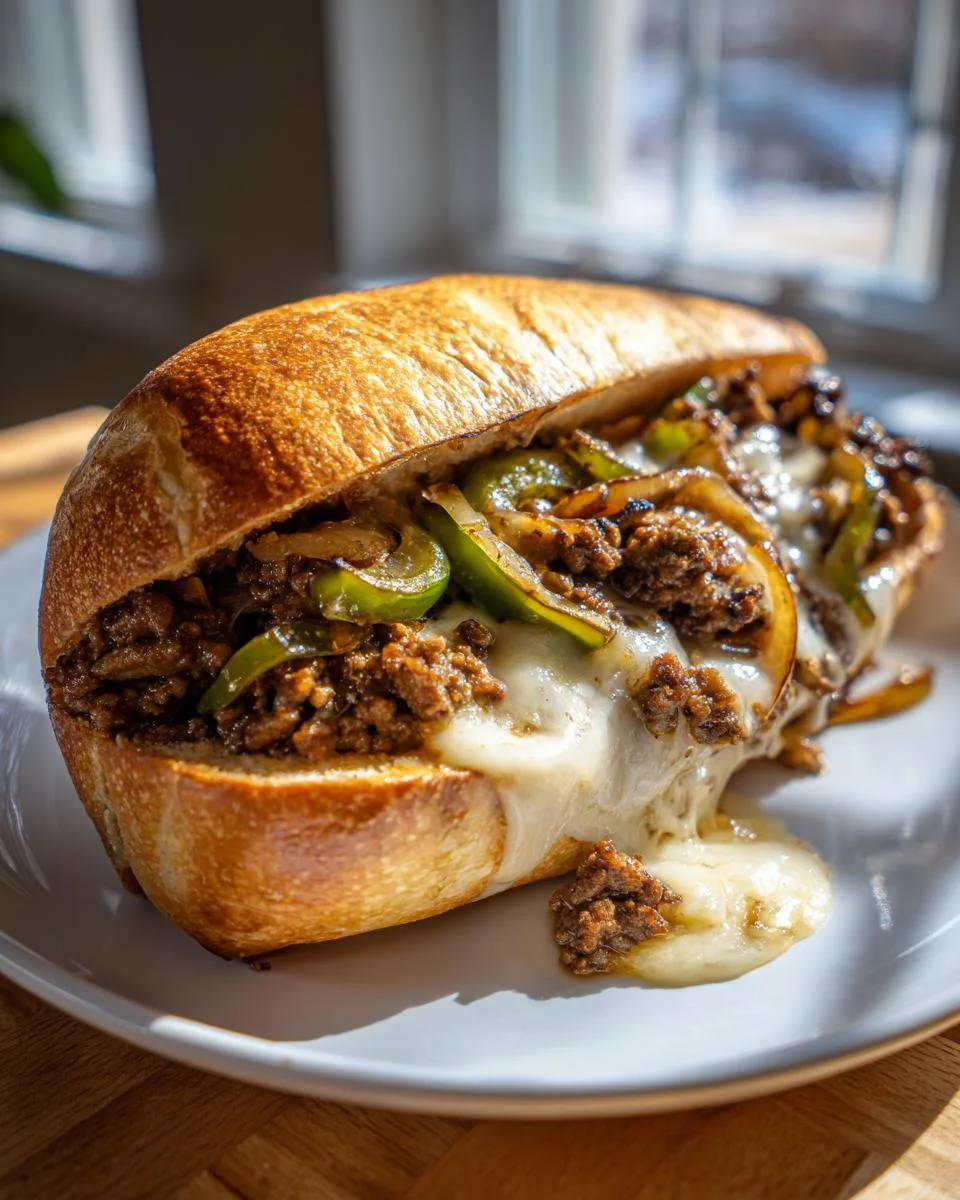
Here comes the fun part! Split your hoagie rolls open (but not all the way through – we’re making pockets, not breaking backs) and pile that beef-veggie mixture evenly into each one. Top with two slices of provolone per sandwich – yes, two! The cheese should drape over the edges because that melty goodness is half the experience. Pop them under the broiler for just 1-2 minutes until the cheese bubbles and gets those irresistible golden spots. Watch closely – broilers work fast! Pull them out when the rolls toast slightly and the cheese goes full lava mode.
See? Told you it was easy. Now try to wait at least 30 seconds before taking that first glorious bite… though I never manage to wait that long myself.
Print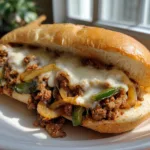
25-Minute Ground Beef Philly Cheesesteaks That Wow
- Prep Time: 10 minutes
- Cook Time: 15 minutes
- Total Time: 25 minutes
- Yield: 4 servings 1x
- Category: Sandwich
- Method: Stovetop
- Cuisine: American
- Diet: Low Lactose
Description
A quick and easy version of the classic Philly cheesesteak using ground beef.
Ingredients
- 1 pound ground beef
- 1 green bell pepper, sliced
- 1 onion, sliced
- 4 hoagie rolls
- 8 slices provolone cheese
- 1 tablespoon olive oil
- Salt and pepper to taste
Instructions
- Heat olive oil in a skillet over medium heat.
- Add sliced bell pepper and onion. Cook until softened.
- Add ground beef. Cook until browned.
- Season with salt and pepper.
- Divide the mixture among hoagie rolls.
- Top each with 2 slices of provolone cheese.
- Place under a broiler until cheese melts.
- Serve immediately.
Notes
- Use lean ground beef for less grease.
- Toast the hoagie rolls for extra crunch.
- Add hot peppers for a spicy kick.
Nutrition
- Serving Size: 1 sandwich
- Calories: 550
- Sugar: 5g
- Sodium: 800mg
- Fat: 28g
- Saturated Fat: 12g
- Unsaturated Fat: 10g
- Trans Fat: 1g
- Carbohydrates: 40g
- Fiber: 3g
- Protein: 35g
- Cholesterol: 90mg
Tips for the Best Ground Beef Philly Cheesesteaks
After making these cheesesteaks more times than I can count (seriously, my family requests them weekly), I’ve picked up some tricks that take them from good to “oh-my-goodness-where-have-these-been-all-my-life” status. Here are my hard-earned secrets:
Toast those rolls! Don’t skip this step—it makes all the difference. I pop my hoagies in the toaster oven for about 3 minutes while the beef cooks. That light crispness keeps them from turning into a soggy mess when the juicy filling goes in. Bonus: the slight char adds amazing flavor.
Lean beef is your friend. I know, I know—fat equals flavor. But with cheesesteaks, too much grease makes everything slide right out of the bread. I swear by 85/15 ground beef—it’s got enough fat to stay juicy but won’t leave you with a pool of oil in your pan. If you use higher-fat beef, drain it well after browning.
Slice veggies thin and even. My first attempt had chunky peppers and onions that didn’t cook evenly. Now I aim for 1/4-inch slices—thin enough to soften quickly but thick enough to keep some texture. Pro tip: use a mandoline if you have one (careful with those fingers!).
Hot pepper hack: For those who like heat, add sliced jalapeños with the bell peppers, or stir in a teaspoon of crushed red pepper flakes with the beef. My husband swears by a drizzle of hot honey at the end—sweet and spicy perfection.
Cheese strategy: Don’t just lay the provolone on top—tuck some slices underneath the meat too! This creates melty pockets throughout. And if your cheese isn’t browning enough under the broiler, try turning on the convection setting if your oven has it.
Remember, the best cheesesteaks balance textures—crisp bread, tender beef, soft veggies, and oozy cheese. Get that right, and you’ll have people begging for your “secret” recipe! If you want to see more of my cooking adventures, follow me on Facebook.
Variations for Ground Beef Philly Cheesesteaks
One of my favorite things about this recipe is how easily you can mix it up! Some nights I stick to the classic version, but other times I get creative based on what’s in my fridge or who’s coming to dinner. Here are my go-to twists that always impress:
Mushroom lovers unite! When I’m feeling fancy (or have mushrooms about to go bad), I slice up a cup of creminis or white buttons and toss them in with the peppers. They soak up all that beefy goodness and add such a rich, earthy flavor. My vegetarian sister swears by swapping the beef entirely for portobellos—just slice them thick and cook until tender.
Cheese adventures: Provolone’s classic, but don’t be afraid to play around! Sharp white cheddar gives a nice tang, while pepper jack brings the heat. For ultimate indulgence, I sometimes mix in some cream cheese with the beef—it makes the filling extra creamy. And if you’re feeling nostalgic, nothing beats the orange glow of good old American cheese.
Flavor boosters: A splash of Worcestershire sauce (about a tablespoon) stirred into the beef takes it to another level—that umami punch is incredible. Garlic powder or a minced clove added with the veggies never hurts either. Last week I tried sprinkling everything with a little smoked paprika before broiling, and wow—that smoky depth was a game changer!
Roll variations: No hoagies? No problem! I’ve used everything from ciabatta rolls to flour tortillas (for cheesesteak wraps). One desperate night I even made cheesesteak stuffed baked potatoes—don’t judge, it was delicious! For gluten-free friends, sturdy lettuce wraps work surprisingly well.
The beauty of this recipe is how forgiving it is. Once you’ve got the basic technique down—browned beef, softened veggies, melty cheese—you can make it your own. My kids love when I add pineapple for a sweet twist (don’t knock it till you try it!), and my neighbor swears by topping hers with giardiniera. What matters is that first bite makes you close your eyes and go “mmmm.”
Serving Suggestions
Now that you’ve got these gorgeous, melty cheesesteaks ready, let’s talk about what to serve with them! I’ve tried all sorts of sides over the years, and these are my absolute favorites—simple, satisfying, and guaranteed to make your meal feel complete.
Classic steak fries are my go-to—that crispy outside and fluffy inside just begs to be dipped in the cheesy juices that inevitably escape from the sandwich. If I’m feeling fancy, I’ll toss them with garlic powder and parsley before baking. Sweet potato fries work great too for a little extra color and nutrition.
Dill pickle spears might seem basic, but trust me, that tangy crunch cuts through the richness of the cheesesteak perfectly. I always keep a giant jar in my fridge just for this purpose. Sometimes I’ll even chop up some pickles and mix them right into the beef filling for extra zing!
On nights when I want to pretend I’m being healthy, I’ll whip up a simple green salad with just lettuce, tomato, and a light vinaigrette. The freshness balances out the hearty sandwich beautifully. My secret? I use the same cutting board for the salad veggies that I used for the onions and peppers—those leftover flavors make the salad taste amazing.
For parties, I love setting up a build-your-own cheesesteak bar with small bowls of toppings: sautéed mushrooms, extra peppers, banana peppers, different cheeses, and sauces like mayo, mustard, or hot sauce. Let everyone customize their perfect bite—it’s so fun and makes cleanup a breeze since people assemble their own plates.
And here’s my favorite lazy-night trick: when I’m really pressed for time, I’ll just grab a bag of good quality potato chips and call it a day. The saltiness is the perfect contrast to the cheesy beef, and honestly? Sometimes simple is best. No shame in my game! If you need a great side dish recipe, try my creamy scalloped sweet potatoes.
Storage & Reheating
Okay, let’s be real—these cheesesteaks are so good, leftovers are rare in my house. But on the off chance you’ve got some to save (or you’re smart enough to make extra on purpose), here’s how to keep them tasting fresh and delicious.
First rule: Store the filling and rolls separately! Nothing turns sad faster than a pre-assembled cheesesteak sitting in the fridge overnight. I learned this the hard way when I packed my husband’s lunch—by noon, the bread had turned into a soggy sponge. Now I keep the beef-veggie mix in one airtight container and the rolls in a bread bag at room temperature.
For reheating, skip the microwave—it turns everything rubbery. Instead, warm the filling in a skillet over medium-low heat with a splash of water or beef broth to keep it moist. Stir frequently until it’s heated through, usually about 5 minutes. While that’s happening, pop your roll in the toaster oven or under the broiler for a quick crisp-up. Assemble fresh each time, and it’ll taste nearly as good as day one! If you’re making a big batch, consider freezing the filling, similar to how you might freeze stuffed peppers filling.
If you’ve got a whole assembled sandwich to reheat (maybe from takeout?), wrap it loosely in foil and warm in a 350°F oven for 10-15 minutes. The foil keeps the bread from drying out while letting the cheese get melty again. Pro tip: unwrap it for the last 2 minutes to let the cheese get those gorgeous bubbly spots.
The filling keeps beautifully in the fridge for 3-4 days, or you can freeze it for up to 2 months. Just thaw overnight in the fridge before reheating. I always make a double batch now—because honestly, knowing there’s cheesesteak filling waiting makes Monday nights so much better!
Nutritional Information
Now, I’m no nutritionist, but I know folks like having the numbers—so here’s the scoop on what’s in these tasty cheesesteaks. Keep in mind these are estimates because let’s face it, nobody measures olive oil to the exact drop or counts every onion slice!
Per sandwich (with lean ground beef):
- Calories: About 550 (worth every one!)
- Protein: 35g – that beef packs a punch
- Carbs: 40g (mostly from that delicious bread)
- Fat: 28g (hey, cheese makes life better)
- Sodium: Around 800mg (easy to cut back if you’re watching salt)
What surprised me? Each sandwich has about 3g fiber from those peppers and onions—see, it’s practically health food! And if you’re like me and add extra veggies, you can bump that number up even more.
Important note: These values change based on your exact ingredients. Use whole wheat rolls? Different numbers. Swap cheeses? Changes the fat content. Even the thickness of your veggie slices affects the final count. That’s why I say—enjoy your cheesesteak, savor every bite, and don’t stress about perfection. Life’s too short to count every calorie when there’s melty provolone involved!
FAQ About Ground Beef Philly Cheesesteaks
I get asked about these cheesesteaks all the time—friends texting me at odd hours, neighbors peeking over the fence while I’m cooking—so let me answer the most common questions before you even have to ask!
Can You Use Ground Beef for Philly Cheesesteak?
Absolutely! I know purists might clutch their pearls, but ground beef makes this classic sandwich accessible any night of the week. While traditional cheesesteaks use thinly sliced ribeye, ground beef cooks faster, costs less, and still delivers that rich, meaty flavor—especially when mixed with those caramelized onions and peppers. It’s my busy-day secret for getting that cheesesteak fix without the fuss of slicing steak paper-thin.
What’s Traditionally on a Philly Cheesesteak?
The classic Philly version starts with super-thin sliced ribeye cooked on a griddle, topped with melted cheese (usually Cheez Whiz, provolone, or American), and often includes grilled onions. Some spots add sautéed mushrooms or sweet peppers too. My ground beef version keeps the spirit—melty cheese, savory meat, soft veggies—but simplifies the process for home cooks. Think of it as cheesesteak’s laid-back cousin who shows up in sweatpants but still brings the good snacks!
How to Prevent Soggy Rolls?
Oh honey, I’ve had my share of sad, soggy sandwiches—learn from my mistakes! First, toast those hoagie rolls before filling them (even just 2-3 minutes makes a world of difference). Second, drain your ground beef well if it’s higher-fat—I tilt the pan and spoon out excess grease. Third, don’t let assembled sandwiches sit too long before eating—that steam is the enemy of crispness! Follow these tips, and you’ll get that perfect contrast of crunchy bread and juicy filling every time.