Halloween baking should be fun, not frightful – that’s why these ghost cupcakes have been my go-to treat for years! I stumbled upon this idea one chaotic October when my niece begged for “spooky but cute” desserts. With store-bought cupcakes and a piping bag, we whipped up these adorable buttercream ghosts in minutes. The chocolate chip eyes made us giggle as we decorated – some ghosts looked surprised, others sleepy. Now it’s our annual tradition. These Halloween ghost cupcakes prove you don’t need fancy skills to create something magical. Even better? Kids can help with every step, from piping to placing those mischievous chocolate eyes!
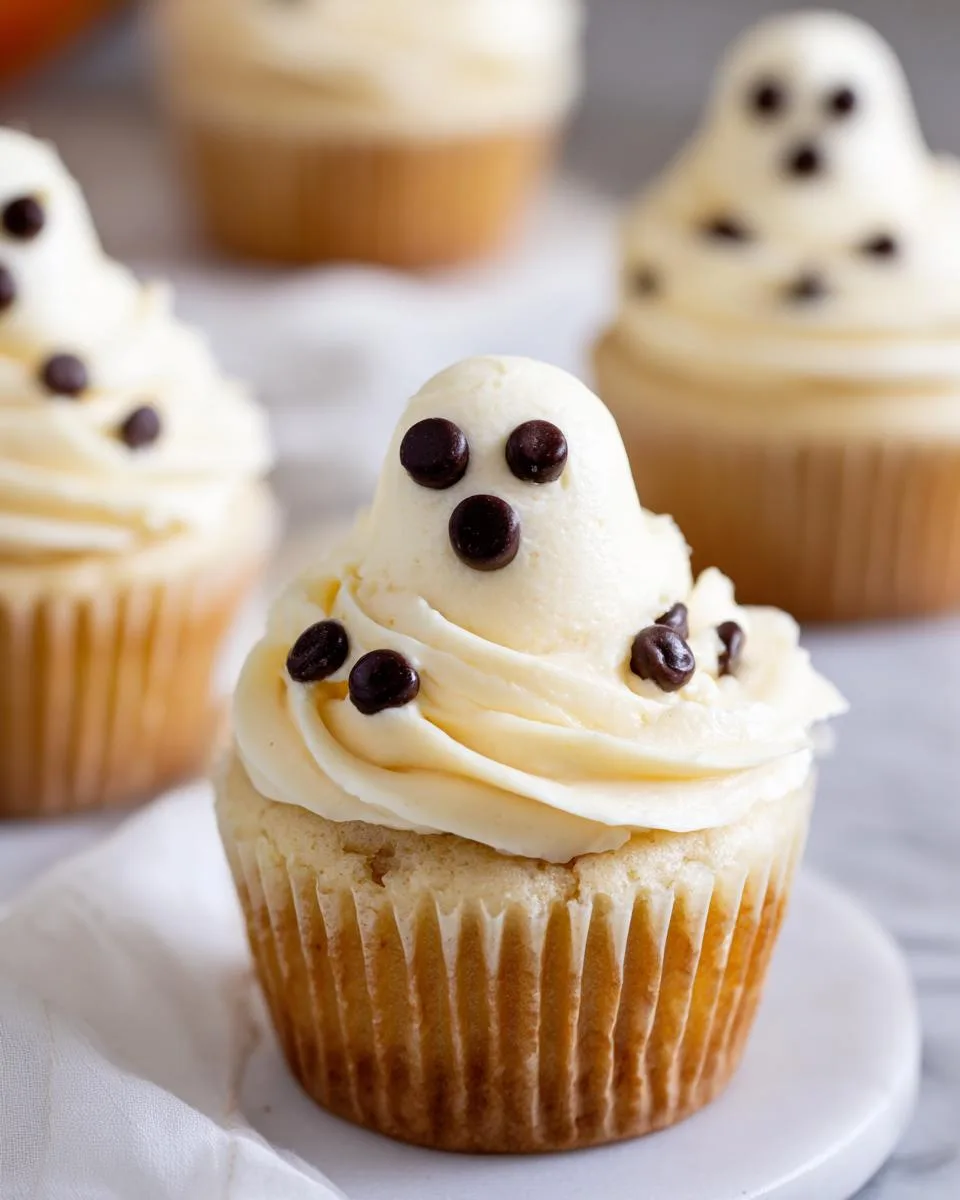
Table of Contents
Table of Contents
Ingredients for Halloween Ghost Cupcakes
Let’s talk ingredients – because even the spookiest ghosts start with the basics! Here’s exactly what you’ll need to bring these little specters to life:
- 24 pre-made vanilla cupcakes – trust me, nobody will judge you for using store-bought! I always grab two dozen of those perfect little golden cakes from the bakery section
- 3 cups vanilla buttercream – homemade or store-bought both work beautifully (my secret? I add an extra splash of vanilla extract to the canned stuff)
- 1 bag semi-sweet chocolate chips – the mini ones work best for cute ghost eyes, but regular chips give you that classic “boo!” look
- 1 piping bag with large round tip – I use Wilton #1A, but any large round tip will do the trick
That’s it! Four simple ingredients standing between you and a tray full of grinning ghosties. I love how this recipe lets you focus on the fun part – decorating – without fussing over baking from scratch. Though if you’re feeling ambitious, homemade cupcakes make these even more special!
Equipment You’ll Need for Halloween Ghost Cupcakes
Okay, let’s gather our ghost-making tools—this is the easiest “haunted” kitchen setup ever! Here’s what you’ll want within arm’s reach:
- Piping bag with large round tip – My trusty Wilton #1A never lets me down, but honestly, any large round tip (about ½-inch diameter) works. No tip? Just snip the bag’s corner for a makeshift version!
- Cooling rack (optional) – Only if you’re baking cupcakes from scratch—lets them cool faster so eager little decorators don’t melt the frosting.
- Spatula – For scraping every last bit of buttercream into the piping bag. Waste not, want not!
- Tiny spoon or toothpick – For rescuing chocolate chips when they inevitably tumble onto the counter. (We’ve all been there.)
See? No fancy gadgets required. Half this stuff is probably already in your kitchen drawers. Now let’s make some ghosts!
How to Make Halloween Ghost Cupcakes
Alright, let’s bring these friendly ghosts to life! I’ve made hundreds of these over the years—sometimes with kids hanging off my elbows—so I’ve perfected the foolproof method. Follow these steps, and you’ll have a whole ghostly brigade ready in no time!
Step 1: Prepare Your Buttercream
The key to perfect ghosts? Stiff buttercream that holds its shape. If you’re using store-bought frosting, give it a stir first—sometimes it separates in the tub. Too runny? Add powdered sugar a tablespoon at a time until it’s thick enough to stand up on a spoon. (Pro tip: If you accidentally over-thicken it, a splash of milk will save the day!) Scoop it into your piping bag, twist the top tightly, and you’re ready to haunt—er, decorate!
Step 2: Pipe the Ghost Shapes
Hold the piping bag straight up about ½ inch above the cupcake center. Squeeze firmly to create a wide base, then slowly pull upward while easing pressure to form a wispy top. Imagine drawing a soft-serve ice cream cone! If your ghost looks lopsided, no worries—just smooth it gently with a finger (ghosts are allowed to be imperfectly adorable). For taller specters, pipe in a spiral motion from the base up. Chill for 10 minutes if the frosting gets too soft—cold ghosts hold their shape better!
Step 3: Add the Eyes
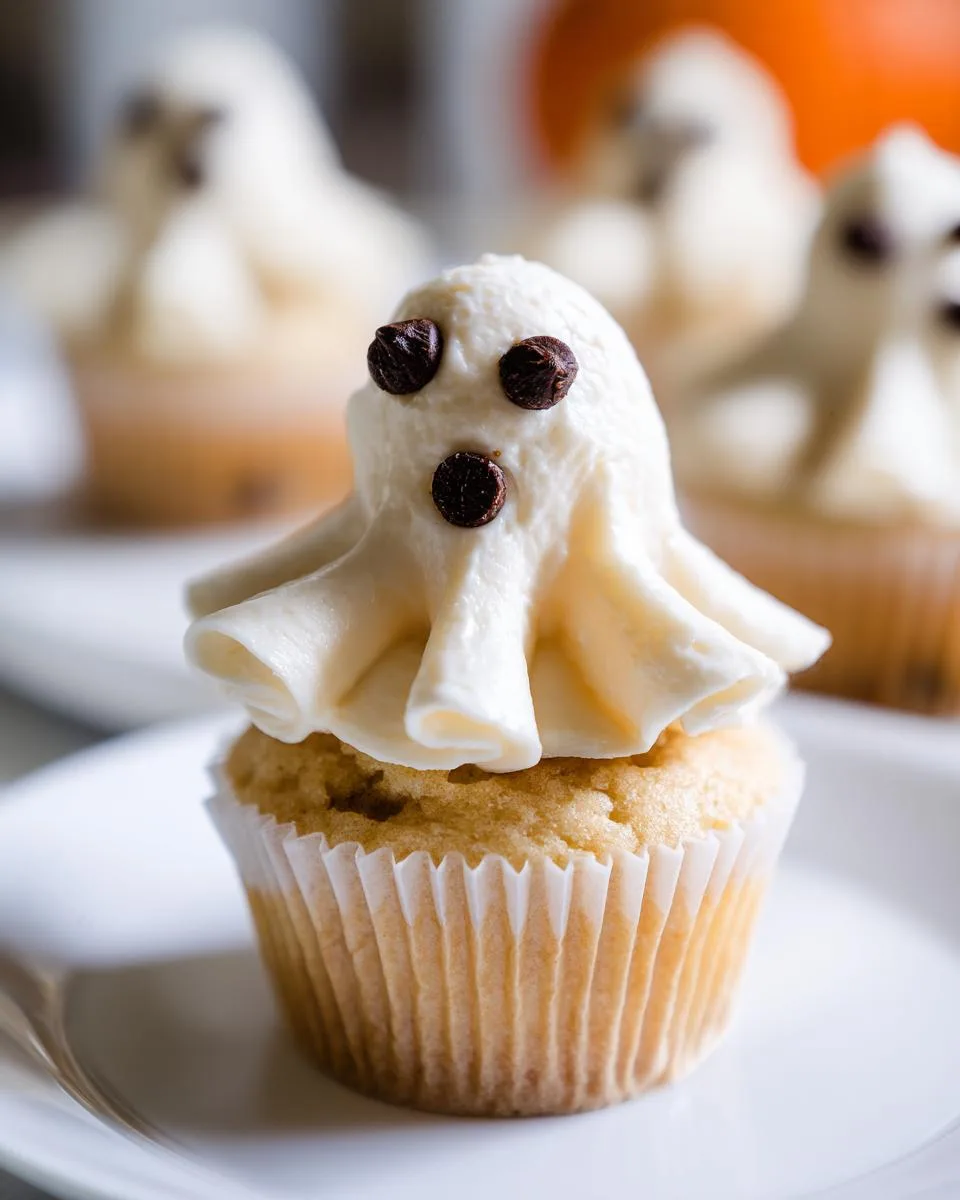
Time for personality! Press two chocolate chips pointy-side down into the frosting about halfway up the ghost. Want wide-eyed spooks? Space them apart. Sleepy ghosts? Place them closer together. Get creative—mini M&Ms make colorful eyes, or use white chocolate chips with a tiny dot of black gel icing for pupils. My niece once used rainbow sprinkles for “party ghost” eyes—brilliant! If the chips won’t stick, dab a tiny bit of frosting on their backs first.
Print
Spooky 24 Halloween Ghost Cupcakes Kids Devour Instantly
- Prep Time: 15 minutes
- Cook Time: 0 minutes
- Total Time: 15 minutes
- Yield: 24 cupcakes 1x
- Category: Dessert
- Method: No-Bake
- Cuisine: American
- Diet: Vegetarian
Description
Easy Halloween ghost cupcakes with vanilla buttercream and chocolate chip eyes.
Ingredients
- 24 cupcakes
- 3 cups vanilla buttercream
- 1 bag chocolate chips
- Piping bag with large round tip
Instructions
- Place buttercream in piping bag with large round tip.
- Pipe tall mound of frosting in center of cupcake, shaping it like a ghost (wider at bottom, narrower at top).
- Add chocolate chips for eyes.
- Enjoy!
Notes
- Use store-bought cupcakes to save time.
- Chill cupcakes briefly before serving for cleaner decorations.
Nutrition
- Serving Size: 1 cupcake
- Calories: 220
- Sugar: 18g
- Sodium: 85mg
- Fat: 10g
- Saturated Fat: 4g
- Unsaturated Fat: 5g
- Trans Fat: 0g
- Carbohydrates: 30g
- Fiber: 1g
- Protein: 2g
- Cholesterol: 15mg
Tips for Perfect Halloween Ghost Cupcakes
After years of haunted baking disasters (we don’t talk about the “melting ghost” incident of 2019), I’ve learned these foolproof tricks to make your spooky treats look professionally possessed:
- Chill those cupcakes first! – 15 minutes in the fridge firms up the surface so your buttercream ghosts don’t sink into the cake. Bonus: cold frosting holds sharp peaks better.
- Buttercream stiffness is everything – It should be thick enough that a spoonful stands upright. Too soft? More powdered sugar. Too stiff? A teaspoon of milk at a time until it pipes smoothly.
- Rotate, don’t wrestle – Turn the cupcake as you pipe for even ghost shapes instead of moving the piping bag in circles. Your wrists will thank you!
- The toothpick trick – For ultra-smooth ghosts, dip a toothpick in water and gently refine any lumpy areas before adding eyes.
- Eyes that stay put – Press chocolate chips in at a slight downward angle so they don’t pop out when transporting your ghoulish creations.
- Batch decorating – Work in groups of 6 cupcakes at a time so the buttercream stays workable. Store finished ones in the fridge to prevent “ghost meltdown.”
Remember – imperfect ghosts have more character! Last year’s lopsided specters were the hit of the Halloween party. The secret? Have fun and let your spooky creativity run wild!
Halloween Ghost Cupcakes Variations
Once you’ve mastered the classic buttercream ghost, try these fun twists to mix up your spooky squad! My personal favorite? Black velvet ghosts – just tint your buttercream with black gel food coloring (add it gradually until you get that perfect midnight hue). They look eerily elegant against orange cupcake wrappers!
For quicker decorations, grab a bag of pre-made candy eyes – they stick perfectly to frosting and come in all sizes, from adorable to downright creepy. Last year I found glow-in-the-dark ones that were a total hit at our neighborhood Halloween party!
Want texture? Try pressing toasted coconut flakes onto the buttercream for “fuzzy” ghosts – the white strands look like floating ectoplasm! Or dip the piped ghosts in white sprinkles for a sparkly phantom effect. Kids go nuts for the crunch!
The best part? No two ghost cupcakes ever look exactly alike – just like real spirits, each one develops its own personality as you decorate. What variation will you try first?
Serving and Storing Halloween Ghost Cupcakes
Here’s the spooky truth – these ghost cupcakes actually taste BEST when served slightly chilled! That 30-minute fridge rest before your party does wonders. The buttercream firms up just enough so each bite holds its shape, and those chocolate chip eyes stay perfectly in place. Trust me, nobody wants a “melty ghost” situation when the treats hit the dessert table!
For storing leftovers (though in my house, that’s rare!), pop them in an airtight container with parchment between layers. They’ll keep their hauntingly fresh taste for up to 3 days in the fridge. Pro tip: Let them sit at room temp for 10 minutes before serving – the buttercream softens just enough for that perfect creamy texture.
Now, a word of warning from someone who learned the hard way – don’t freeze decorated ghosts. The buttercream weeps when thawed, leaving your spooky friends looking… well, more like they’ve seen a ghost themselves. If you must freeze, do it with unfrosted cupcakes and decorate fresh before your event. Those chocolate chip eyes deserve to look their best!
Halloween Ghost Cupcakes Nutritional Information
Okay, let’s talk numbers – but don’t let this spook you! Each ghostly cupcake (with all its buttery, chocolatey glory) comes in at around 220 calories. Here’s the full spectral breakdown per serving:
- Sugar: 18g (those chocolate chip eyes add a sweet little kick!)
- Sodium: 85mg
- Fat: 10g (4g saturated from that dreamy buttercream)
- Carbs: 30g
- Protein: 2g (who knew ghosts packed protein?)
Important ghostly disclaimer: These values are estimates based on standard ingredients – your exact numbers might haunt slightly different territory depending on cupcake brands or whether you use homemade vs store-bought frosting. The chocolate chips you choose (mini? regular? dark?) will also tweak the numbers a bit.
Now, between you and me? On Halloween night, calories don’t count – they’re scared away by all the spooky fun! But it’s always good to know what’s floating into those treat bags. Happy (and delicious) haunting!
FAQs About Halloween Ghost Cupcakes
Can I use homemade cupcakes instead of store-bought?
Absolutely! Just make sure they’re completely cooled before decorating – warm cupcakes make for melty ghosts. I actually prefer homemade for special occasions, but the store-bought ones save SO much time during hectic Halloween prep.
Help! My buttercream is too runny – how do I fix it?
Don’t panic! Gradually add powdered sugar (about 1 tablespoon at a time) until it holds its shape when you lift the spoon. If it gets too thick, a teaspoon of milk will loosen it up. This happens to me every October when my kitchen gets too warm from all the baking!
Can I make these ahead of time?
You sure can! Decorated cupcakes keep beautifully in the fridge for up to 3 days in an airtight container. Just let them sit at room temp for about 10 minutes before serving so the buttercream softens slightly. The chocolate chip eyes stay perfectly in place!
What if I don’t have a piping bag?
No problem! Snip the corner off a heavy-duty zip-top bag (about ½-inch opening) – it works nearly as well! Or get creative with a spoon – dollop frosting in the center and use the back of the spoon to pull upward into a ghostly shape. Imperfect ghosts have the most character anyway!
Can I use something besides chocolate chips for eyes?
Get creative! Mini M&Ms, candy eyes (the googly ones are hilarious), or even small dabs of black frosting work great. Last year I used white chocolate chips with mini chocolate chip pupils – they looked adorably surprised!
Show Us Your Spooky Ghost Cupcakes!
I can’t wait to see the adorable Halloween ghost cupcakes you create! Snap a photo of your ghoulish creations and tag us on social media – we love spotting your clever variations (that time someone made “ghosts in graveyards” with crushed Oreo dirt lives rent-free in my mind). Whether your spooks are perfectly piped or charmingly lopsided, share them with the hashtag #GhostCupcakeMagic. Nothing makes my Halloween brighter than seeing all the creative ways you bring these sweet little spirits to life!
If you enjoyed these Halloween ghost cupcakes, you might also like our Halloween Bat Cupcakes or our Wicked Witch Cupcakes for more spooky baking fun! For other Halloween treats, check out our Halloween Stuffed Peppers or our Floating Hand Punch. You can also find more recipes on our recipes page. We love sharing our creations on Facebook!


