Oh my gosh, you have to try these Mini Mummy Pizzas – they’re the cutest, easiest Halloween snack that always steals the show at our house! I’ve been making these little guys every October since my kids were toddlers, and now they practically demand we make multiple batches for school parties and neighborhood gatherings. What I love most (besides how utterly adorable they look) is how ridiculously simple they are – just English muffins, pizza sauce, string cheese, and olives transformed into spooky little mummies in under 30 minutes. After testing dozens of batches (someone had to do the research!), I perfected the baking time so the cheese gets that perfect “freshly unwrapped mummy” look while staying gooey underneath. Trust me, these disappear faster than ghosts in the night!
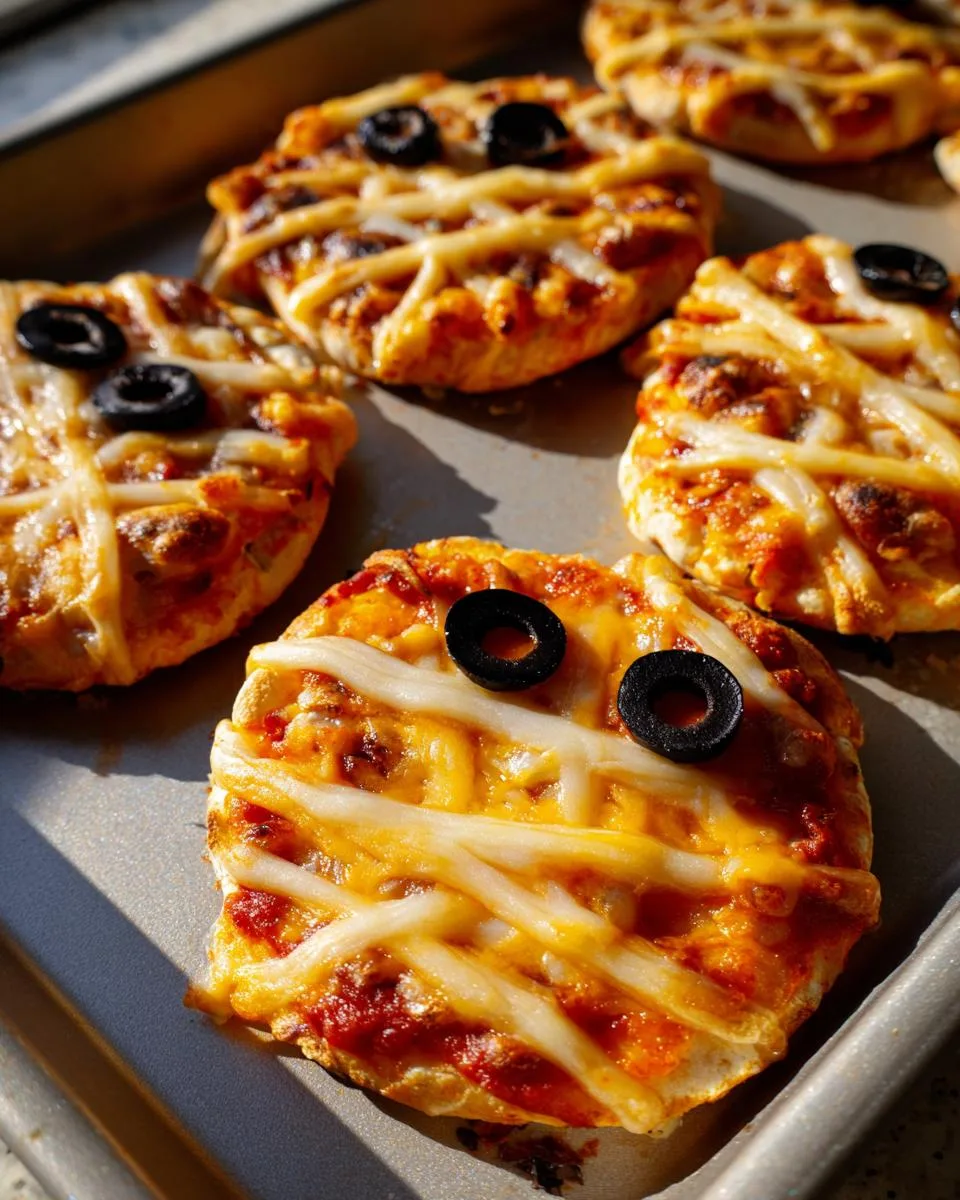
Table of Contents
Table of Contents
Why You’ll Love These Mini Mummy Pizzas
- They’re super quick—ready in under 30 minutes, even on your busiest Halloween night.
- Totally kid-friendly—let little ones help with the cheese strips and olive eyes for extra fun.
- Completely customizable—swap ingredients to fit your family’s tastes or dietary needs.
- Perfect for Halloween parties—these bite-sized mummies are a spooky crowd-pleaser every time.
Ingredients for Mini Mummy Pizzas
- 2 English muffins, split in half (that’s 4 halves total – trust me, you’ll want extras!)
- 1/2 cup pizza sauce (I swear by Classico, but use whatever makes your taste buds happy)
- 4 mozzarella string cheeses, peeled into thin strips (about 24-30 strips total – more if you’re generous with the “bandages”)
- 10 black olives, sliced (you’ll use about 3 slices per pizza for eyes and mouths)
Ingredient Substitutions
No English muffins? Try bagel thins or pita bread. Dairy-free? Use vegan mozzarella sticks. Want extra spooky? Turkey pepperoni makes great bloody eyes! The beauty is how flexible these little mummies are.
How to Make Mini Mummy Pizzas
Okay, let’s get these adorable little mummies ready for their Halloween debut! I’ve made this recipe so many times I could do it in my sleep, but I’ll walk you through every step so yours turn out perfectly spooky and delicious. The secret is in how you arrange those cheese “bandages” – but don’t worry, even messy mummies are cute!
Step 1: Prepare the Base
First things first – preheat that oven to 425°F (that’s about 220°C for my friends outside the US). While it’s heating, split your English muffins and arrange them on a baking sheet. I like to give them a little toast in the oven for 2 minutes first – just until barely golden – because it keeps the bottom nice and crisp. Then comes the sauce! Use about a tablespoon per muffin half, spreading it evenly with the back of a spoon. Pro tip: leave about a 1/4-inch border around the edges – it gives the cheese bandages something to grip onto!
Step 2: Create the Mummy Wrap
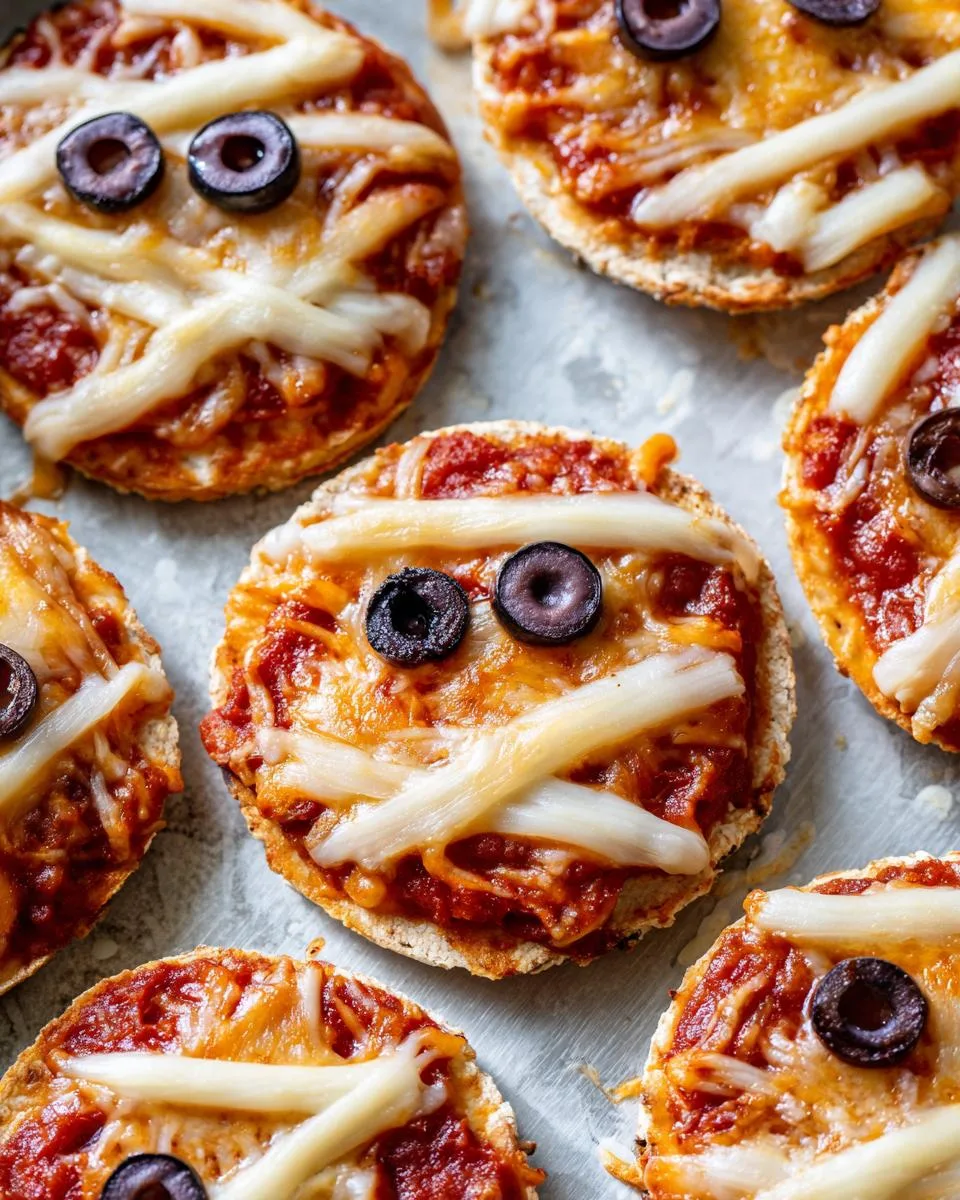
Now the fun part! Take your string cheese strips and start criss-crossing them over the sauce. Don’t be too neat – real mummy bandages are haphazard! Leave little gaps here and there (especially near what will be the “face”) so the sauce peeks through. I typically use about 6-8 strips per pizza, overlapping them randomly. If a strip breaks? No problem! Imperfections just make them look more authentically ancient. Just be sure to leave space near the top for those all-important olive eyes coming up next.
Step 3: Add the Eyes and Bake
Time to bring these mummies to life! Place two small olive slices in your reserved gap for eyes – I like to angle them slightly to give personality. A tiny olive piece makes a great mouth too (make it a frown for extra spook factor!). Now into the oven they go: 10 minutes if you want the cheese white and soft (like fresh bandages), 12 minutes if you prefer golden, crispier edges. Watch closely after 9 minutes though – ovens vary! When they’re done, let them cool just a minute before serving (hot cheese burns are scarier than any mummy!).
Print
Spooky Mini Mummy Pizzas Ready in 30 Minutes
- Prep Time: 10 minutes
- Cook Time: 12 minutes
- Total Time: 22 minutes
- Yield: 6 mini pizzas
- Category: Snack
- Method: Baking
- Cuisine: American
- Diet: Vegetarian
Description
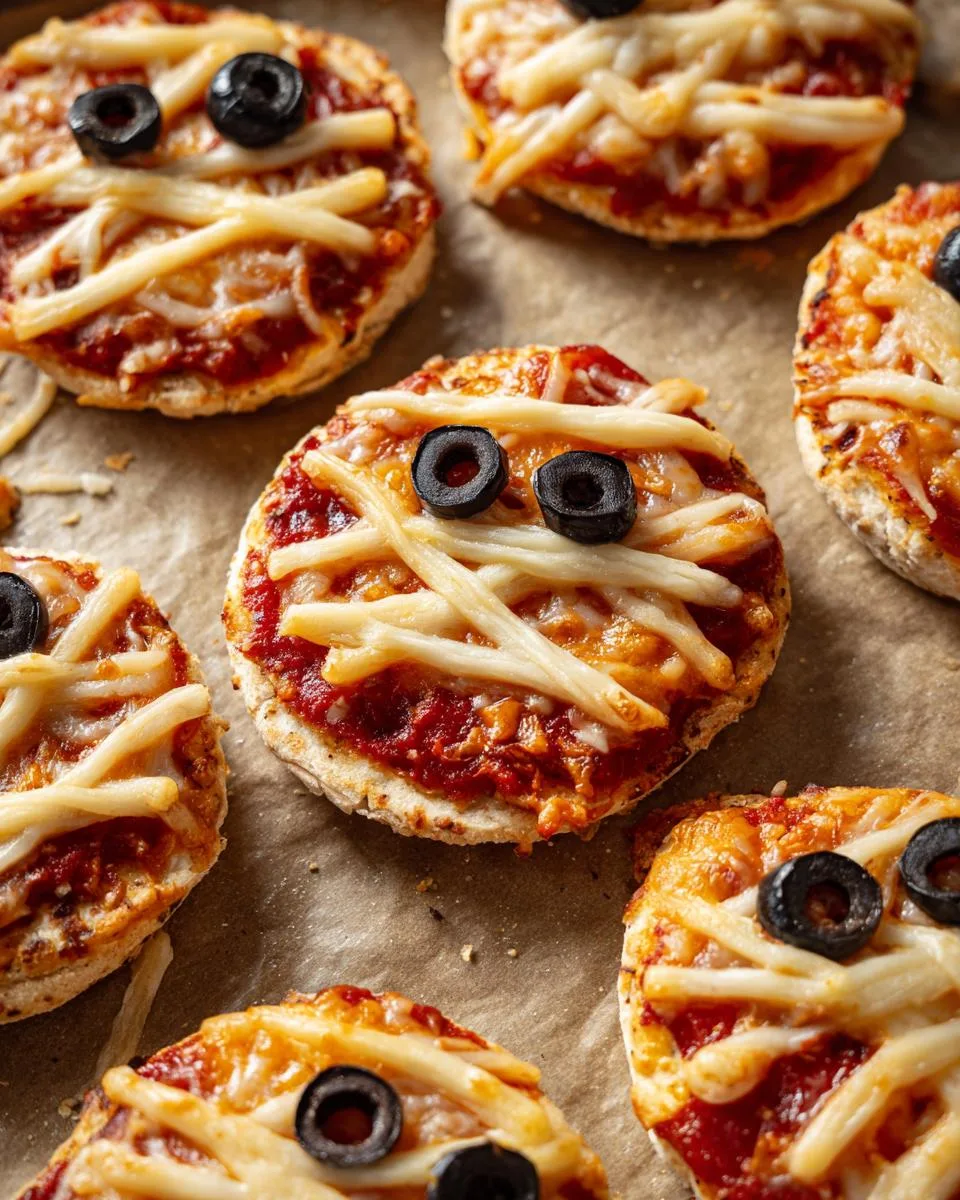
Mini Mummy Pizzas are a fun and easy Halloween-themed snack made with English muffins, pizza sauce, mozzarella string cheese, and black olives.
Ingredients
- English Muffins
- Pizza Sauce (We prefer Classico brand.)
- Mozzarella String Cheese
- Black Olives
Instructions
- Cut each English muffin in half. Place on a baking sheet.
- Spread pizza sauce on each muffin half.
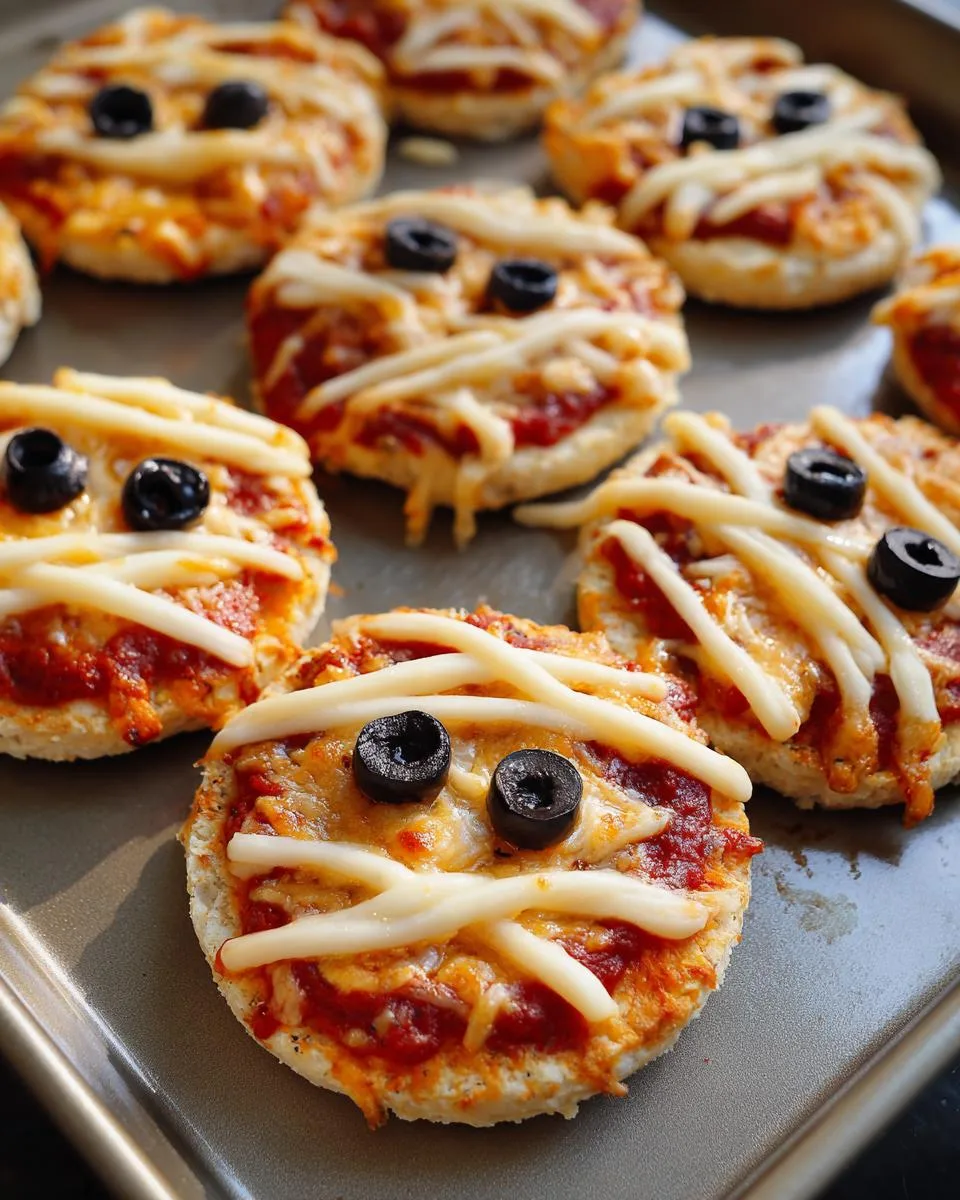
- Pull apart string cheese and criss-cross the pieces to create a wrapped mummy look.
- Cut olives for eyes, noses, and mouths as desired.
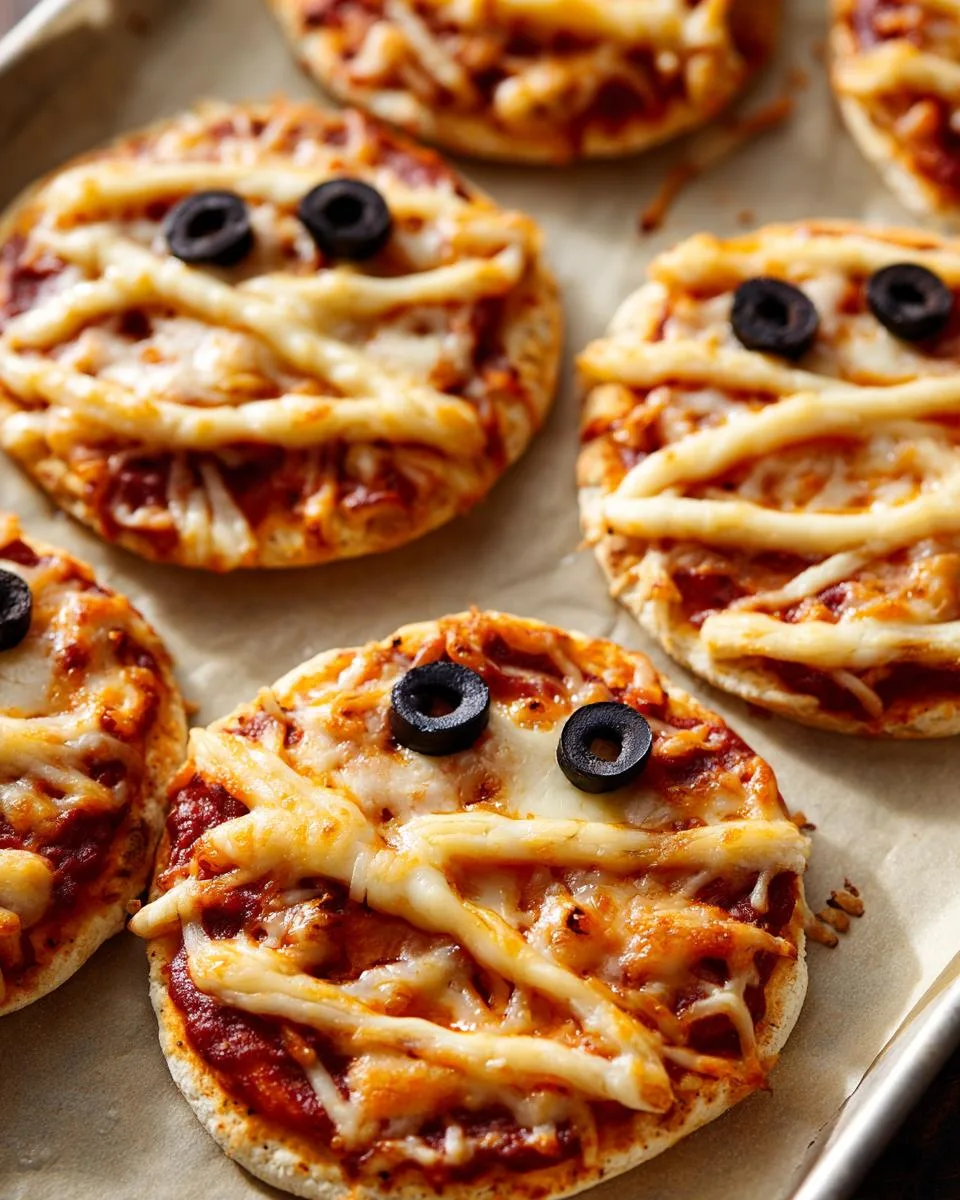
- Bake at 425 degrees Fahrenheit for 12 minutes, for a crisp crust and bubbly cheese. Bake for less time to keep the cheese white.
Notes
- You can use any brand of pizza sauce you prefer.
- For a crispier crust, bake for the full 12 minutes.
- For a softer crust and whiter cheese, reduce the baking time.
Nutrition
- Serving Size: 1 mini pizza
- Calories: 150
- Sugar: 2g
- Sodium: 300mg
- Fat: 6g
- Saturated Fat: 3g
- Unsaturated Fat: 2g
- Trans Fat: 0g
- Carbohydrates: 18g
- Fiber: 2g
- Protein: 7g
- Cholesterol: 15mg
Tips for Perfect Mini Mummy Pizzas
- Pat those muffins dry! Use a paper towel to gently blot the cut sides of the English muffins before adding sauce. This prevents sogginess and gives you a crispier base.
- Snip, don’t struggle. Use kitchen shears to cut the string cheese into strips—it’s way faster and less messy than trying to pull them apart by hand.
- Parchment paper is your friend. Line your baking sheet with it for easy cleanup and to keep the mini pizzas from sticking. Plus, it helps the bottoms crisp up nicely.
- Get creative with the eyes. If olives aren’t your thing, try small bits of bell pepper, pepperoni, or even capers for different spooky expressions!
Serving Suggestions for Mini Mummy Pizzas
These little mummies love company! Arrange them on a dark platter with carrot stick “fingers” and a bowl of bloody marinara dip (bonus points for drawing veins with sour cream). For parties, pair with a pitcher of “vampire’s kiss” punch – just cranberry juice and ginger ale with frozen raspberry eyeballs. Watch how fast your Halloween spread turns into a graveyard as these disappear!
Storage and Reheating
Okay, real talk – these mini mummy pizzas are honestly best fresh out of the oven when the cheese is all gooey and the muffin is crisp. But if you somehow end up with leftovers (it happens!), you can pop them in an airtight container in the fridge for up to 2 days. Just don’t microwave them – it makes the English muffin super chewy and sad. Trust me, the toaster oven is your best friend here! Reheat them at 350°F for about 5 minutes, until the cheese gets melty again and the edges crisp back up. They’ll never be *quite* as perfect as day one, but they’re still totally delicious!

Mini Mummy Pizzas FAQs
How long should I bake mini mummy pizzas?
12 minutes at 425°F gives you perfectly crispy edges, while 10 minutes keeps the cheese whiter and softer – your choice!
Can I microwave these instead of baking?
Oh honey, don’t do it! Microwaving makes the muffins tough. The oven’s dry heat is what gives them that perfect texture.
Why string cheese instead of shredded?
String cheese pulls apart into perfect “bandage” strips! Shredded mozzarella just melts into a blob (still tasty, but not as spooky).
How many mini mummy pizzas count as one serving?
Each English muffin half is one serving – but good luck stopping at just one! I always make extra because they vanish fast.
Nutritional Information
Okay, let’s be real – nobody eats Halloween treats for their health benefits! But since you asked (or maybe your nutrition-conscious friend is eyeballing your mummy pizzas), here’s the scoop per serving:
- Calories: About 150 per mini pizza (but who’s counting when it’s Halloween?)
- Fat: 6g (3g saturated from that delicious cheese)
- Carbs: 18g (with 2g fiber from the English muffin)
- Protein: 7g (cheese power!)
- Sodium: Around 300mg (those olives bring most of it)
Remember, these are estimates based on my go-to ingredients – your numbers might dance a bit if you swap in different brands or toppings. But hey, it’s Halloween! If there’s ever a time to enjoy some cheesy, carby goodness without overthinking it, this is it. Just balance it out with some veggies later – maybe some carrot stick “fingers” alongside?
Final Thoughts
There you have it – my foolproof recipe for Mini Mummy Pizzas that never fails to delight! I’d love to see your spooky creations, so grab those ingredients and get wrapping. Tag me in your mummy masterpieces – I can’t wait to see what creepy-cute faces you come up with! You can find more recipes on our site, or follow us on Facebook.


