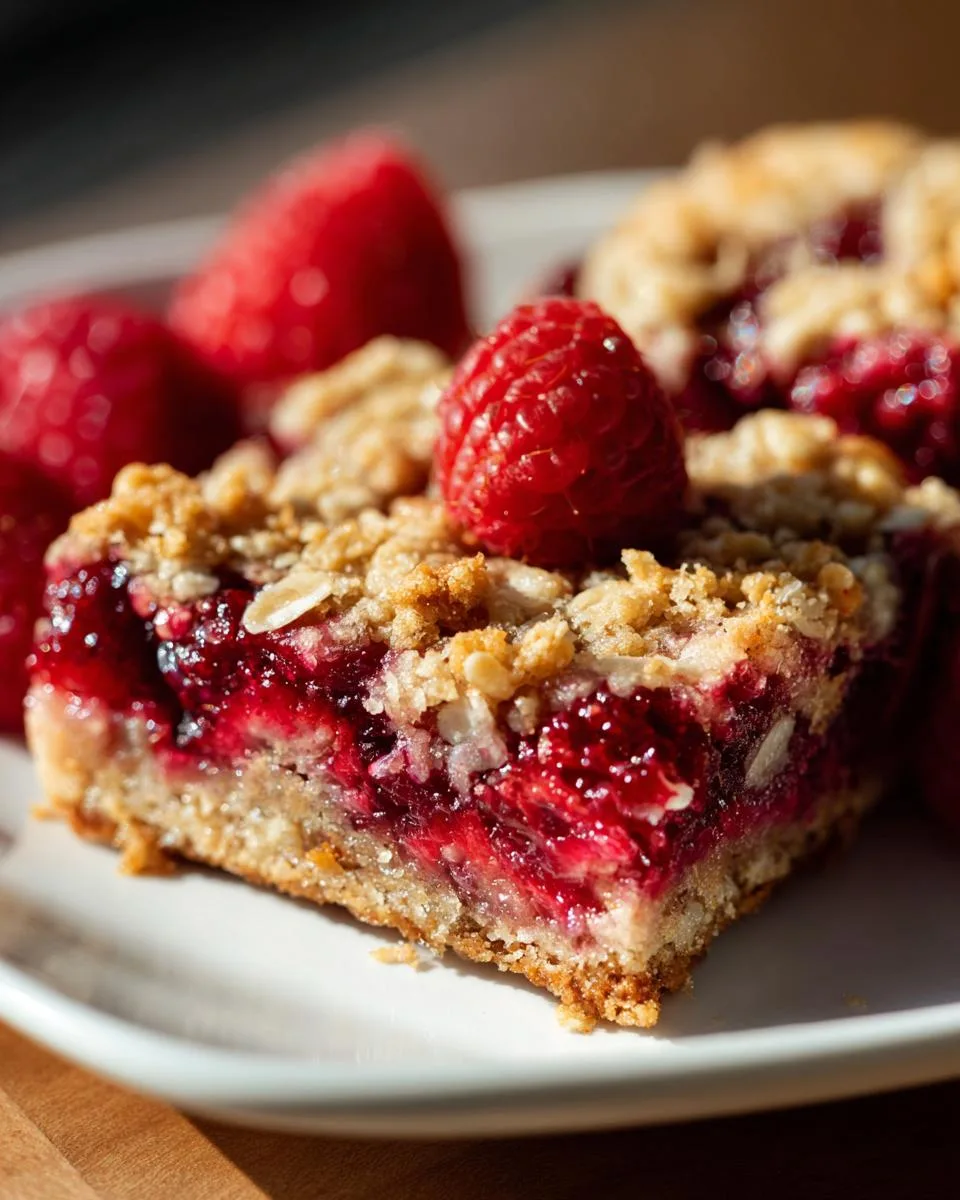
Oh my gosh, you have to try these Raspberry Almond Breakfast Bars! They’re my go-to when I need something sweet but not-too-sweet to start the day. I’ve been making them for years – ever since my neighbor shared the recipe when I was in college and desperately needed easy breakfast options. The buttery crust, that tart raspberry layer, and the crunchy almond streusel topping? Absolute perfection. What I love most is how simple they are – just a few basic ingredients, one bowl (mostly!), and you’ve got a whole pan of portable goodness. Trust me, these disappear fast!
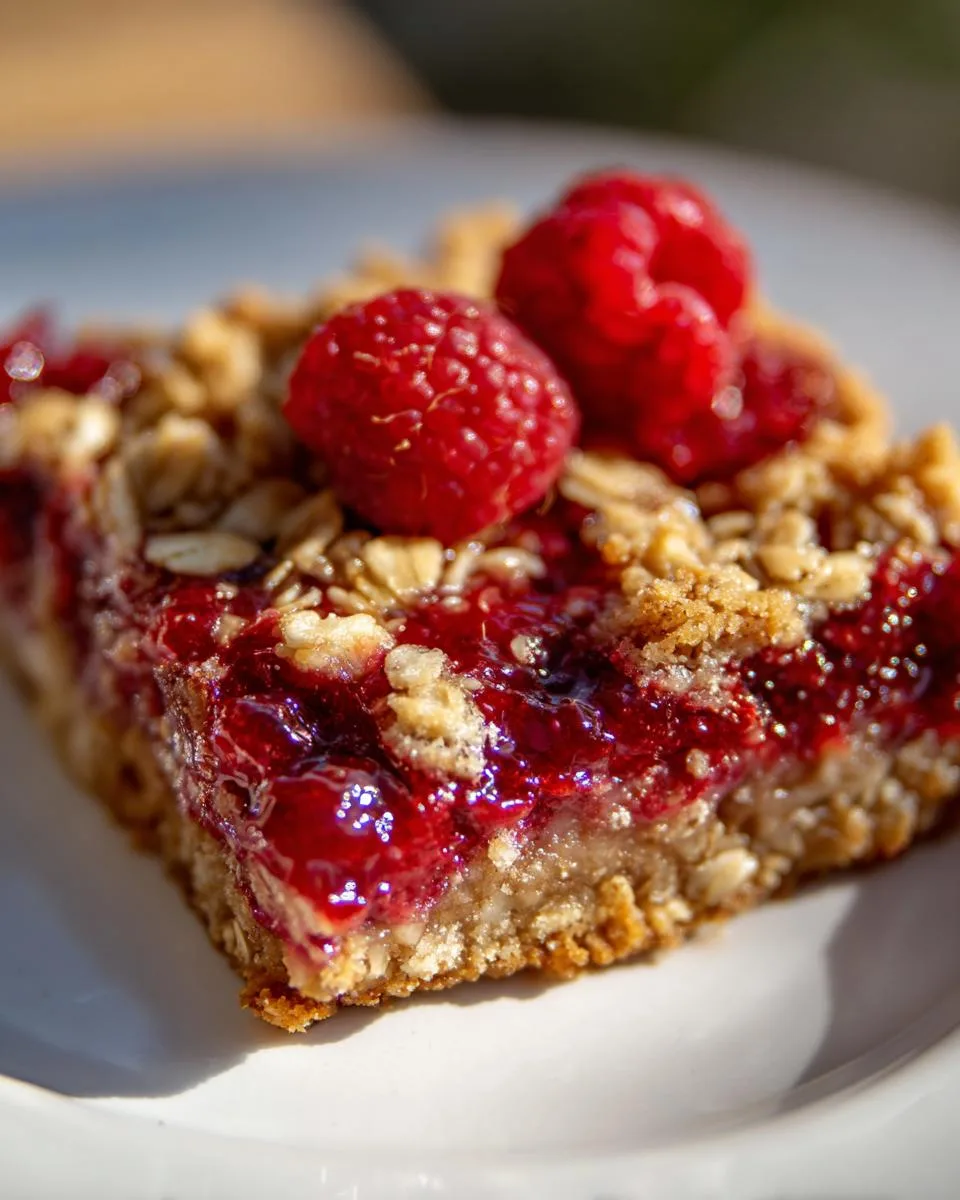
Table of Contents
Table of Contents
Why You’ll Love These Raspberry Almond Breakfast Bars
These bars have become my breakfast lifesaver for so many reasons:
- Effortless morning magic: Just mix, layer, and bake – no fancy techniques needed!
- Perfect grab-and-go: They hold together beautifully in lunchboxes or during hectic morning commutes.
- Meal prep dream: Make a batch Sunday night and enjoy breakfast all week (if they last that long!).
- Flavor balance: The tart raspberries cut through the sweet streusel like sunshine through clouds.
Seriously, I’ve converted so many friends with these bars – even the “I don’t do breakfast” types! If you are looking for more breakfast ideas, check out our recipe index.
Ingredients for Raspberry Almond Breakfast Bars
Okay, let’s gather our goodies! What I love about these bars is how simple the ingredient list is – you probably have most of this in your pantry right now. Just make sure everything’s measured and prepped before you start mixing. Trust me, it makes the whole process so much smoother when you’re not scrambling mid-recipe!
Crust Ingredients
The crust is where the magic starts – buttery, slightly sweet, and the perfect base for our raspberry goodness:
- 1/2 cup (8 Tbsp; 113g) unsalted butter, melted – I always use real butter here, not margarine. That rich flavor makes all the difference!
- 1/4 cup (50g) granulated sugar – Just enough sweetness to balance the tart raspberries.
- 1 teaspoon pure vanilla extract – The good stuff, please! None of that imitation vanilla.
- 1/4 teaspoon salt – Don’t skip this – it makes all the flavors pop.
- 1 cup (125g) all-purpose flour (spooned & leveled) – Measure carefully here – too much flour makes a dry crust.
Filling Ingredients
Now for the star of the show – that gorgeous raspberry layer that makes these bars so special:
- 3/4 cup (240g) raspberry preserves – I prefer seedless, but seeded works too if you like the texture.
- 12-16 fresh raspberries – These little gems add bursts of fresh flavor. No fresh? Frozen work in a pinch (just thaw and pat dry first).
Streusel Ingredients
This crunchy, nutty topping is what takes these bars from good to “oh-my-gosh-I-need-another-piece”:
- 1/2 cup (43g) old-fashioned whole rolled oats – Not quick oats – we want that nice texture!
- 1/3 cup (70g) packed light or dark brown sugar – Dark brown gives a deeper molasses flavor if you have it.
- 1/4 teaspoon ground cinnamon – Just a whisper – enough to warm things up without overpowering.
- 1/4 cup (31g) all-purpose flour (spooned & leveled) – Helps bind our streusel together.
- 1/4 cup (4 Tbsp; 56g) unsalted butter, cold and cubed – Cold is key here for perfect crumbles!
Optional: Vanilla icing for drizzling – because sometimes you just need that extra touch of sweetness!
How to Make Raspberry Almond Breakfast Bars
Alright, let’s get baking! I promise this is easier than it looks – just follow these simple steps and you’ll have perfect breakfast bars in no time. The secret is taking it one layer at a time. Don’t rush, and you’ll be rewarded with those gorgeous layers that make these bars so special!
Prep the Crust
First things first – let’s get that buttery base ready to go:
- Preheat your oven to 300°F (149°C). This lower temp helps set the crust perfectly.
- Line an 8-inch square baking pan with parchment paper, leaving some overhang on the sides – this will be your lifesaver when removing the bars later!
- In a medium bowl, stir together the melted butter, granulated sugar, vanilla, and salt until well combined.
- Add the flour and mix just until everything comes together. Don’t overmix – we want tender, not tough!
- Press the mixture evenly into your prepared pan. I use the bottom of a measuring cup to get it nice and smooth.
- Bake for 15 minutes – just until it starts looking dry and slightly puffed.
Add the Raspberry Filling
Now for the fun part – that gorgeous raspberry layer!
- Take the crust out of the oven (leave the oven on!) and immediately turn the temperature up to 350°F (177°C).
- Carefully spread the raspberry preserves over the warm crust. The warmth helps the preserves spread easier – just don’t press too hard or you might lift the crust.
- Dot the preserves with fresh raspberries. I like to press them in slightly so they don’t roll off when adding the streusel.
Make and Add the Streusel
Time for that irresistible crunchy topping:
- In a medium bowl, whisk together the oats, brown sugar, cinnamon, and flour.
- Add the cold cubed butter. Here’s my favorite part – use your fingers to work the butter into the dry ingredients until you get nice, pea-sized crumbs. A pastry blender works too, but hands are more fun!
- Sprinkle the streusel evenly over the raspberry layer. Don’t press it down – we want those beautiful peaks and valleys.
- Bake for 30-35 minutes, until the streusel is golden brown and you see the raspberry filling bubbling around the edges.
Cooling and Serving
Now for the hardest part – waiting! But trust me, it’s worth it:
- Let the bars cool at room temperature for at least 20 minutes – this helps the filling set so it doesn’t ooze everywhere when you cut them.
- Transfer the pan to the refrigerator and chill for at least 2 hours (overnight is even better!). This step is crucial for clean cuts.
- When ready to serve, use the parchment paper “handles” to lift the whole slab out of the pan. Place on a cutting board and slice into bars.
- If you’re feeling fancy, drizzle with vanilla icing. I sometimes add a sprinkle of toasted almond slices too – because why not?
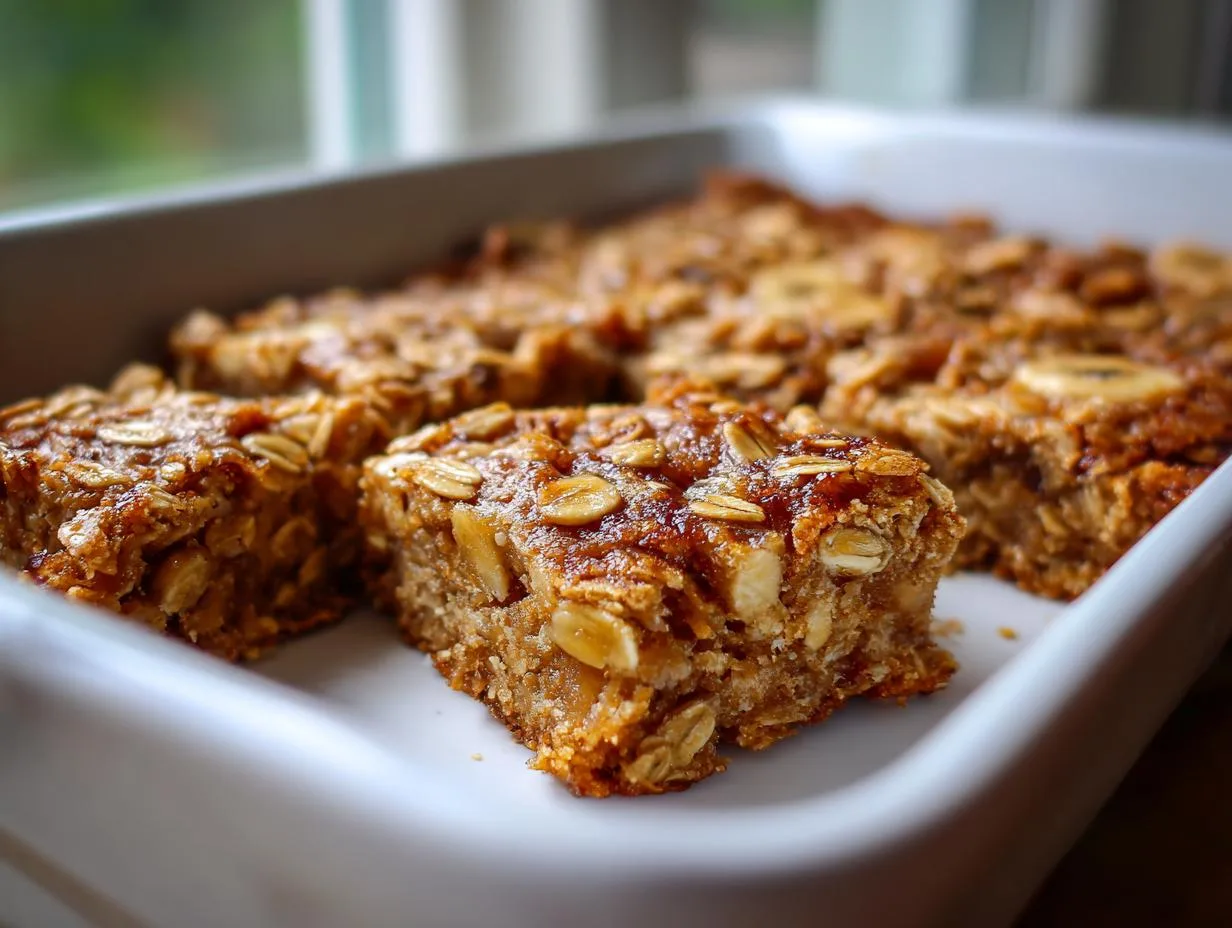
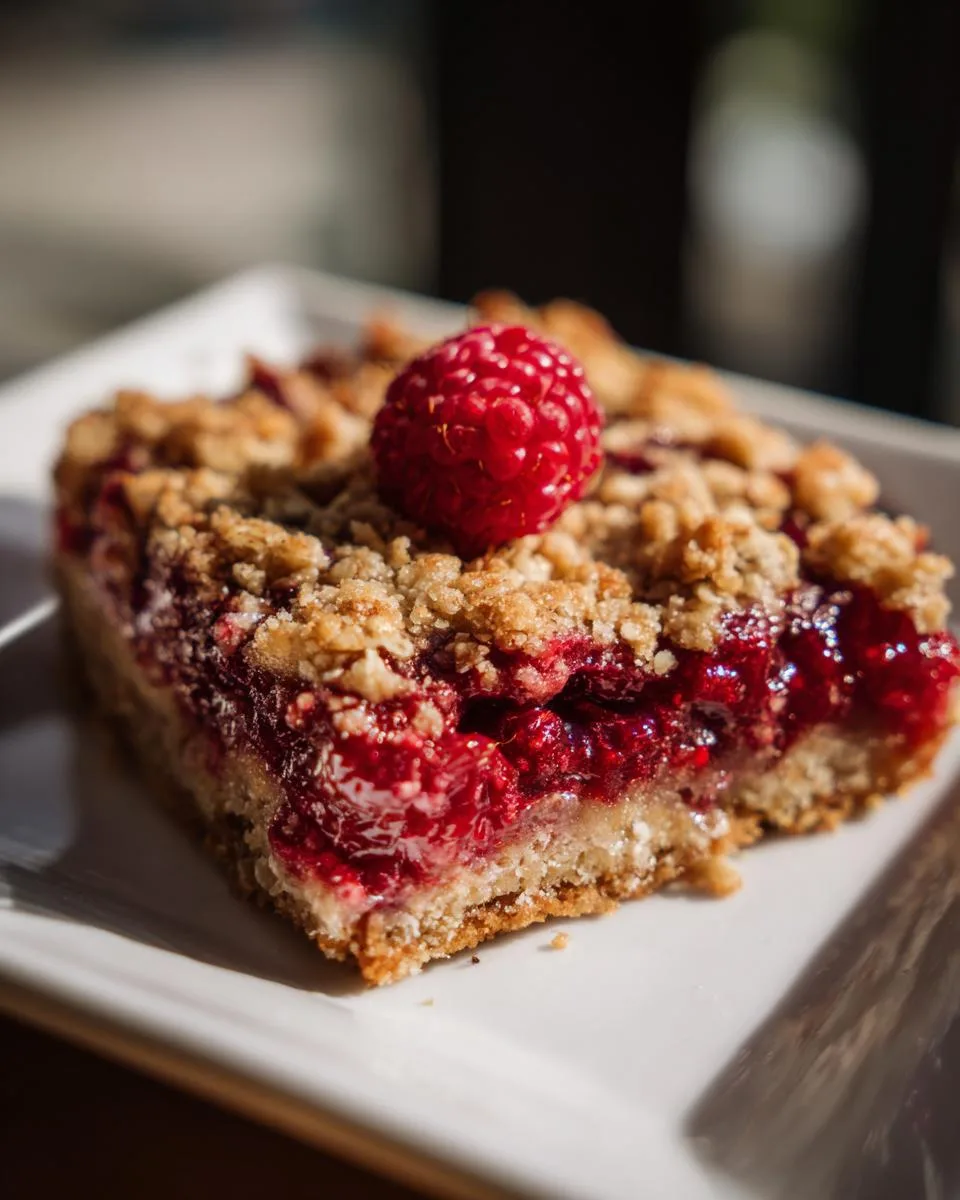
Irresistible Raspberry Almond Breakfast Bars in 45 Minutes
- Prep Time: 20 minutes
- Cook Time: 50 minutes
- Total Time: 3 hours 10 minutes (includes chilling)
- Yield: 12–16 bars 1x
- Category: Breakfast
- Method: Baking
- Cuisine: American
- Diet: Vegetarian
Description
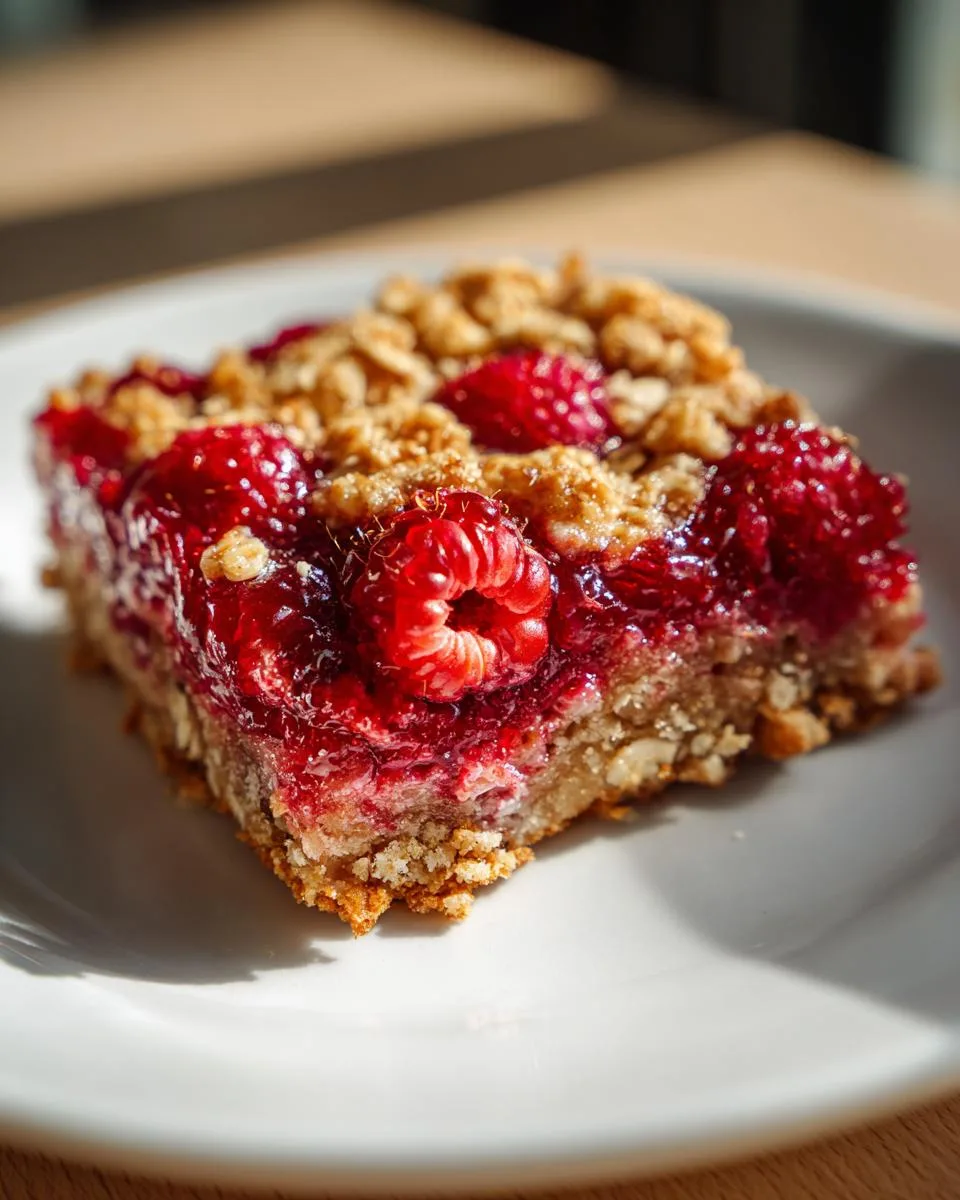
Raspberry Almond Breakfast Bars are a delicious and easy-to-make treat perfect for breakfast or a snack. They feature a buttery crust, sweet raspberry filling, and a crunchy streusel topping.
Ingredients
- Crust:
- 1/2 cup (8 Tbsp; 113g) unsalted butter, melted
- 1/4 cup (50g) granulated sugar
- 1 teaspoon pure vanilla extract
- 1/4 teaspoon salt
- 1 cup (125g) all-purpose flour (spooned & leveled)
- Filling:
- 3/4 cup (240g) raspberry preserves
- 12–16 fresh raspberries
- Streusel:
- 1/2 cup (43g) old-fashioned whole rolled oats
- 1/3 cup (70g) packed light or dark brown sugar
- 1/4 teaspoon ground cinnamon
- 1/4 cup (31g) all-purpose flour (spooned & leveled)
- 1/4 cup (4 Tbsp; 56g) unsalted butter, cold and cubed
- Optional: vanilla icing for topping
Instructions
- Preheat the oven to 300°F (149°C). Line the bottom and sides of an 8-inch square baking pan with parchment paper, leaving enough overhang on all sides. Set aside.
- Make the crust: Stir the melted butter, granulated sugar, vanilla, and salt together in a medium bowl. Add the flour and stir until everything is combined. Press the mixture evenly into the prepared baking pan. Bake for 15 minutes.
- Remove the crust from the oven, and turn the oven up to 350°F (177°C).
- Spread preserves over warm crust. Dot the preserves with raspberries on top.
- Make the streusel: Whisk the oats, brown sugar, cinnamon, and flour together in a medium bowl. Cut in the chilled butter with a pastry blender or two forks (or even with your hands) until the mixture resembles coarse crumbs. Sprinkle the filling with streusel and bake for 30–35 minutes or until the streusel is golden brown. The raspberry filling should be bubbling on the edges.
- Remove from the oven and allow to cool for at least 20 minutes at room temperature, then chill in the refrigerator for at least 2 hours (or overnight). Lift the foil or parchment out of the pan using the overhang on the sides and cut into bars. Drizzle the bars with vanilla icing, if using.
Notes
- You can cut the bars into 12 larger or 16 smaller pieces.
- These bars can be enjoyed at room temperature or cold.
- Fresh raspberries can be substituted with frozen raspberries if needed.
Nutrition
- Serving Size: 1 bar
- Calories: 180
- Sugar: 15g
- Sodium: 50mg
- Fat: 8g
- Saturated Fat: 5g
- Unsaturated Fat: 2g
- Trans Fat: 0g
- Carbohydrates: 25g
- Fiber: 1g
- Protein: 2g
- Cholesterol: 20mg
Tips for Perfect Raspberry Almond Breakfast Bars
After making these bars more times than I can count, I’ve picked up some tricks that make them foolproof every single time. Here are my can’t-live-without tips:
- Butter temperature matters: For the streusel, your butter must be cold – I pop mine in the freezer for 10 minutes before using. Warm butter makes greasy crumbs instead of those perfect little nuggets we want.
- Patience pays off: I know it’s tempting to cut into them right away, but that chilling time is non-negotiable. Two hours minimum, friends – it’s what keeps your bars from crumbling apart.
- Spread smarter: Warming the preserves for 10 seconds in the microwave makes spreading over the crust infinitely easier. Just don’t overdo it – we want spreadable, not liquid!
- Customize the sweetness: If your raspberries are super tart, sprinkle a tiny bit of sugar over them before adding the streusel. Conversely, if you prefer less sweet, reduce the brown sugar in the topping by a tablespoon.
- Sharp is key: When cutting, use a sharp knife wiped clean between slices. I run mine under hot water first – it glides through those layers like butter.
Follow these simple tricks, and you’ll have bakery-worthy bars that’ll make everyone think you spent hours in the kitchen! If you enjoy sharing your baking successes, feel free to connect with us on Facebook.
Variations & Substitutions
One of the best things about these breakfast bars? You can mix them up a hundred different ways! I’ve experimented with all sorts of variations over the years – sometimes just for fun, other times out of necessity when I realized I was out of an ingredient mid-recipe (oops!). Here are my favorite twists that never disappoint:
Fruit Swaps That Work Like a Dream
The raspberry version will always be my first love, but don’t be afraid to play with other fruits:
- Blueberry bliss: Swap in blueberry preserves and fresh blueberries – the combo with the almond streusel is heavenly.
- Strawberry fields: Use strawberry jam and thinly sliced fresh strawberries. Pro tip: macerate the berries with a teaspoon of sugar first to prevent excess moisture.
- Mixed berry madness: Combine raspberry preserves with blackberries or a triple berry mix for extra complexity.
- Apricot adventure: Orange-hued apricot preserves with sliced almonds in the streusel makes a gorgeous golden variation.
Flour Power Options
Need to adjust for dietary needs? No problem!
- Gluten-free: Use a 1:1 gluten-free flour blend for both the crust and streusel. I’ve had great results with Bob’s Red Mill.
- Whole wheat: Substitute up to half the all-purpose flour with whole wheat pastry flour for extra fiber.
- Nut flour boost: Replace 1/4 cup of the crust flour with almond flour for richer flavor (just add a splash more butter if the dough seems dry).
Nut-Free & Allergy-Friendly Twists
For friends with nut allergies, you’ve got options:
- Oat-only streusel: Skip the almonds and boost the oats to 3/4 cup for the topping.
- Seedy crunch: Add sunflower or pumpkin seeds to the streusel instead of nuts for texture.
- Coconut lover: Mix shredded coconut into the streusel – it toasts beautifully in the oven.
Remember, baking is all about making recipes work for YOU. I once made these with peach jam and crushed pretzels in the streusel when I was out of several ingredients – and you know what? They were still delicious! Don’t be afraid to get creative with what you have on hand. If you are looking for more dessert recipes, we have plenty!
Storage & Reheating
Here’s the deal with these breakfast bars – they disappear fast in my house! But when we do manage to save some (rare, I know), here’s how I keep them tasting fresh:
- Room temp: In an airtight container, they’ll stay perfect for about 3 days. I usually keep mine on the counter because the texture stays just right – not too hard, not too soft.
- Fridge life: If it’s warm in your kitchen or you want them to last longer, pop them in the fridge for up to 5 days. The cold makes the streusel extra crisp!
- Freezer magic: These bars freeze like a dream! Wrap individual bars tightly in plastic wrap, then stash them in a freezer bag for up to 2 months. Thaw overnight in the fridge or 30 seconds in the microwave when cravings hit.
As for reheating? I actually love them cold straight from the fridge – that contrast between the chilly raspberry layer and crunchy topping is everything. But if you must warm them up, 10 seconds in the microwave takes the chill off without making them soggy. My husband toasts his under the broiler for 30 seconds – just watch those edges don’t burn!
FAQs About Raspberry Almond Breakfast Bars
I’ve gotten so many questions about these bars over the years – seems like everyone wants to tweak them just right! Here are the answers to the ones I hear most often:
Can I use frozen raspberries instead of fresh?
Absolutely! Just thaw them first and pat them dry with paper towels so they don’t make the filling too watery. I actually keep a bag of frozen raspberries in my freezer specifically for these bars when fresh ones aren’t in season.
How long do these breakfast bars stay fresh?
They’re best within 3 days at room temperature, but can last up to 5 days in the fridge (if they make it that long!). The texture might get a bit firmer when chilled, but I kinda love that contrast with the soft raspberry layer.
Can I make these gluten-free?
Yes! I’ve had great success using a 1:1 gluten-free flour blend in both the crust and streusel. Just make sure your oats are certified gluten-free too if that’s a concern.
Why chill the bars before cutting?
Oh honey, I learned this the hard way – skipping the chill time leads to crumbly messes! That couple hours in the fridge lets everything set up so you get those picture-perfect clean slices. Think of it like giving the bars a little beauty sleep. For more baking tips, check out our general recipes page.
Can I double this recipe?
You bet! Just use a 9×13-inch pan instead and increase the baking time by about 5-10 minutes. These disappear so fast at gatherings that I often make a double batch – one to share and one to hoard at home!
Nutritional Information
Just to keep things real – I’m no nutritionist, but here’s the scoop on what’s in these tasty bars. These numbers are estimates based on standard ingredients – your exact counts might vary depending on brands and any tweaks you make. Per one delicious bar (based on cutting into 12 servings):
- Calories: About 180
- Fat: 8g (5g saturated)
- Carbohydrates: 25g
- Sugar: 15g
- Protein: 2g
- Sodium: 50mg
Now grab those ingredients and let’s get baking! I’d love to hear how yours turn out – tag me with your creations!